
The Fallen Wizard is the story final boss of Necesse, waiting in the second floor of the Desert Biome Deep Underground, just below where you fought Sage and Grit. HP sits at 35,000 solo — lower than Sage and Grit combined — but I died to him three times. Best run got him to 20% before I ran out of steam. The Blink Scepter and Banner Stand help, but five overlapping magic attacks with no real downtime is brutal solo. I switched strategies, brought 17 settlers in my Adventure party, and cleared it without breaking a sweat. Beat him and you unlock Incursions, the endgame scaling content.
What Is the Fallen Wizard?
The story final boss of Necesse. He’s the last boss the Elder sends you to kill — thematically paired with the Void Wizard from Tier 1. Same deal: Void Wizard lived at the bottom of the dungeon, Fallen Wizard lives at the deepest point of the Desert Biome.
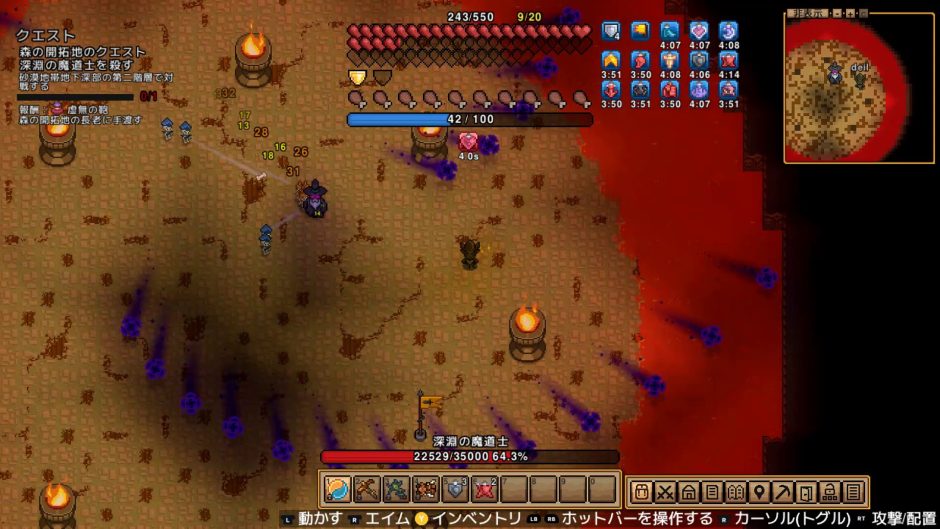
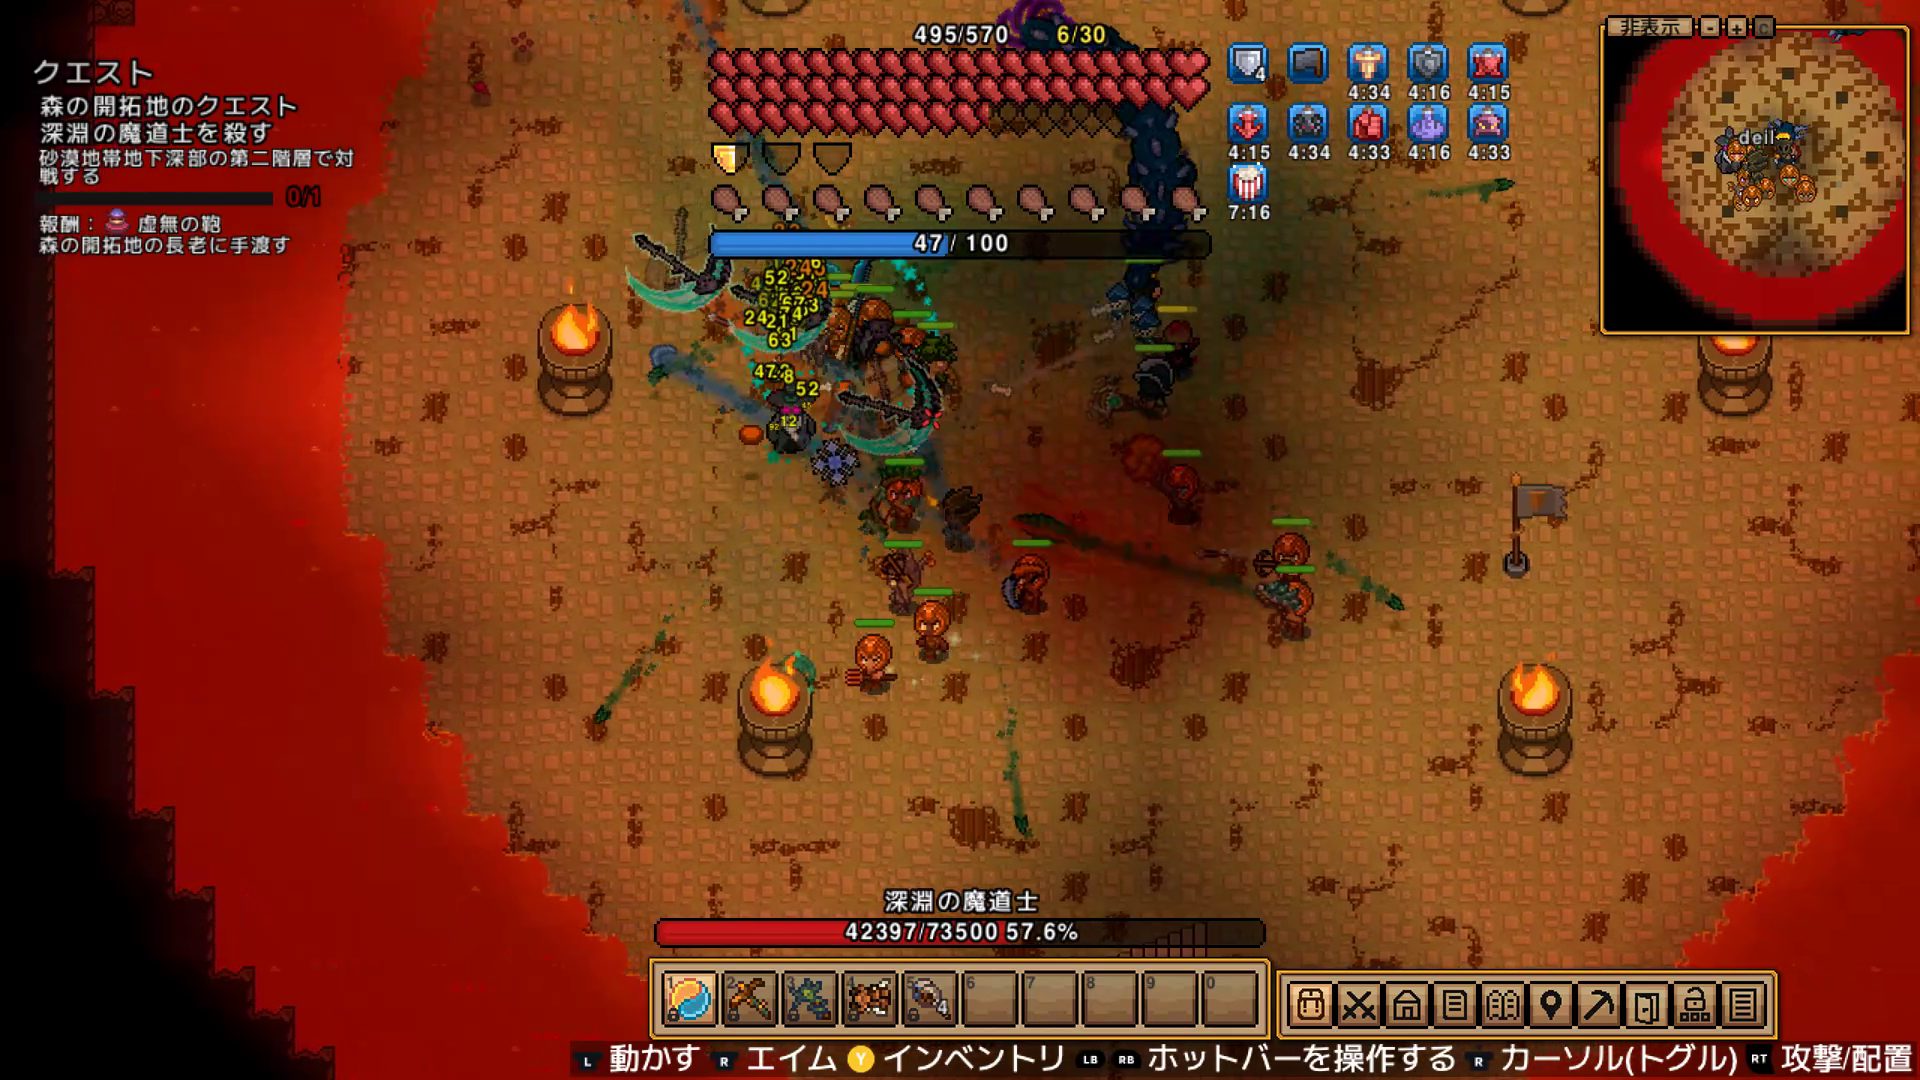
After killing Sage and Grit, the Elder marks the Desert Biome Deep Underground second floor as your target. The Fallen Wizard is a pure magic fighter — no melee at all — which sounds manageable until you realize all five of his attacks are active at the same time.
Defeating him unlocks Incursions: a Tier 1–10 scaling dungeon mode. That’s where Necesse’s real endgame starts.
How to Get There & Start the Fight
Location
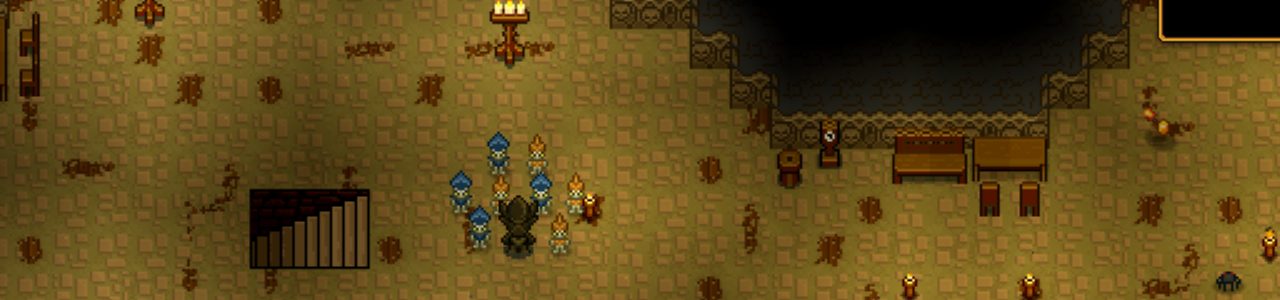
From the spot where you killed Sage and Grit in the Deep Underground, look for a staircase going further down. Take it, explore a bit, find another staircase — that leads straight to the boss room.
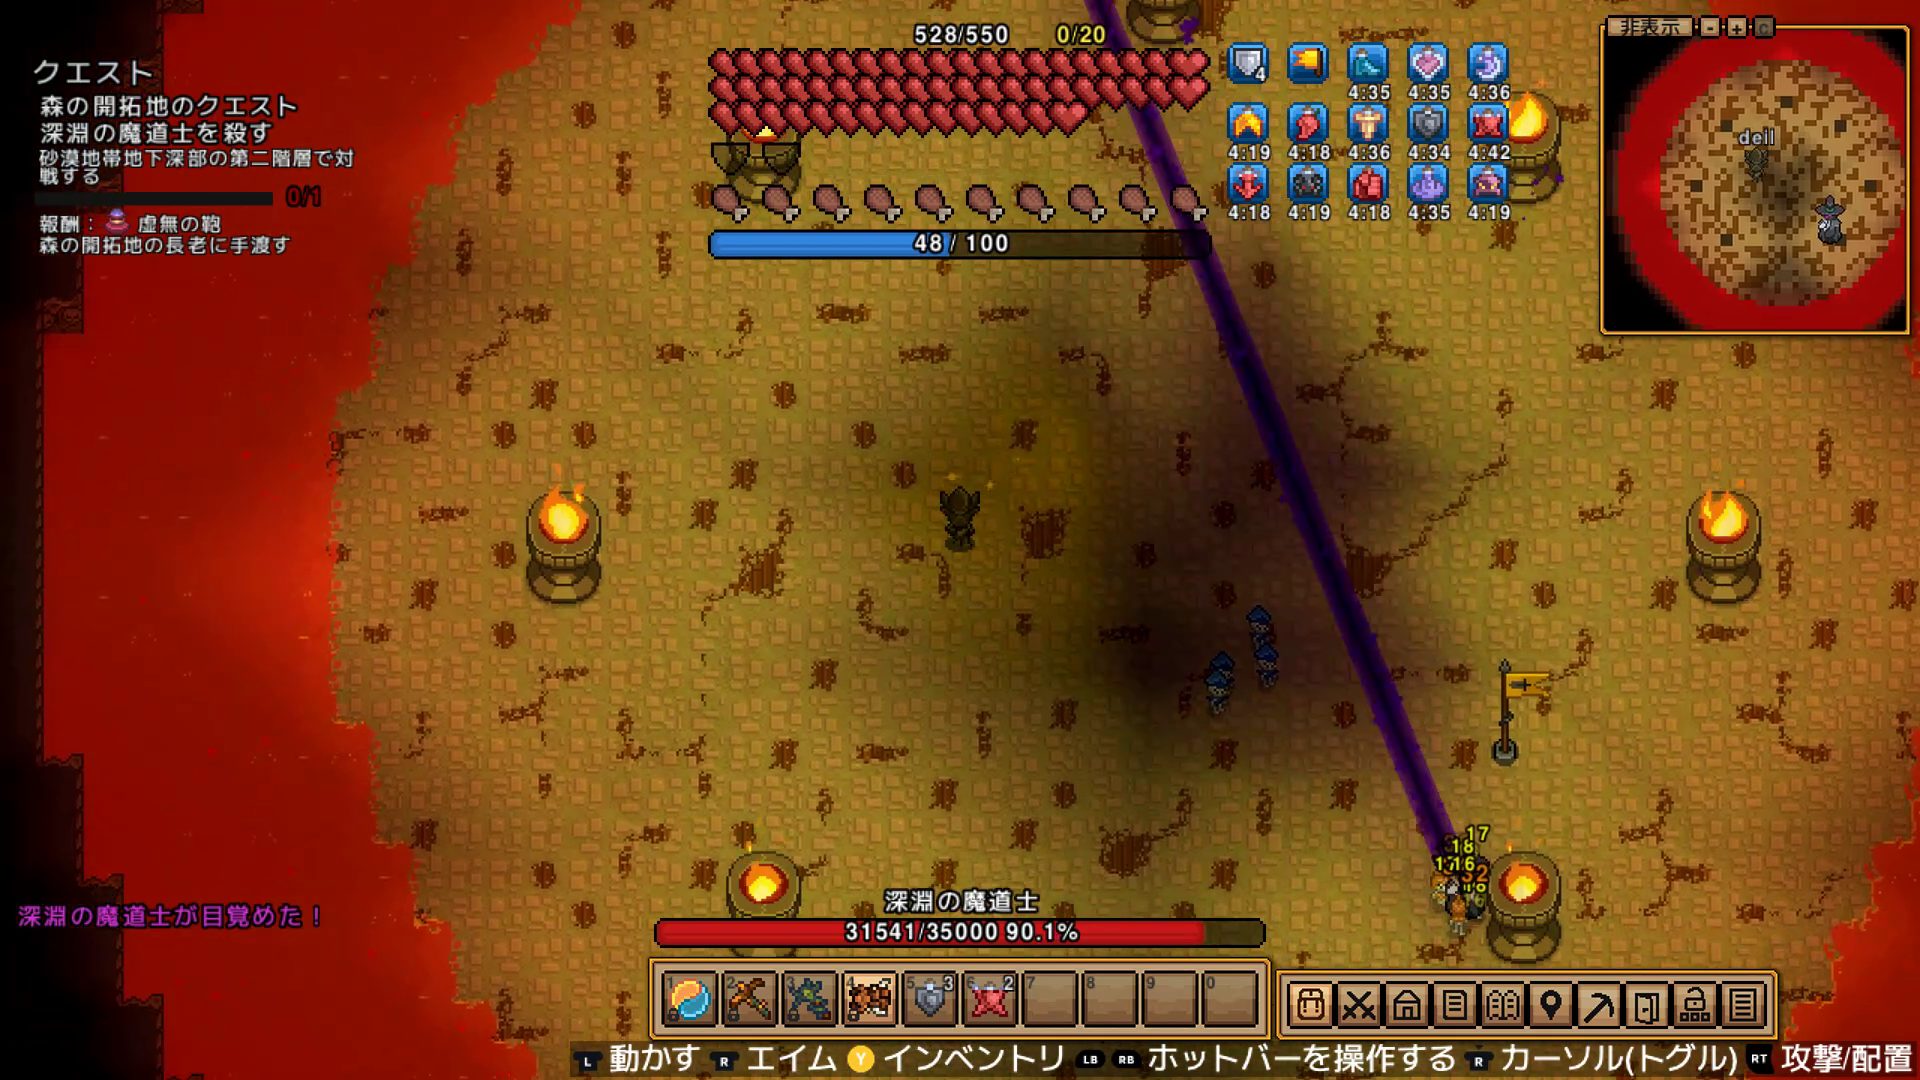
Starting the Fight
No summon item needed. Walk into the room, hit him, and he wakes up. The screen shows “The Fallen Wizard has awakened” and combat begins — same pattern as the Void Wizard.
Rematches
He respawns 10 minutes after death. The arena terrain is fixed and can’t be modified, but you can place a Banner Stand before the fight. If you’re farming him, set one up on your first visit.
Pre-Fight Preparation
Gear Checklist (What I Used to Kill Him)
| Slot | Item | Notes |
|---|---|---|
| Armor | Ancient Fossil armor set | Carried over from Sage and Grit — no upgrades needed |
| Throwing weapon | Dragons Rebound | Sage and Grit drop. Attack while moving freely |
| Summon weapon | Skeleton Staff | Sage and Grit drop. Two skeletons auto-attack |
| Accessory | Blink Scepter | Elder reward after killing Sage and Grit. Forward blink is survival-critical |
| Placed item | Banner Stand | Elder reward after killing Cryo Queen. The buff is massive |
The Sage and Grit drops feed directly into this fight. The Blink Scepter in particular — it lets you blink forward through incoming attacks, and that’s what makes the five-attack rotation survivable at all. Solo, at least.
Adventure Party (The Real Strategy)
Honest answer: solo is extremely hard. Three attempts, best result was 20% HP left. Five magic attacks with no breathing room, trying to dodge and deal damage at the same time, just doesn’t work at a certain skill level.
The fix: bring your settlers as an Adventure party. Open the Adventure party screen, add settlers, and they fight alongside you. I brought 17 and the fight was over fast — the Fallen Wizard’s attacks split between multiple targets, incoming damage dropped dramatically, and 17 settlers plus my weapons made short work of his health bar.
One caveat: adding settlers increases boss HP. The cap is 210% at 10+ settlers. So at 10+, every additional settler is pure firepower with no HP penalty. Bring as many as you can.
HP Scaling by Party Size
| Settlers in party | HP multiplier | Actual HP |
|---|---|---|
| 0 (solo) | 100% | 35,000 |
| 1 | 120% | 42,000 |
| 2 | 138% | 48,300 |
| 3 | 154% | 53,900 |
| 4 | 168% | 58,800 |
| 5 | 180% | 63,000 |
| 6 | 190% | 66,500 |
| 7 | 198% | 69,300 |
| 8 | 204% | 71,400 |
| 9 | 208% | 72,800 |
| 10+ | 210% (cap) | 73,500 |
10+ settlers = max HP, no further penalty. More settlers = better.
The Arena
Fixed terrain, can’t be changed. But Banner Stand placement works — I set one down before re-engaging. The buffs it provides make a real difference for both solo and party runs.
Stats
| Value | |
|---|---|
| HP (Classic, solo) | 35,000 |
| HP (17 settlers) | 73,500 (210%) |
Lower raw HP than Sage and Grit (30,000 × 2 = 60,000 combined), but solo difficulty felt higher than any other boss. Five magic attacks with no gaps — damage windows are tiny when you’re constantly dodging.
Attack Patterns & How to Dodge
General Pattern
The Fallen Wizard rotates through five magic attacks with no melee. No phase transitions, no obvious safe windows. Solo, the continuous pressure is what kills you — not any single attack, but the overlap. With an Adventure party, the aggro splits and suddenly there’s room to breathe.
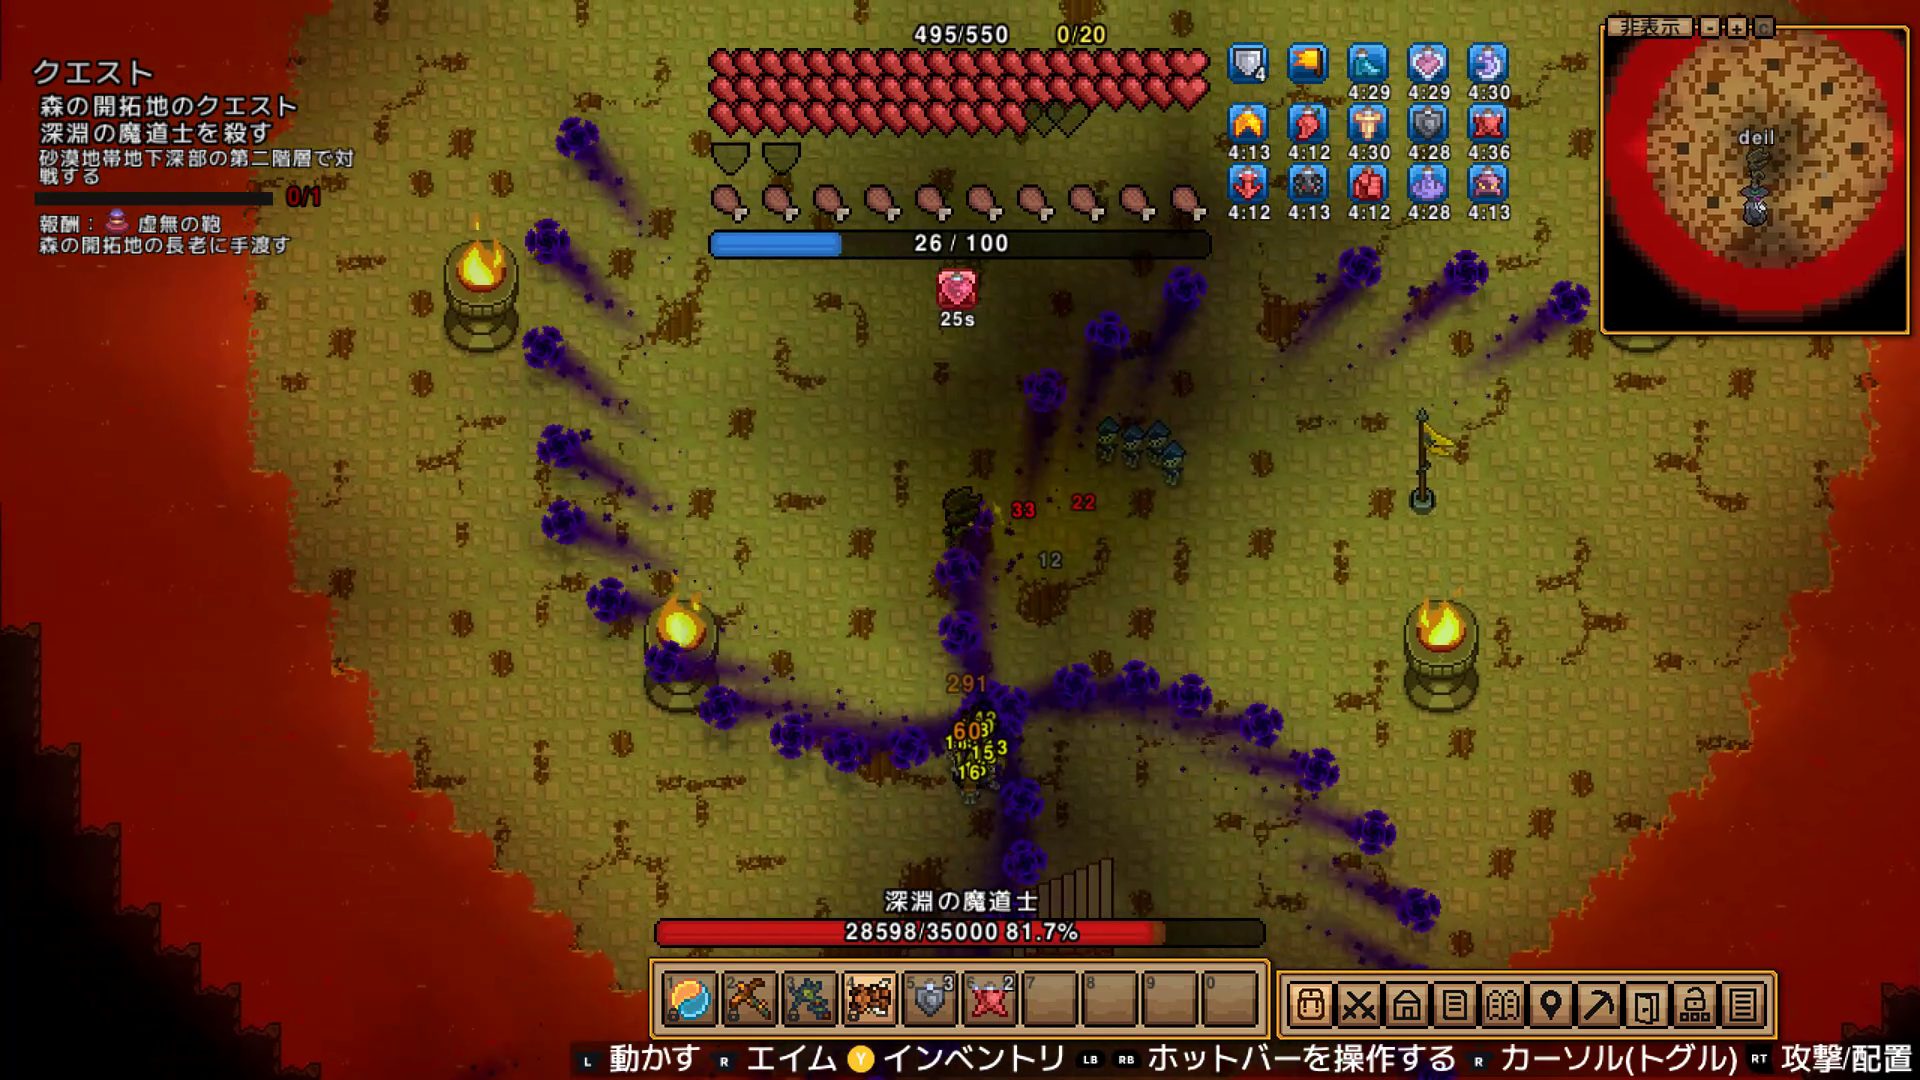
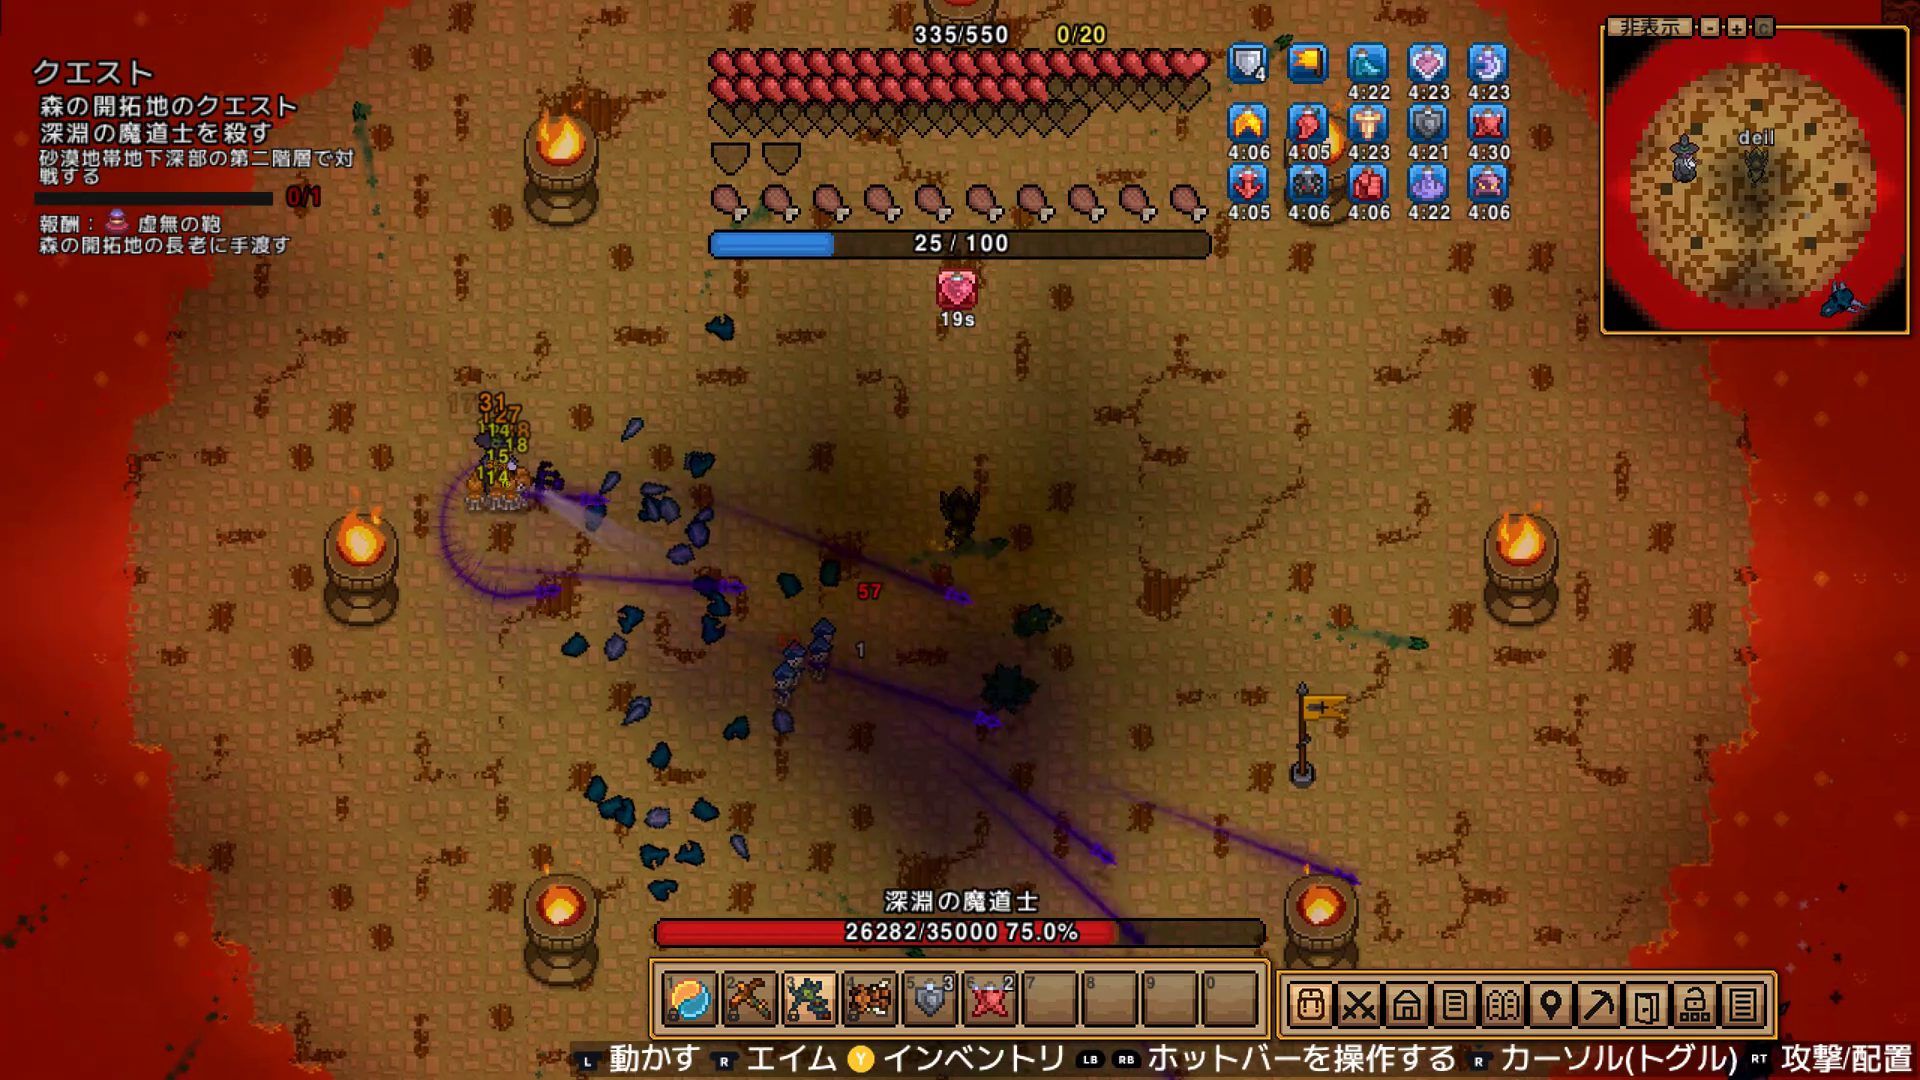
Attack 1: Arc Magic Bolts
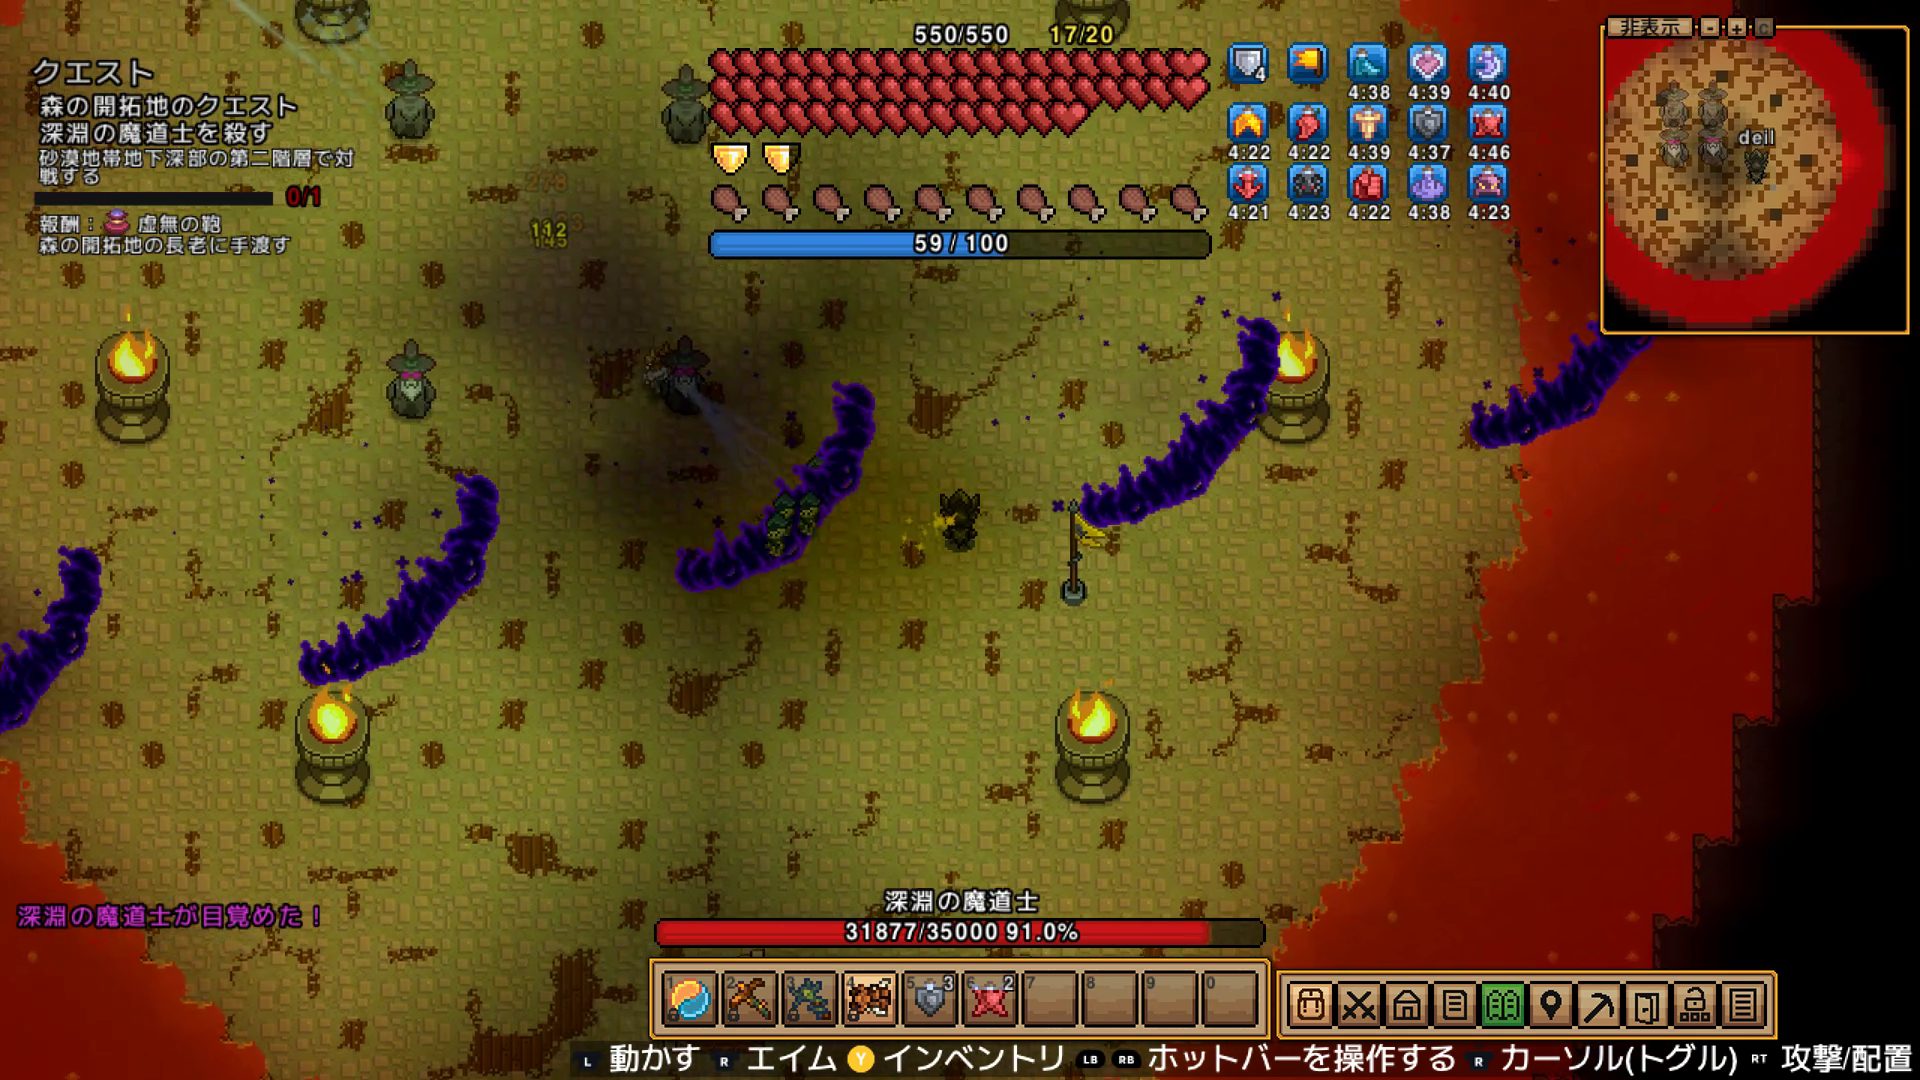
Multiple purple bolts fly in from off-screen in curved arcs, weaving across the area like snaking projectiles. Straight-line dodging gets you hit — the bolts follow non-linear paths. Thread through the gaps or Blink Scepter through when they converge.
Attack 2: Cross Rotating Orbs
Four orbs fire outward in a cross pattern, then rotate and expand outward from the boss. The closer you are, the denser the coverage. Keep distance, watch the rotation direction, and move through the gaps in the spiral.
Attack 3: Homing Magic Bolts
Purple bolts that track your position — they curve to follow you, so moving in a straight line doesn’t shake them. Sharp direction changes or a Blink Scepter teleport breaks the tracking. With an Adventure party, aggro splits across multiple targets and this attack becomes much less threatening.
Attack 4: Dragon Summon
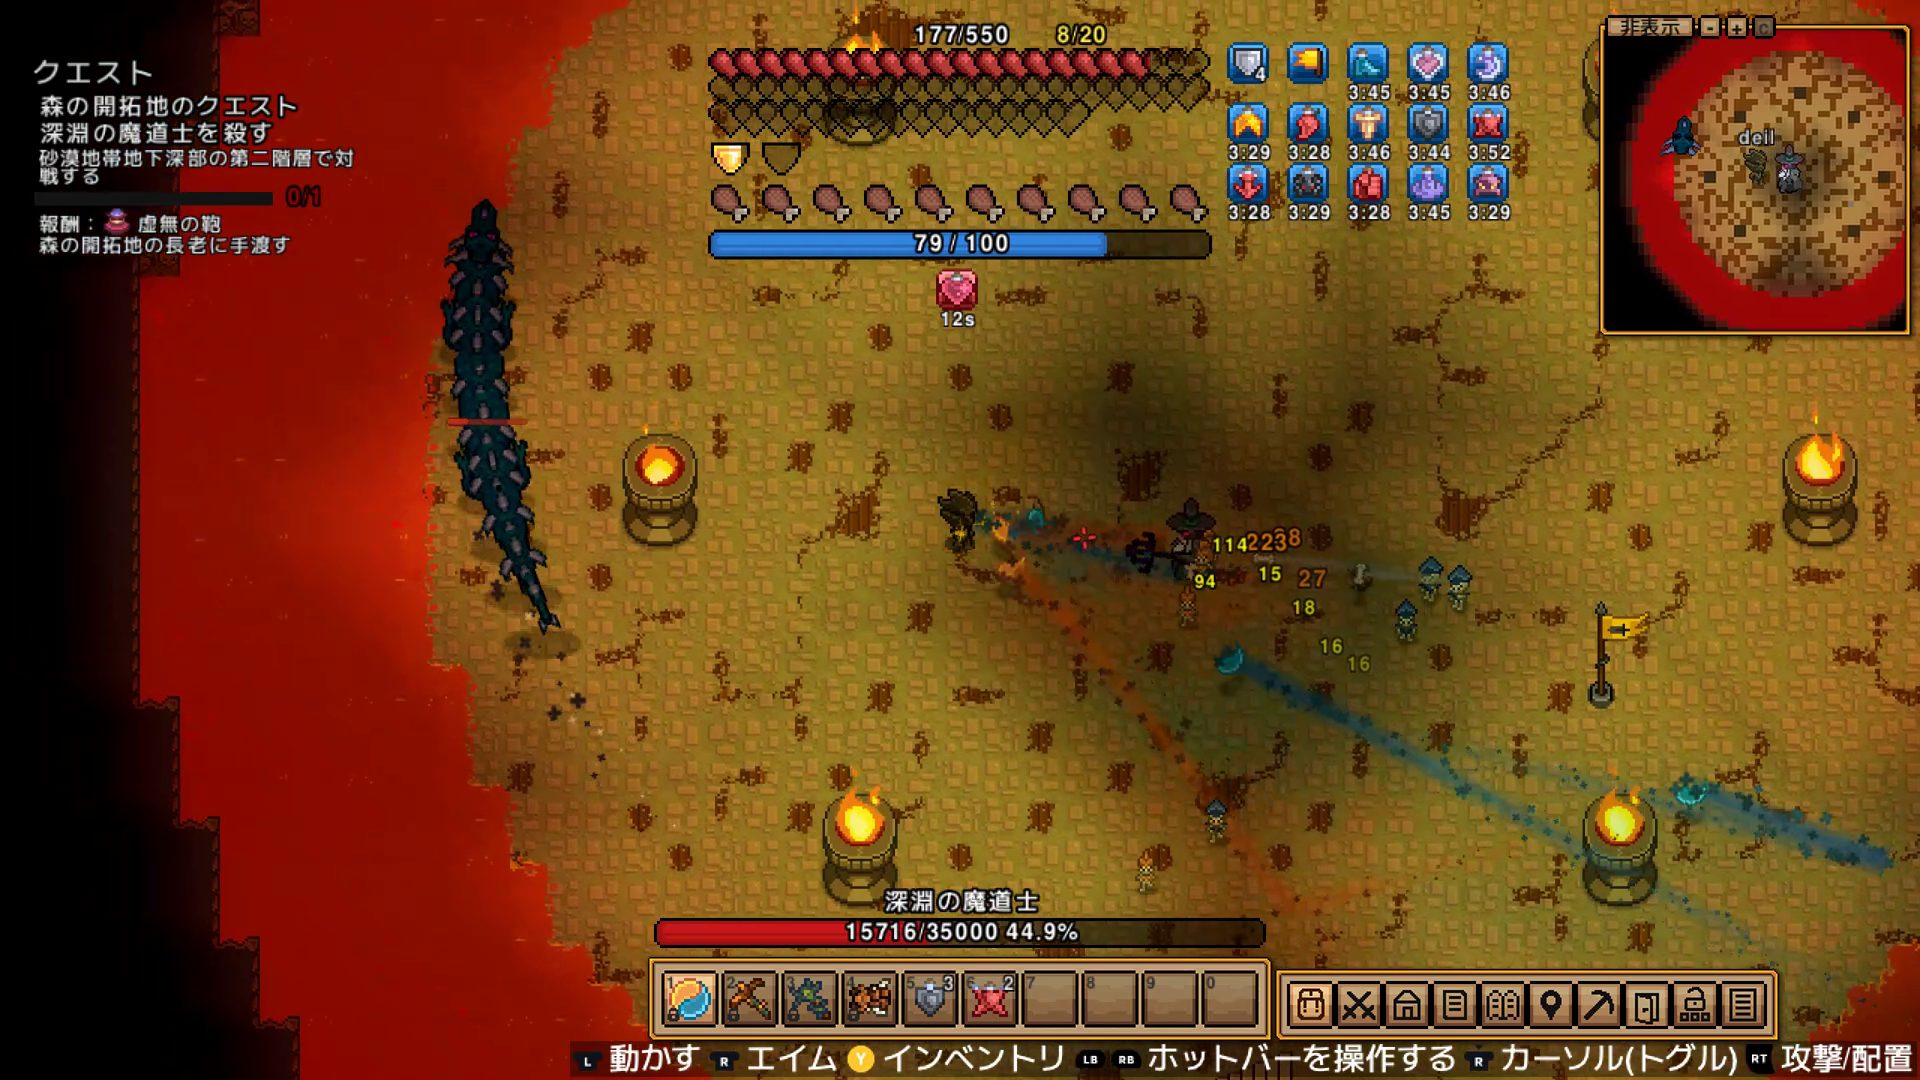
A large dragon charges in from the edge of the screen and body-slams toward you. It enters in a straight line, so dash perpendicular to its path. The dragon is big enough to read visually — you can react in time — but if this overlaps with another attack, it’s messy.
Attack 5: Rotating Beam
A wide purple beam fires from the boss and rotates around him. Basic rule: run in the same direction as the rotation. Running against it means you run into the beam. If you’re already far from the boss when it starts, you can outpace the rotation and wait it out.
Key Takeaways
[Solo] Five attacks run concurrently — no clear rest windows Blink Scepter is essential for dodge-teleporting through attacks Banner Stand buff before the fight is required Author result: 3 attempts, 0 kills (best: 20% HP remaining)
[With Adventure Party — Recommended] Aggro splits across multiple targets, incoming damage drops sharply 10+ settlers = HP cap hit, every extra settler is net positive Player focuses on dodging + opportunistic damage
[Three Keys to Winning] ① Bring as many Adventure party settlers as possible ② Place a Banner Stand in the arena before engaging ③ Use the Blink Scepter aggressively for dodge-teleporting
My Clear Story
Attempts 1–3: Solo — Got to 20%, Couldn’t Finish
Went in with Sage and Grit gear (Dragons Rebound, Ancient Fossil armor set, Skeleton Staff). First attempt: spent most of it learning the attack patterns, didn’t get below 50%. Second attempt: added the Banner Stand and started actually using the Blink Scepter for dodge-teleporting. Got him to 20%. Third attempt: same result. Five attack types rotating constantly with no real gap — dodging and dealing damage simultaneously was beyond what I could sustain.
Attempt 4: 17-Settler Adventure Party — Done
Switched approach entirely. Recruited all 17 available settlers into the Adventure party and went back in. Boss HP jumped to 73,500, but 17 settlers attacking simultaneously absolutely overwhelmed his output. The player character became the secondary attacker — settlers soaked most of the aggro and damage, so I could actually focus on throwing weapons between dodge windows. The three painful solo attempts felt like a different game. If you haven’t used the Adventure party feature before, this fight is exactly where it exists.
Drop Items
Elder Quest Reward (First Clear)
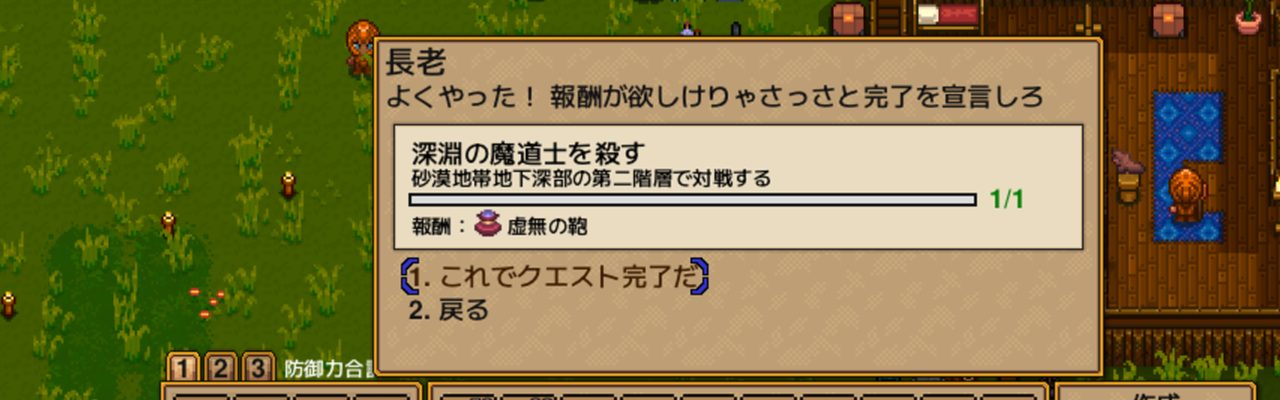
Report back to the Elder and the quest line closes out. The story chapter ends here.
Items Dropped by the Fallen Wizard
The Fallen Wizard drops system upgrade items, not weapons. Final boss drops that expand what you can do, not what you can equip offensively.
| Item | Effect | |
|---|---|---|
| Wizard Socket | Permanently increases max accessories by 7 | |
| Gateway Tablet | Equip to activate the gateway device (Incursions related) | |
| Abyssal Cloak | Permanently increases max item set slots by 4 | |
| Void Bag | Large personal storage pouch | |
| Altar Dust | Consumable |
Wizard Socket and Abyssal Cloak are permanent upgrades — use them immediately. The Gateway Tablet is your key into Incursions.
What to Do After Killing Him
1. Report to the Elder
Head back to your settlement and talk to the Elder. Quest complete, story wraps up here.
2. Use the Upgrade Items
Wizard Socket: +7 accessory slots permanently. Abyssal Cloak: +4 item set slots permanently. Both are use-on-pickup upgrades — no reason to hold onto them. Void Bag goes to inventory as extra storage.
3. Start Incursions with the Gateway Tablet
The Gateway Tablet unlocks Incursions — a Tier 1–10 scaling dungeon mode. Build a Fallen Altar, insert the Gateway Tablet to activate the gateway, and this is where Necesse’s endgame actually begins.
FAQ
Q1: Where exactly is the Fallen Wizard?
A: Desert Biome Deep Underground, second floor. After killing Sage and Grit, find the staircase going further down from that area. Explore that floor, find another staircase, and the boss room is at the bottom. No summon item needed — attack him to start the fight.
Q2: Is he doable solo?
A: Possible, not easy. Three attempts and I never cleared it — peak result was 20% HP left. Five magic attacks running simultaneously with no downtime makes the dodge-and-attack balance very demanding. Strongly recommend the Adventure party. 10+ settlers hits the HP cap, so beyond that you’re only gaining firepower.
Q3: Do I need better gear than what dropped from Sage and Grit?
A: No. The Sage and Grit drops (Dragons Rebound, Skeleton Staff) and Ancient Fossil armor were enough to clear it. Gear matters less than Adventure party size and Banner Stand placement.
Summary
- The Fallen Wizard is Necesse’s story final boss
- Found in the Desert Biome Deep Underground, second floor — requires killing Sage and Grit first
- No summon item needed; attack him to start. Respawns 10 minutes after death
- 35,000 HP (Classic). Solo difficulty: highest of any boss
- 5 attack types: arc bolts, cross rotating orbs, homing bolts, dragon summon, rotating beam
- Solo is extremely hard — 3 failed attempts, best run: 20% HP left
- Adventure party is the answer: 10+ settlers hits the HP cap (210%), every settler beyond that is net gain
- Banner Stand buff and Blink Scepter dodge-teleporting are near-essential
- Drops are system upgrades, not weapons: Wizard Socket, Gateway Tablet, Abyssal Cloak, Void Bag, Altar Dust
- Clearing him unlocks Incursions — Necesse’s real endgame
Related Articles
|
Boss Navigation
| Previous Boss | Overview | Next Boss |
|---|---|---|
| ← Sage and Grit | 📋 Complete Guide Index | Mother Slime → |
Published: 2026-03-29
Verified on: Necesse v1.0 (PC), Classic difficulty, with Adventure party