The Ascended Wizard is the final wall standing between you and Necesse’s end credits. Beating the Fallen Wizard doesn’t finish the game — you still have to grind through Incursions up to tier 10, unlock the Ascended Incursion, and then face this thing. Three full HP bars. Past-boss attack callbacks. And when you think you’ve finally won in phase 2, it transforms into a completely different entity called The Void.
I died more than five times before I stepped back, re-geared to tier 9–10 across multiple content runs, and came back for real. Most players won’t get this one on their first try.
What Is the Ascended Wizard?
The Ascended Wizard is Necesse’s true endgame boss, sitting at the end of the Ascended Incursion — the special stage unlocked after clearing the Fallen Wizard.
The Ascended Incursion is a separate, standalone challenge beyond the normal Incursion tiers 1–10. It gates the final boss and is accessed through a craftable tablet. The Ascended Wizard pulls attack patterns from every boss you’ve beaten before, then adds a few nasty originals on top.
Three-phase structure:
– Phase 1: Full HP → Phase 2 triggers on death
– Phase 2: HP fully restores, attacks intensify
– Phase 3: Boss transforms into The Void — a completely different form with 1,040,000 HP
Unlock Requirements & How to Start the Fight
Unlock Steps
| Step | Action |
|---|---|
| 1 | Defeat the Fallen Wizard to unlock Incursions |
| 2 | Collect 5 Ascended Shards |
| 3 | Craft the Ascended Incursion Tablet at the Fallen Workstation |
| 4 | Use the tablet to enter the Ascended Incursion |
Ascended Shards drop from Incursion bosses at tier 8 or higher.
Starting the Boss Fight
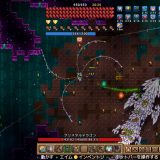
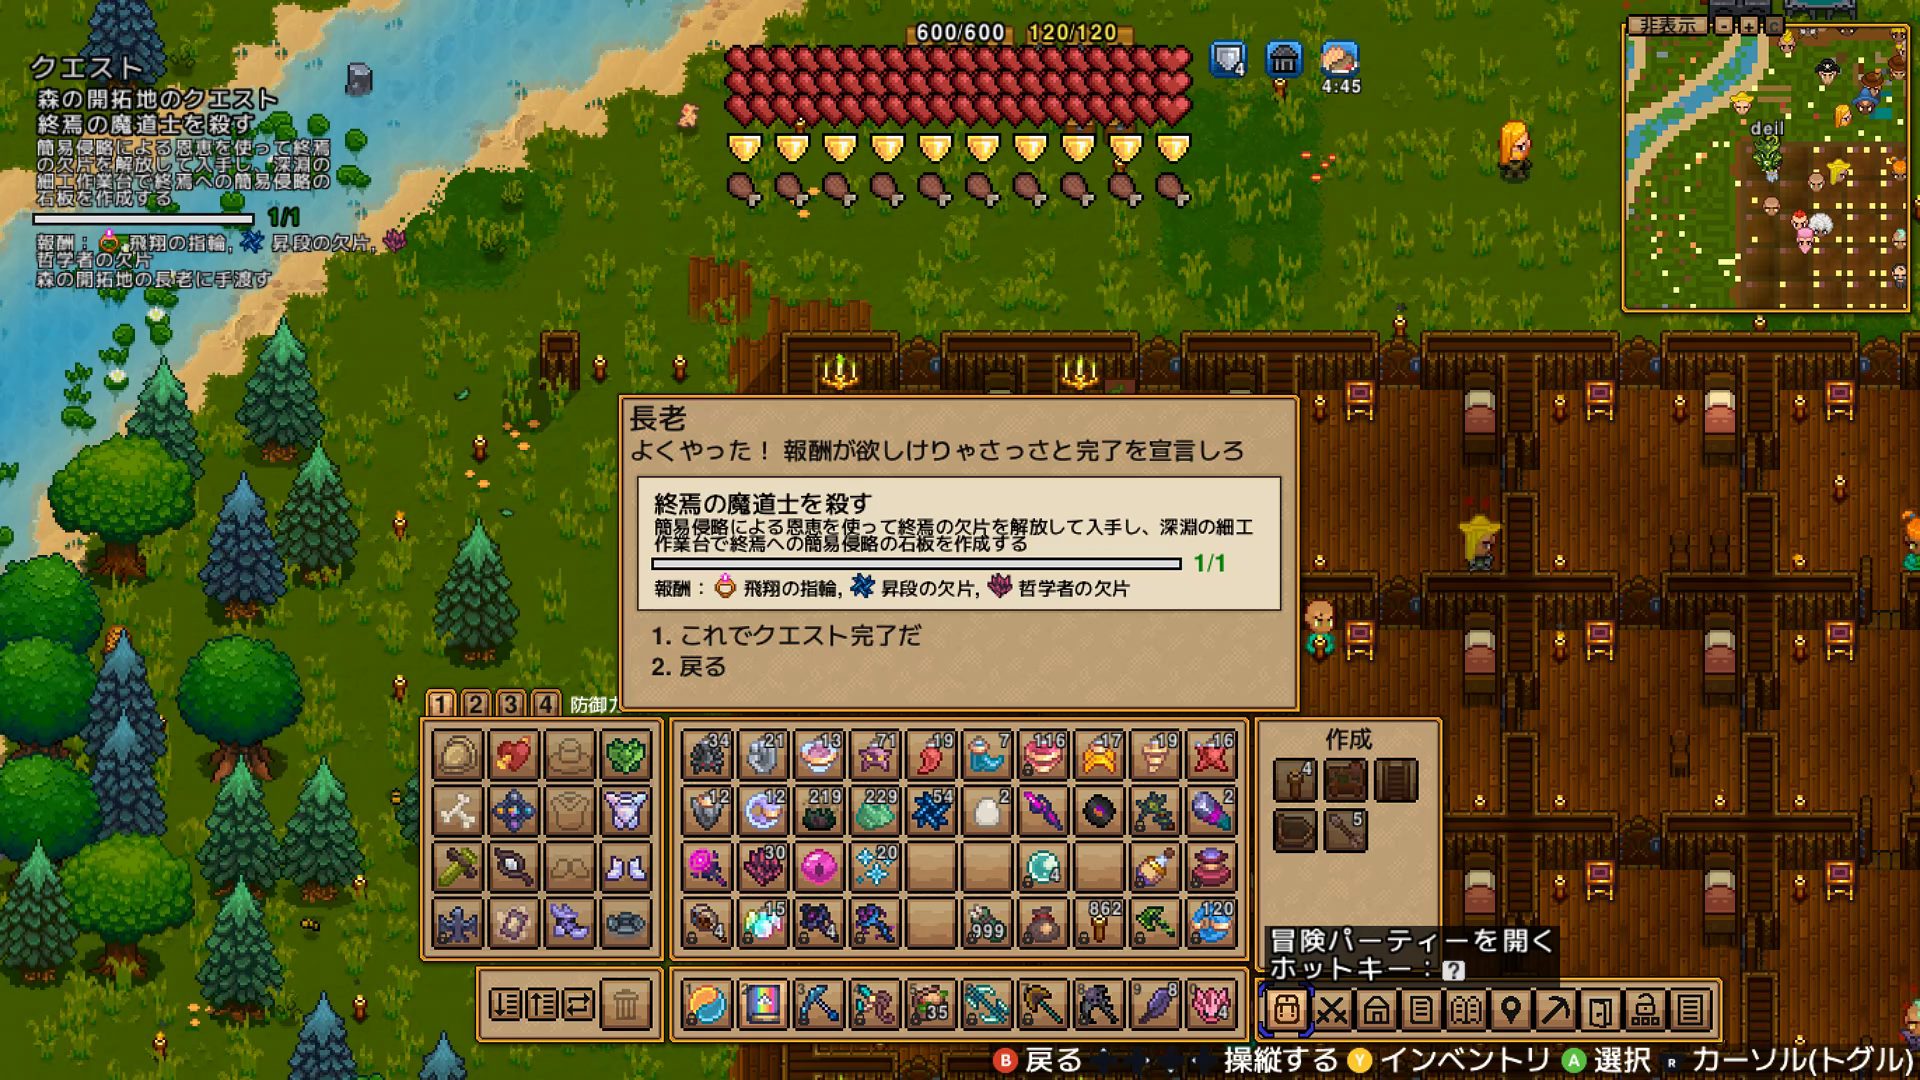
Once inside the stage, open your minimap — you’ll see three purple dots. Those are the Ascended Pylons. Destroy all three and the Ascended Wizard fight begins automatically. No summoning item required.
Ascended Incursion (Tier 10) Modifiers
| Modifier | Value |
|---|---|
| Drops | +150% |
| Enemy Max HP | +300% |
| Enemy Damage | +115% |
Pre-Battle Preparation
Gear I Used
| Slot | Item |
|---|---|
| Head | Emerald Mask (Tier 10) |
| Chest | Crystal Chestplate (Tier 8) |
| Boots | Crystal Boots (Tier 9) |
| Movement | Hoverboard |
| Weapon | Chromatic Spellbook (Tier 9) |
| Head Accessory | Crystallized Skull (Tier 9) |
| Foot Accessory | Kinetic Boots |
| Mining | Ice Pickaxe (for block escape) |
I first tried this fight in my Fallen Wizard clear gear and got nowhere. Once I pushed to tier 9–10 upgrades across other content and came back, it actually felt beatable.
About Banner Stands
I didn’t use a Banner Stand in this run, and I haven’t tested whether placement is possible inside the Ascended Incursion stage. The Incursion itself provides buffs, so you still get environmental assistance regardless.
One Essential Setup
Assign a hotkey for your pickaxe before entering. One of the boss’s original attacks boxes you in with blocks and drops bombs on top of you — being able to instantly swap to your pickaxe and dig out is the difference between life and death. Set it up now, not when you’re panicking mid-fight.
Boss Stats
HP (Tier 10, Classic Difficulty, Solo)
| Phase | Boss Name | HP |
|---|---|---|
| Phase 1 | Ascended Wizard | 176,000 |
| Phase 2 | Ascended Wizard | 176,000 (fully restored) |
| Phase 3 | The Void | 1,040,000 |
The Tier 10 Ascended Incursion applies +300% enemy max HP. The base Classic HP of 44,000 × 4 = 176,000 — my actual measurements match that calculation. Phase 3 (The Void) comes in at 1,040,000, roughly three times the combined HP of phases 1 and 2.
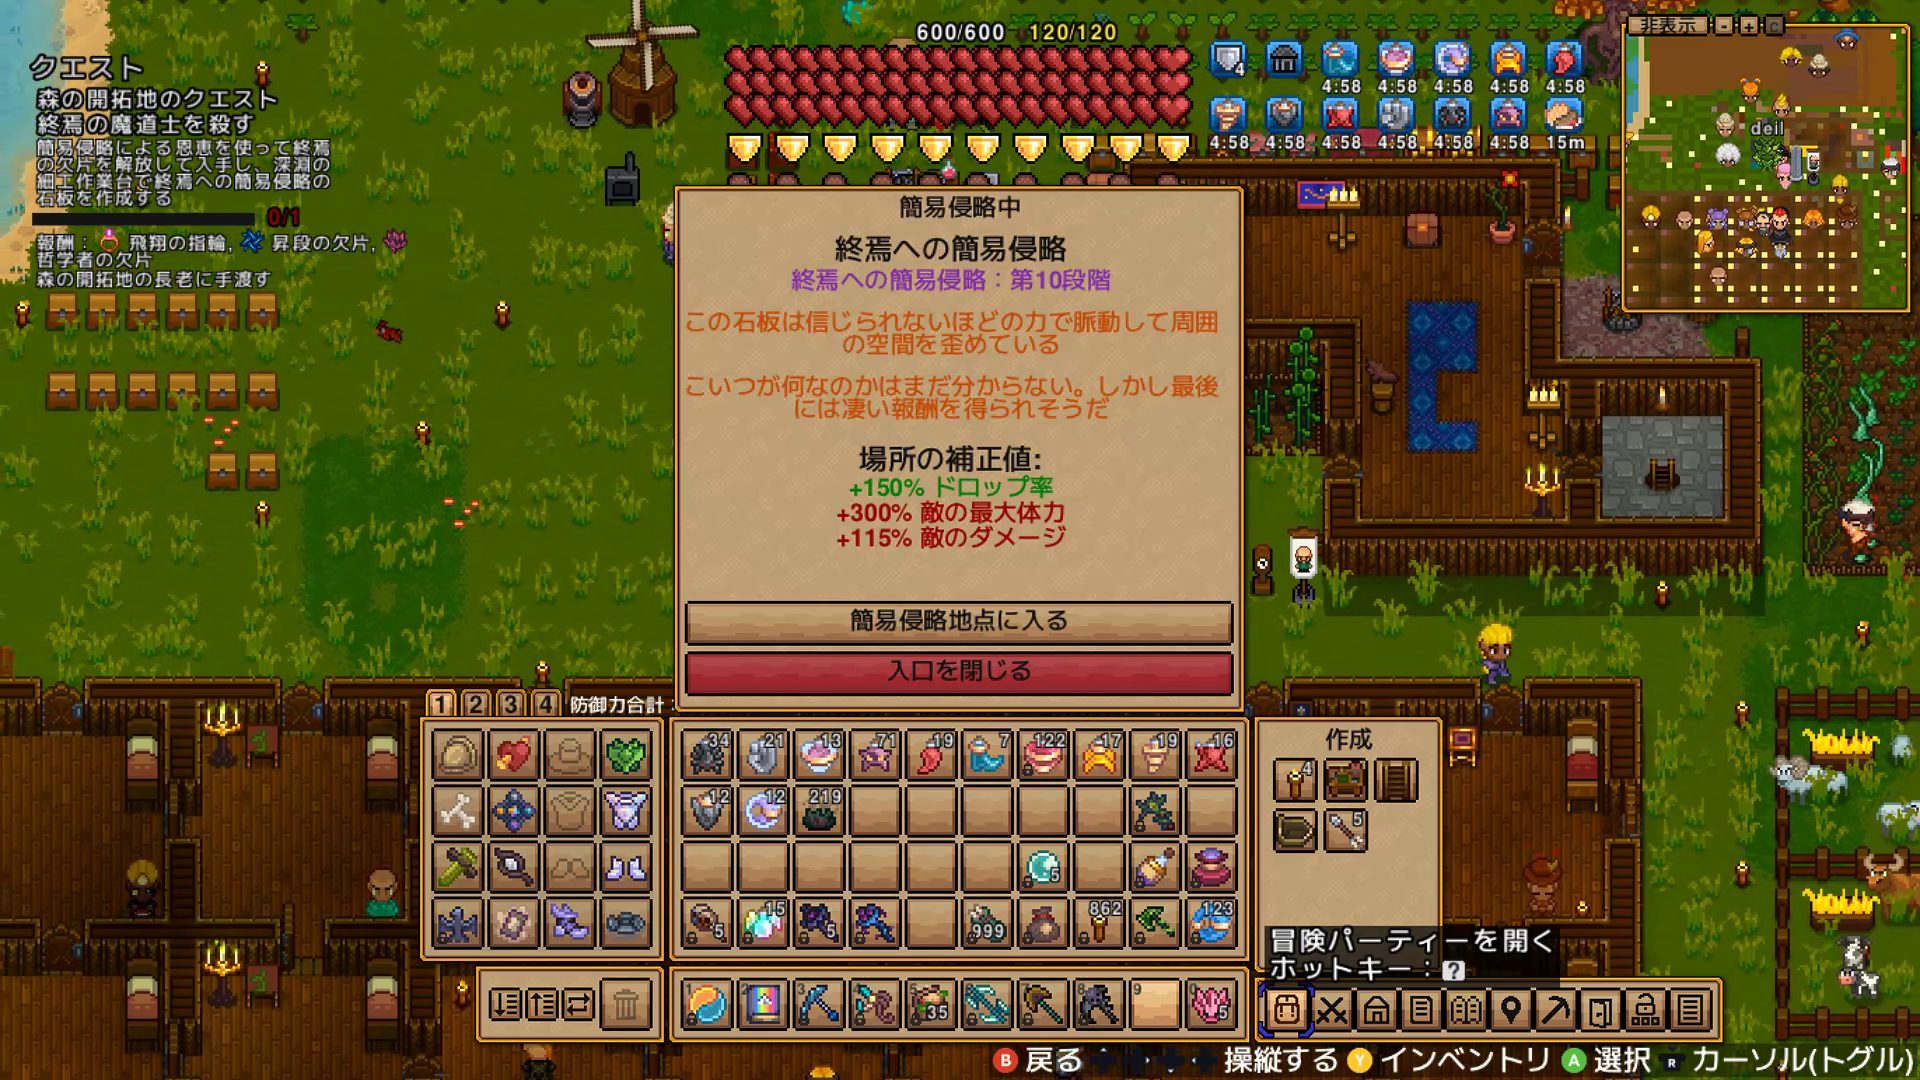
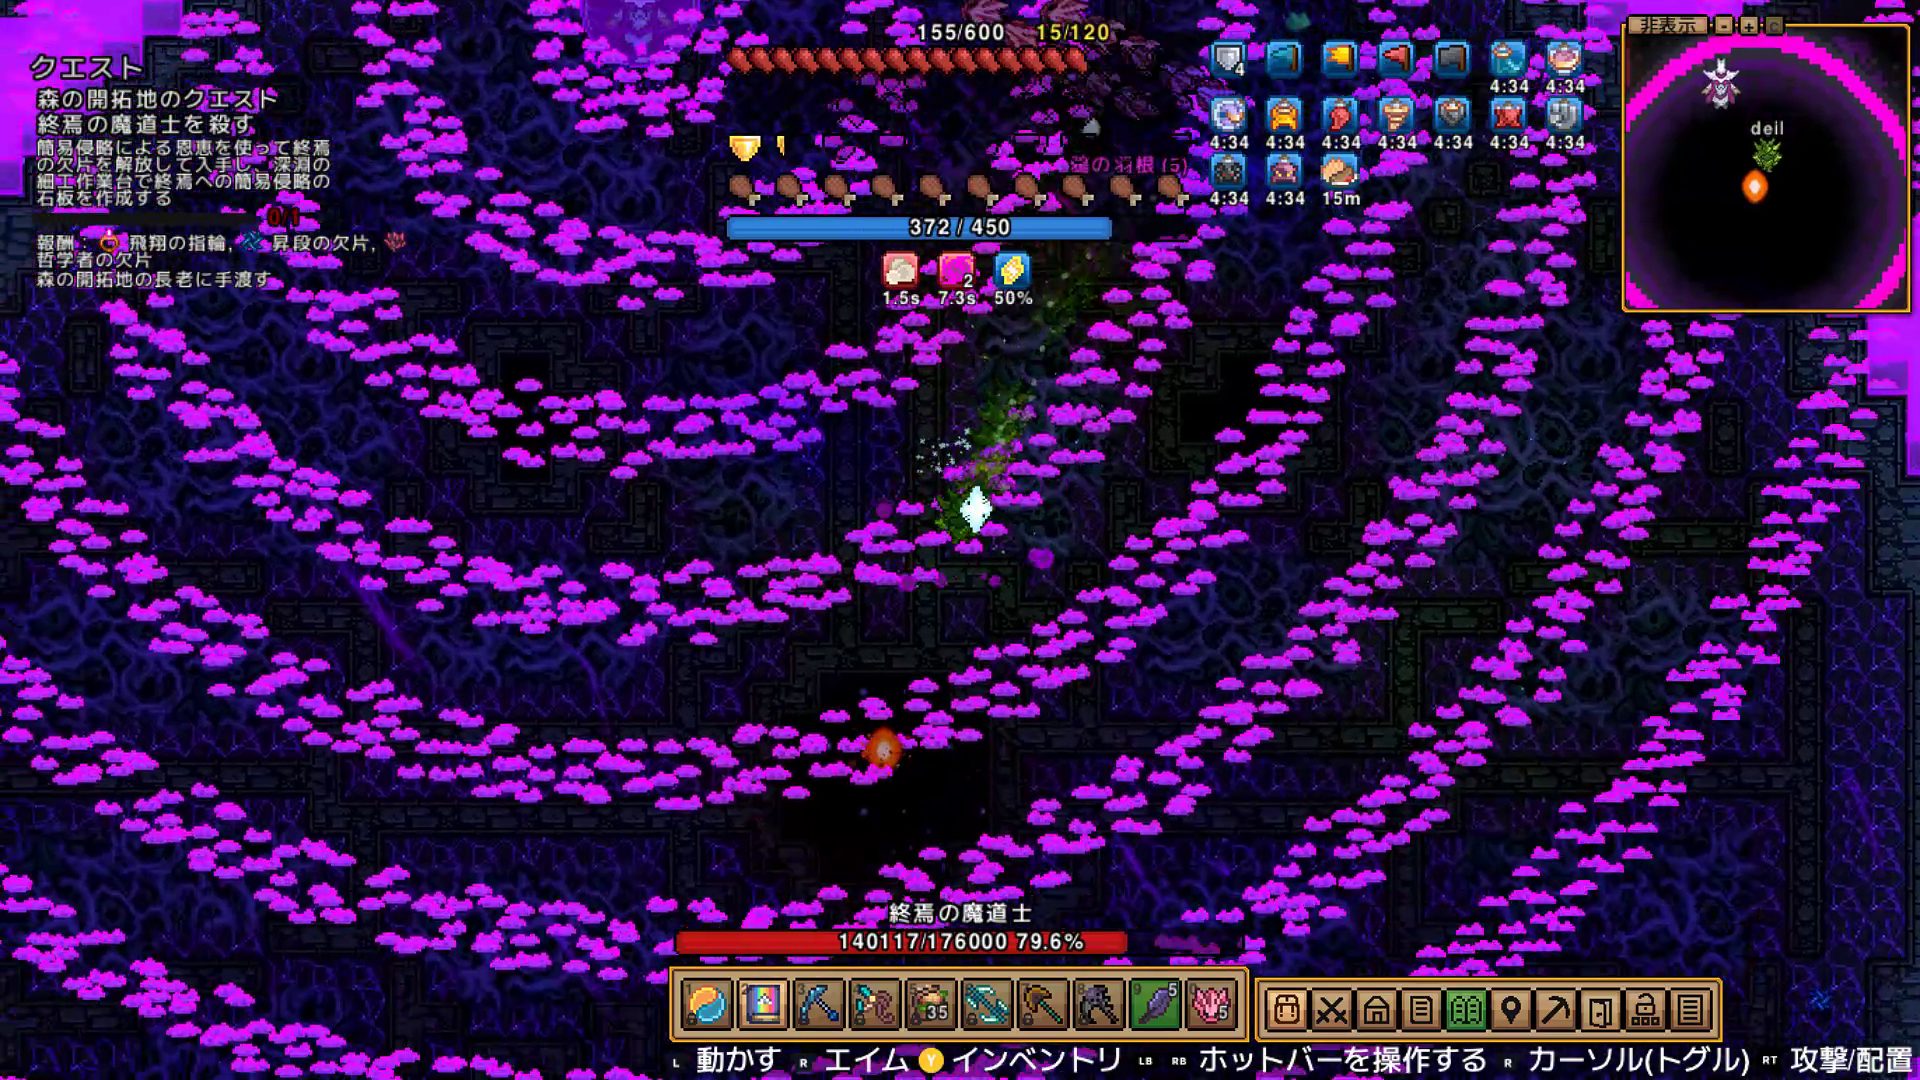
Pre-Fight: Destroying the Ascended Pylons
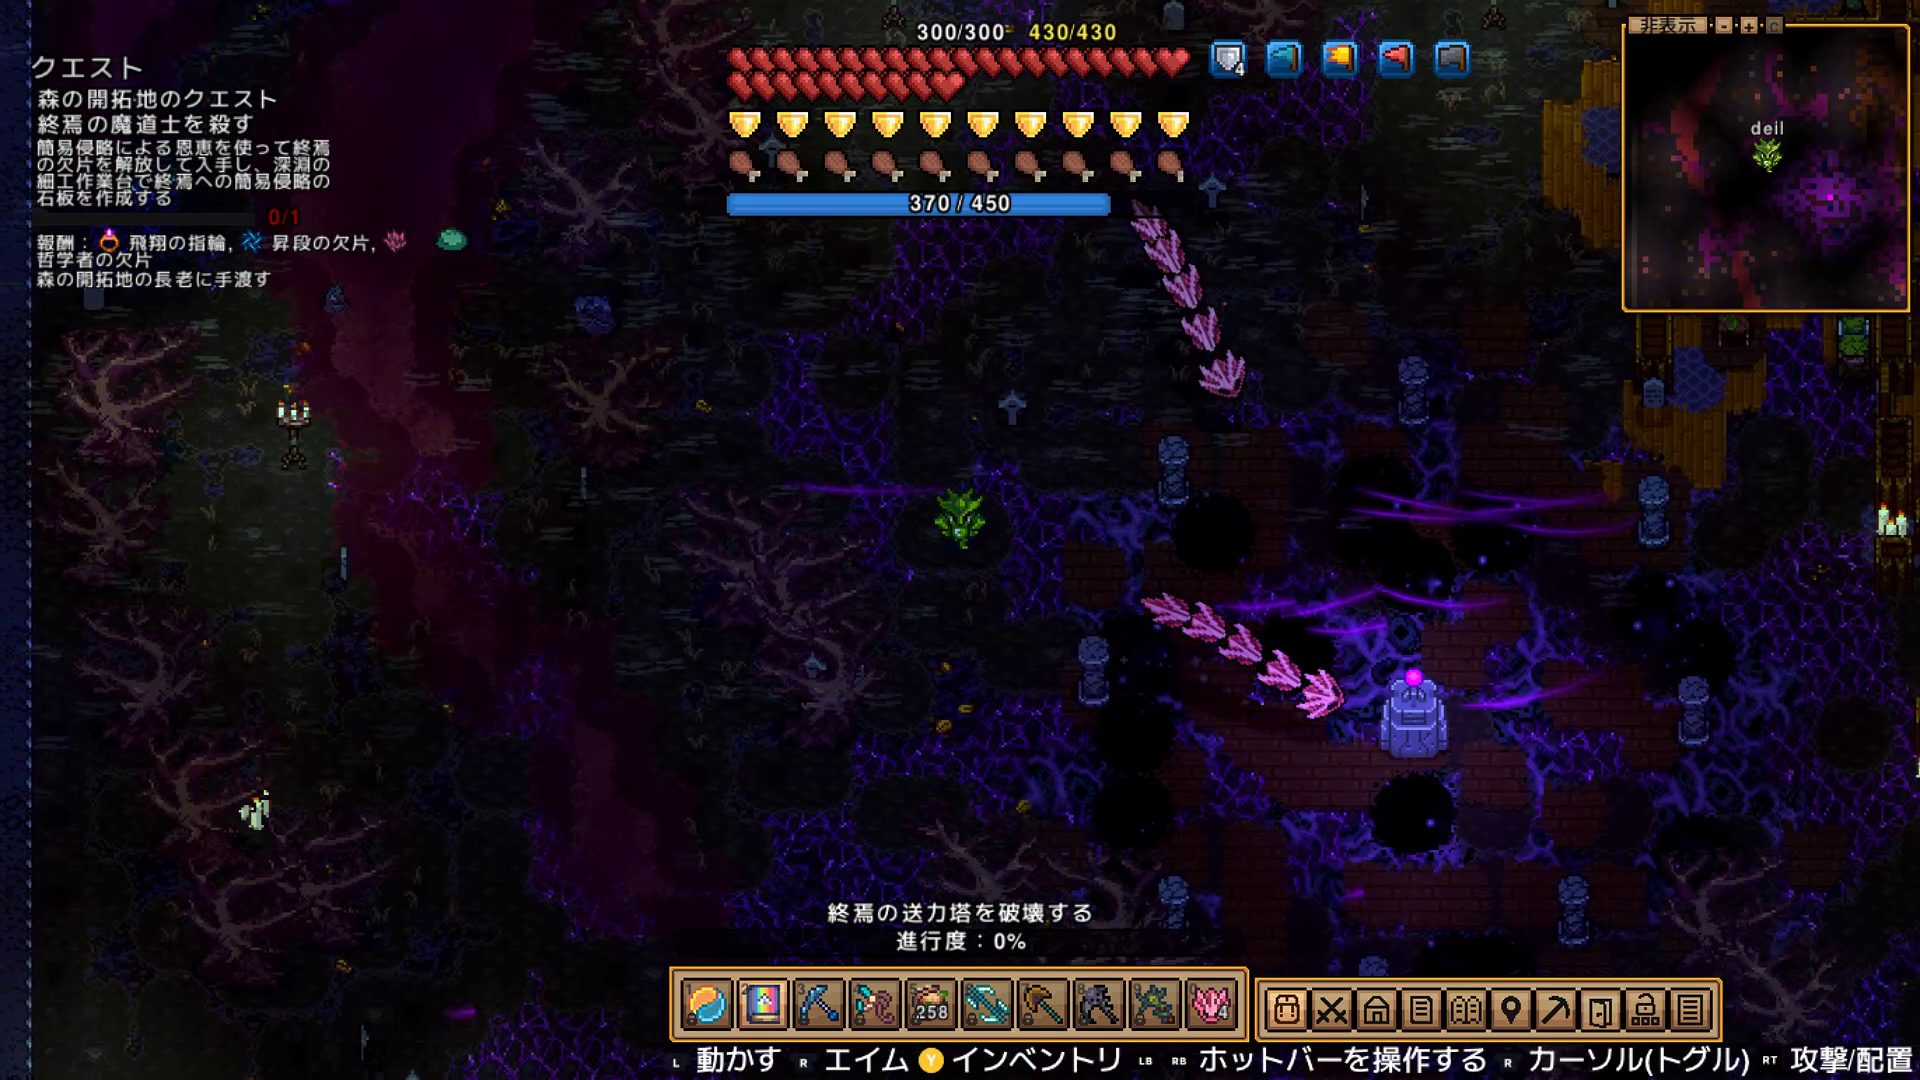
You need to take out all three Ascended Pylons before the boss spawns. This isn’t just a teardown — when you damage a pylon to a certain threshold, it raises a shield and becomes temporarily immune. Wait for the shield to drop, then burst it down.
Each pylon uses two of the following attack types to harass you:
- Slime-style AoE
- Moonlight Dancer-style attacks
- Spider web
- Crystal laser
- Sunlight-style attacks
- Wizard projectile barrage
Think of this as a warm-up for the main event — it’s deliberately designed to preview the attack patterns you’re about to face.
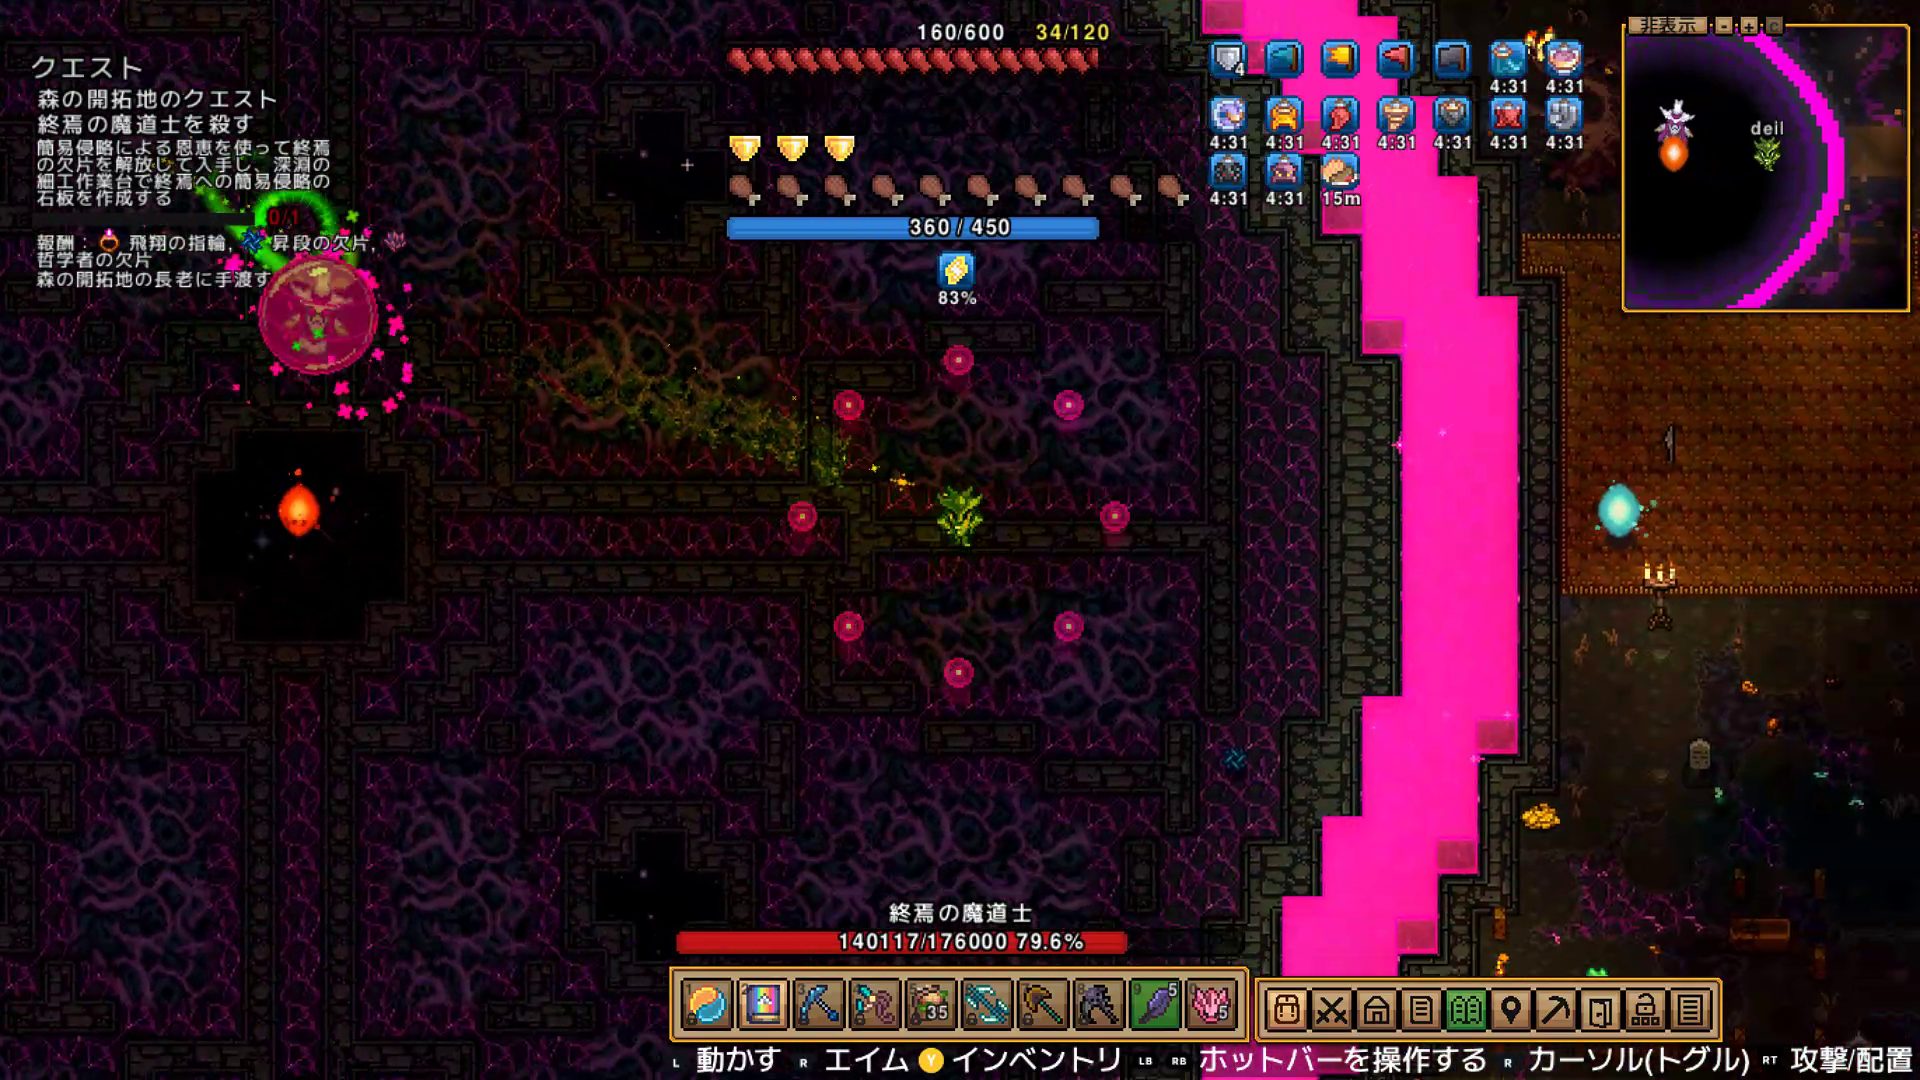
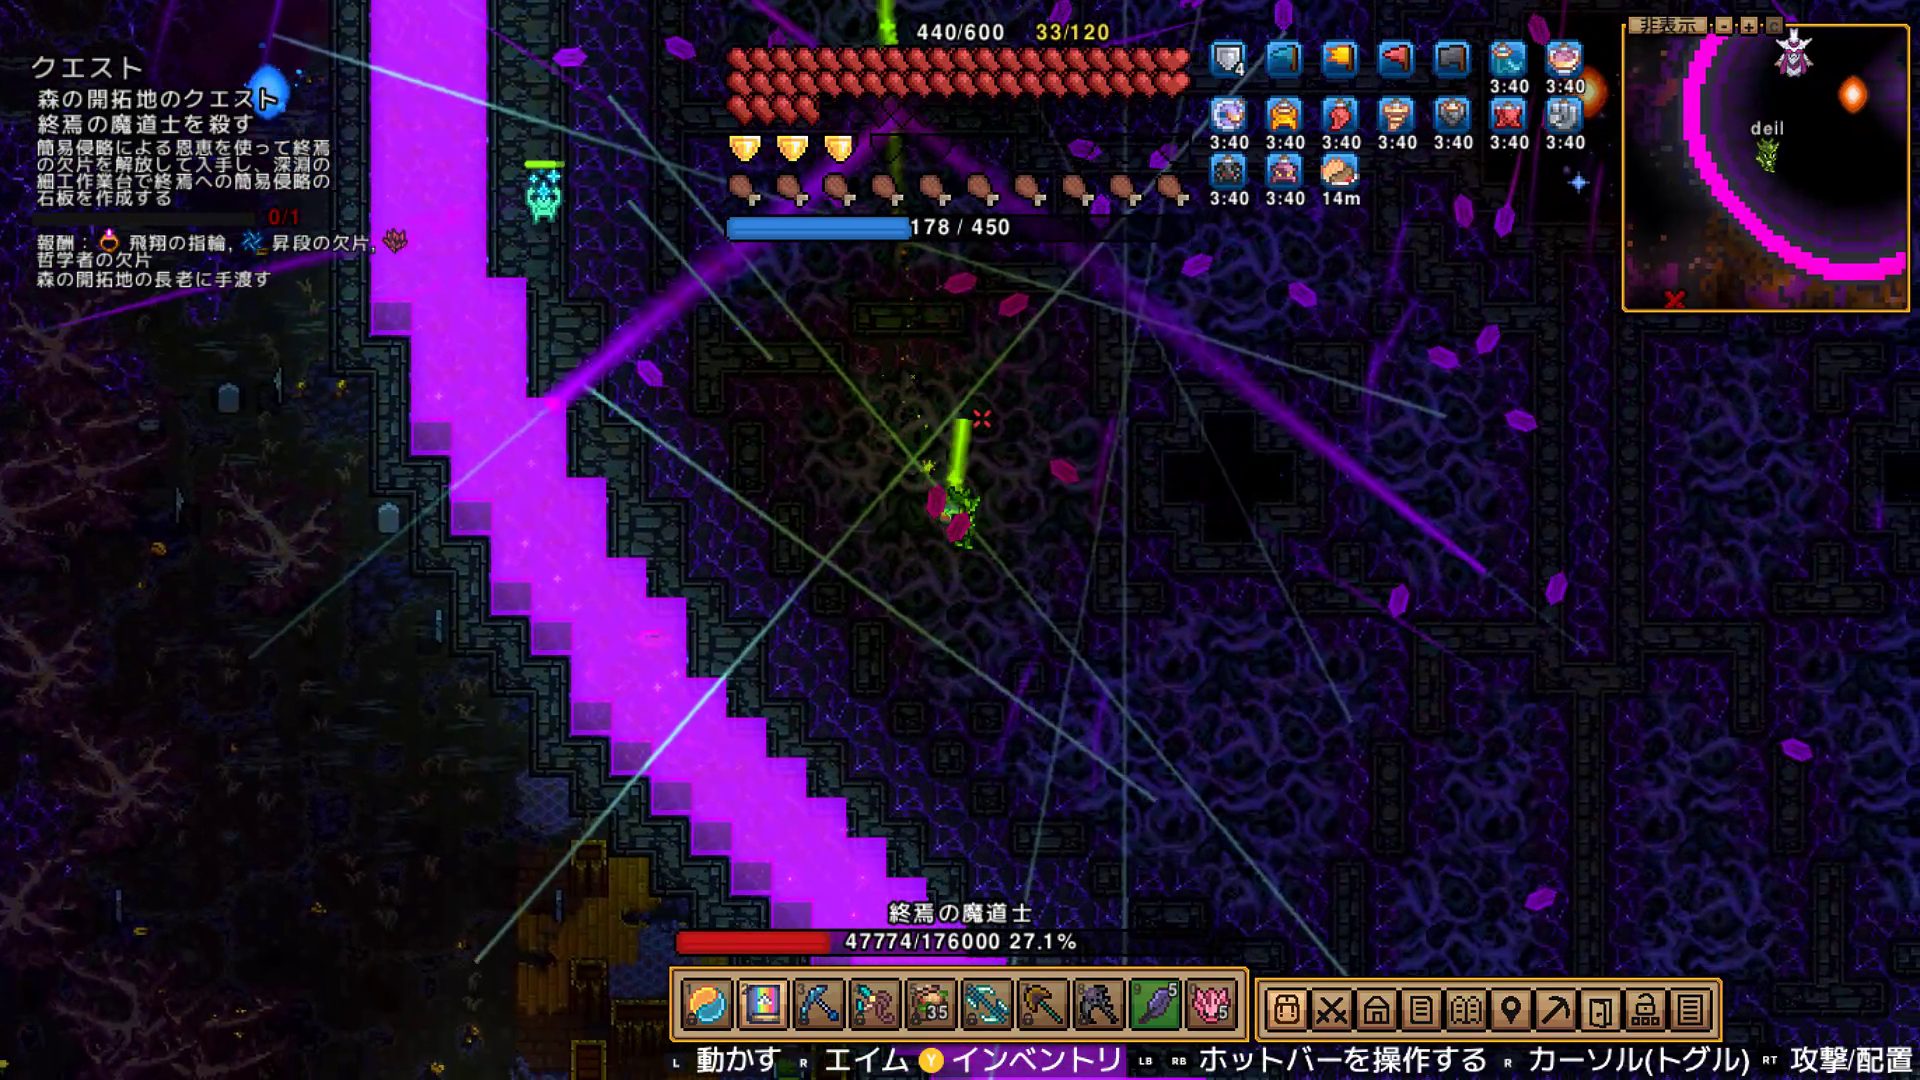
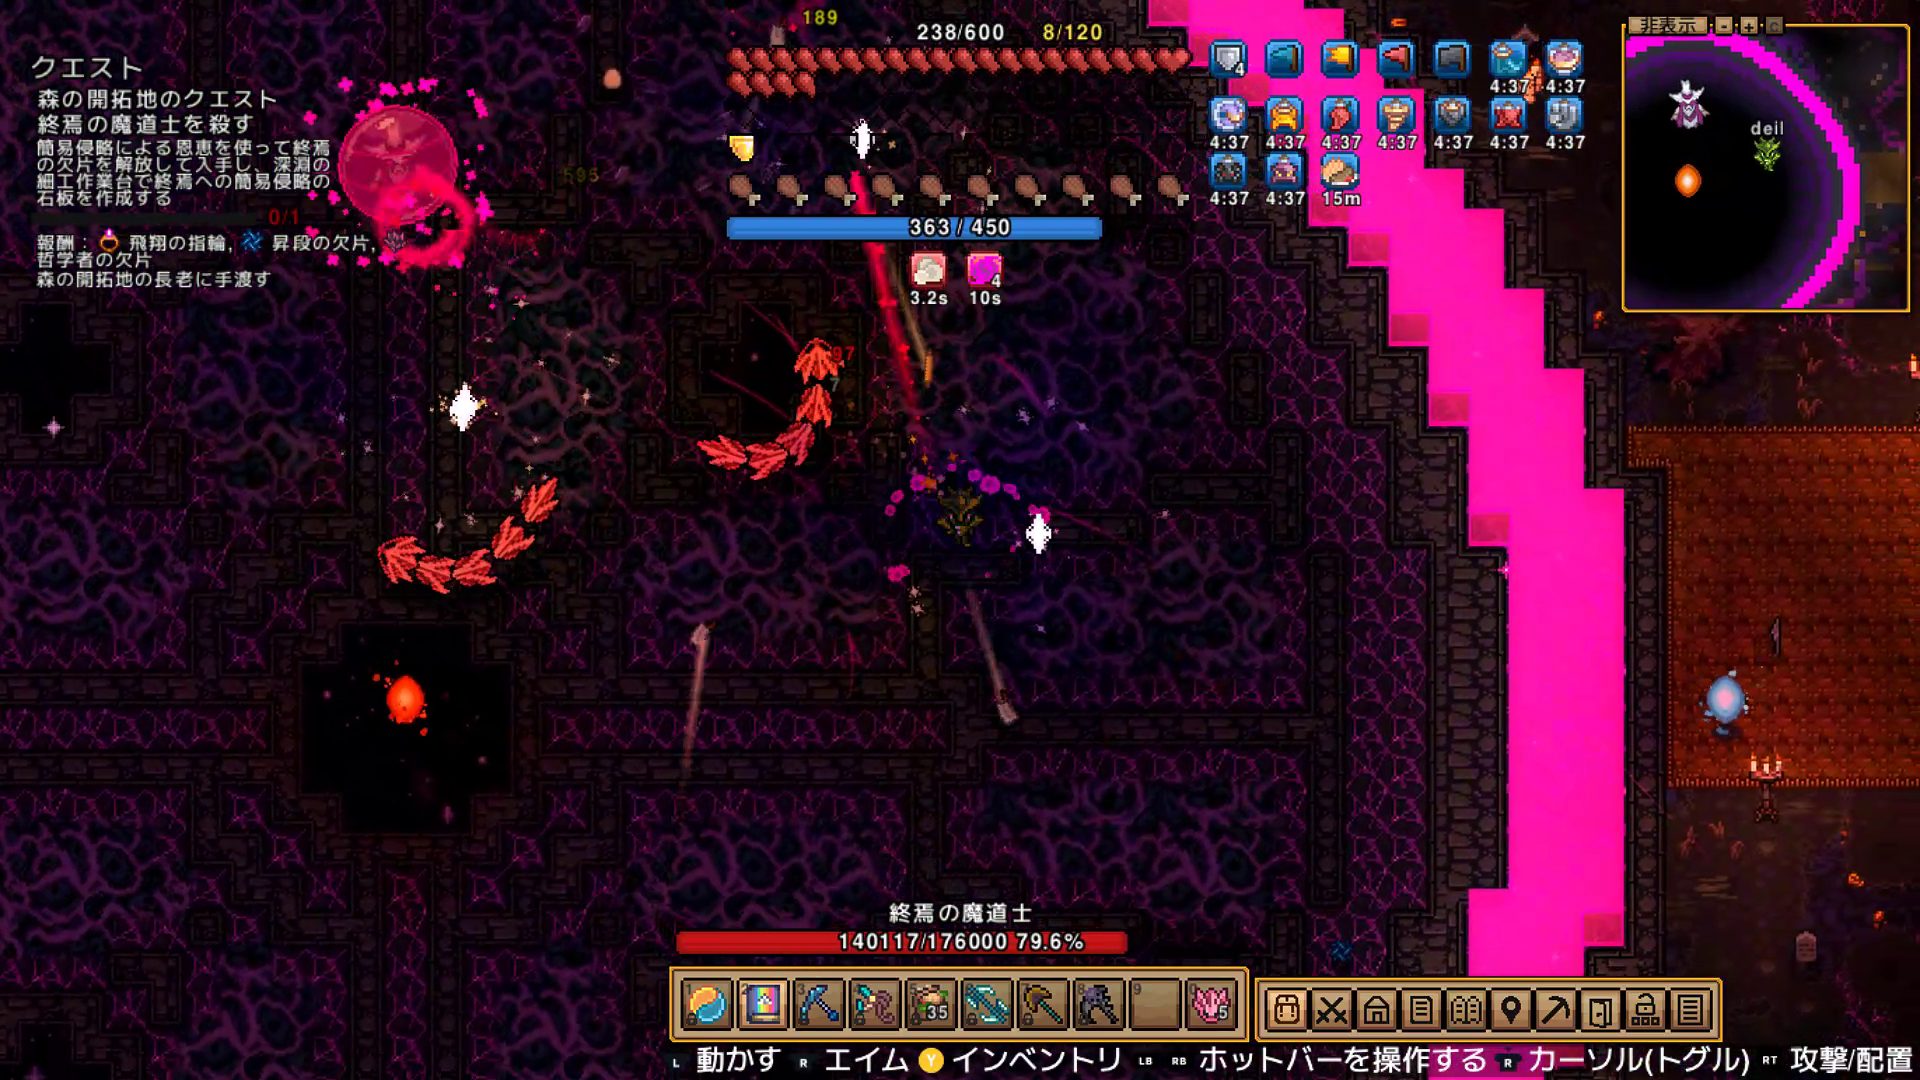
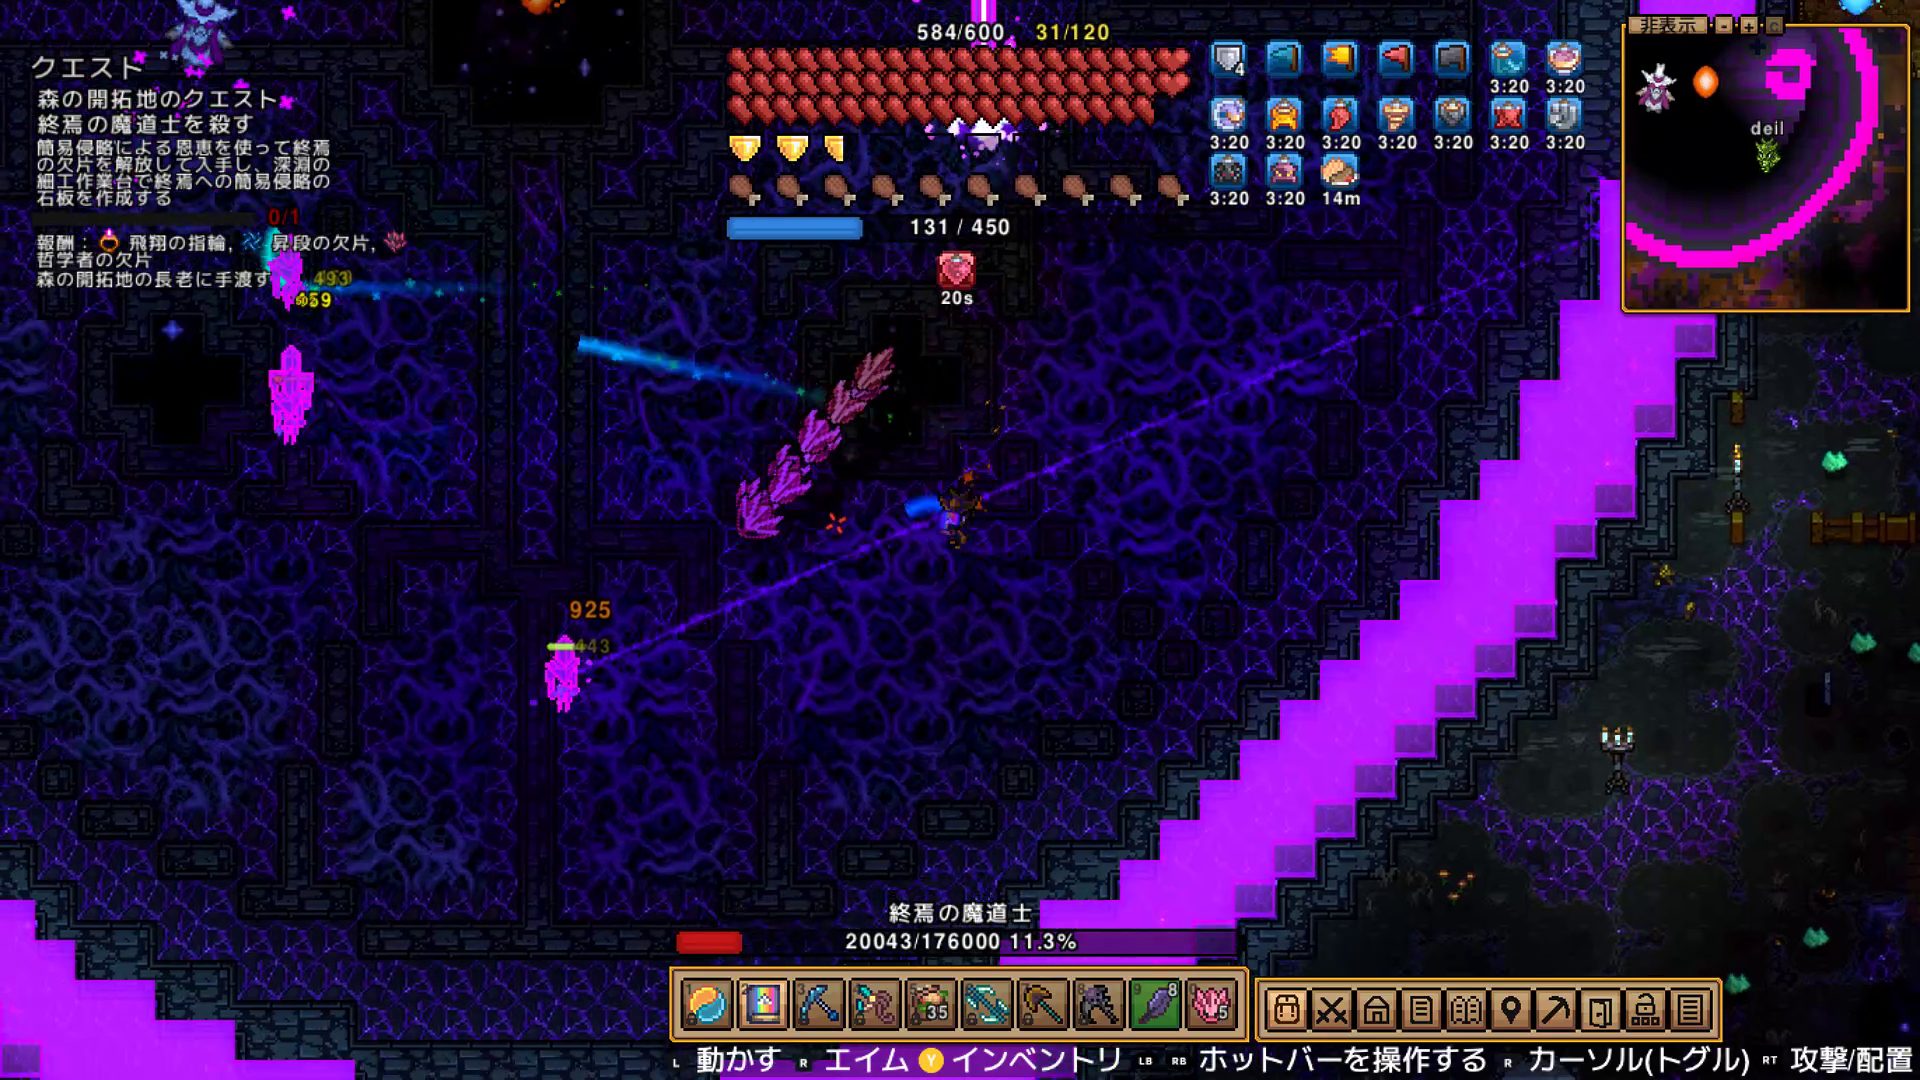
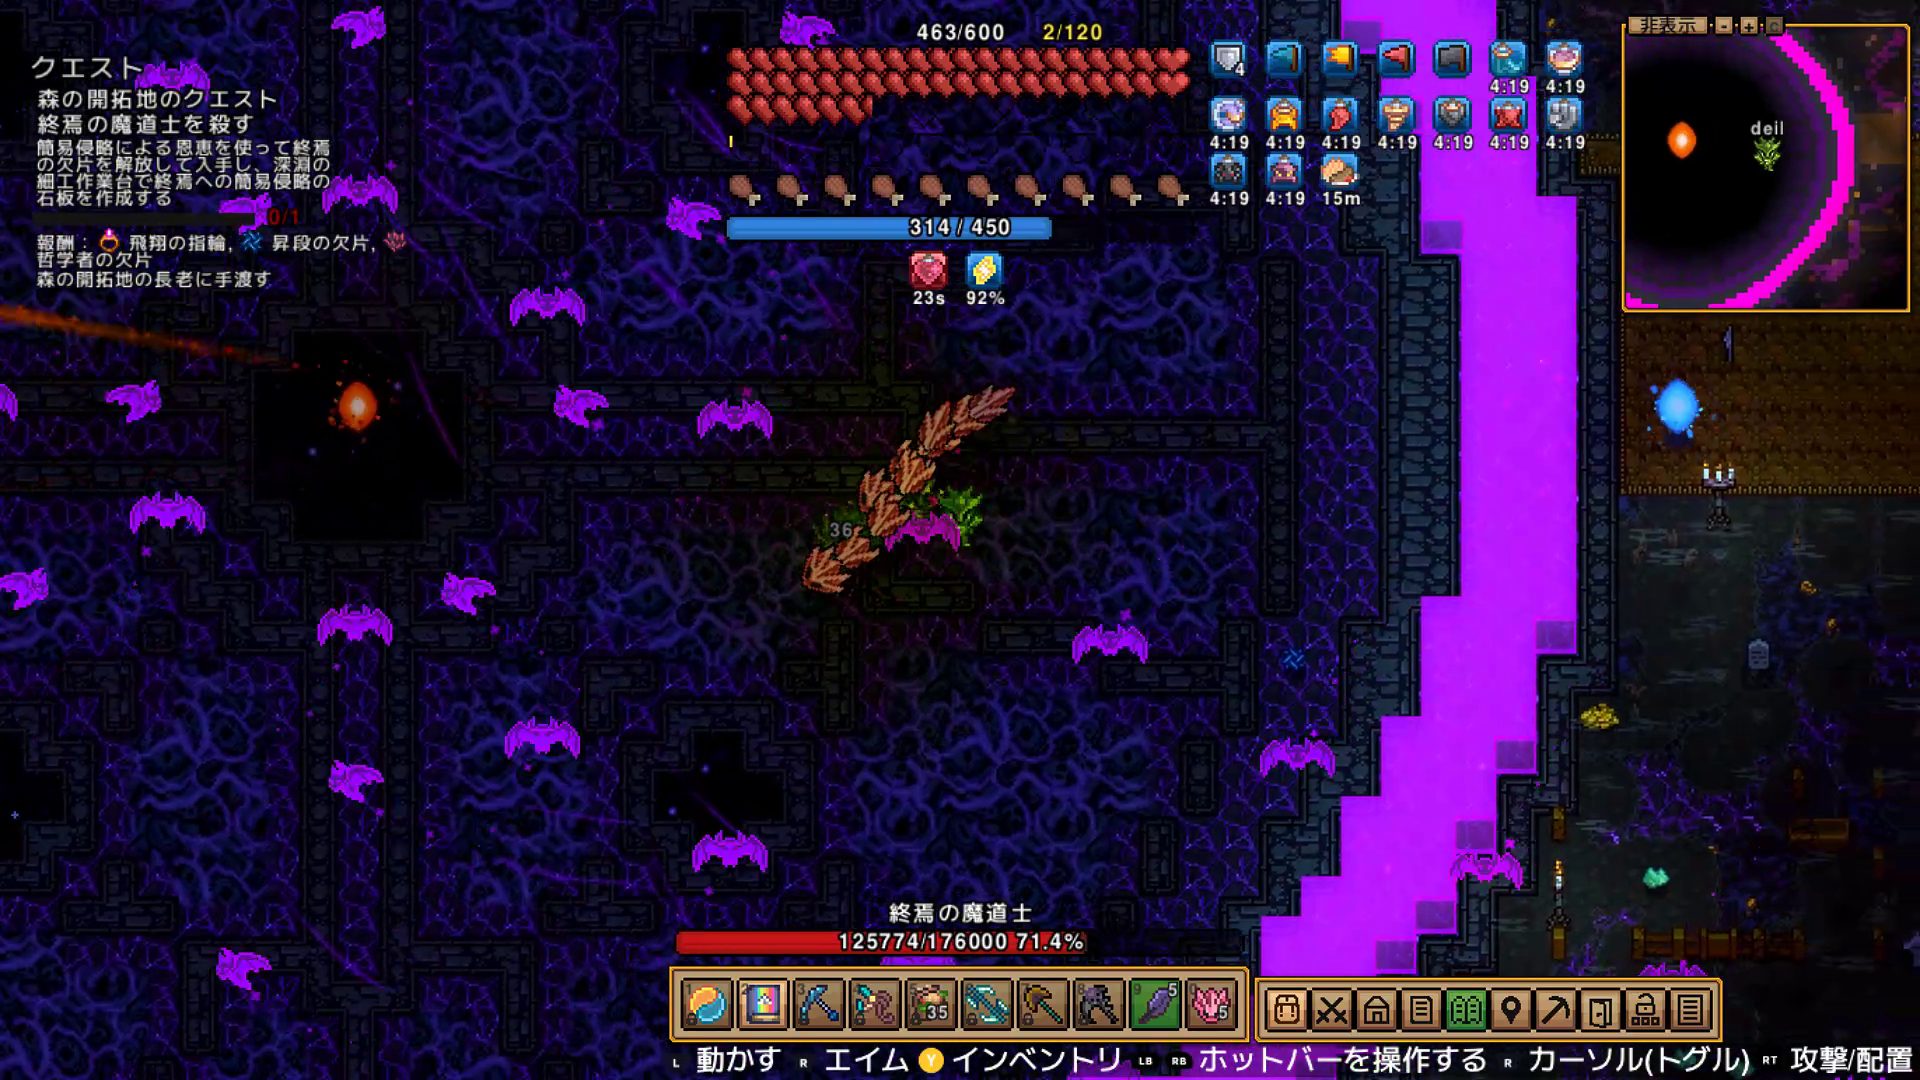
Attack Patterns — Phase 1 & Phase 2
How the Attack Cycle Works
Every cycle has a fixed rotation of attacks that always occur, plus one random attack drawn from a pool of seven enhanced boss callbacks.
[Fixed attacks — every cycle]
Projectile barrage / Charge / Tracking orbs / Block cage / Orbital laser
[Random attacks — one per cycle, drawn from 7 options]
Enhanced versions of past boss attacks:
Moonlight Dancer (shield + light collection) / Mother Slime / Spider Empress
Sunlight Champion / Crystal Dragon ×2 / Night Swarm
Phase 1 and Phase 2 share the same attack patterns. In Phase 2, speed, projectile count, and repeat frequency all increase.
Basic Attack 1: Projectile Barrage
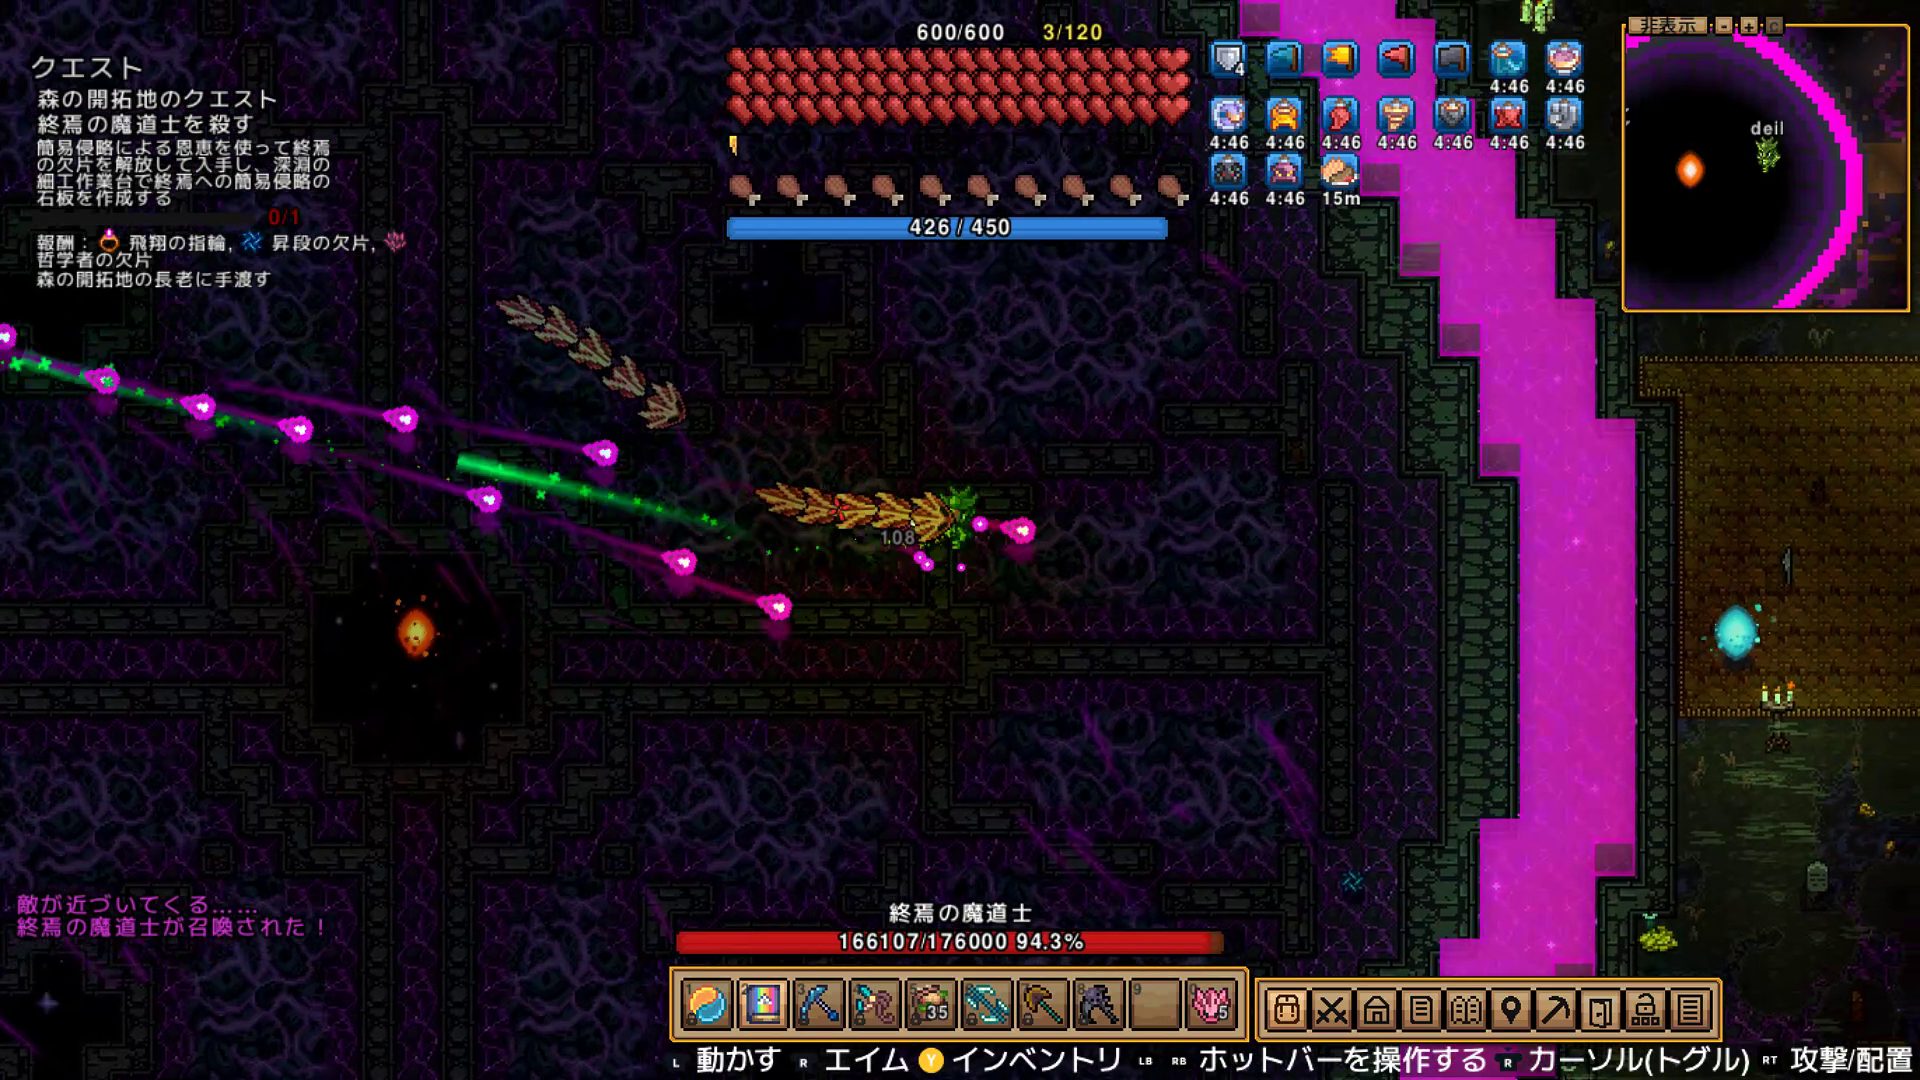
Keep moving and most shots miss. The problem is the barrage lasts a long time — if you get cornered against a wall, there’s no easy out.
Basic Attack 2: Charge
The boss rockets toward you with heavy tracking. A straight-line dodge won’t shake it — use directional dashes and change direction mid-dodge to break its pursuit angle.
Special Attack 1: Tracking Orbs
Multiple orbs appear around you and follow you for several seconds before stopping in place. Get distance before they stop, or map their final positions after they freeze and navigate around them.
Special Attack 2: Spider Web (Spider Empress)
Enhanced version of the Spider Empress’s web attack. In Phase 2, this becomes an ~5-hit consecutive barrage — be ready for back-to-back webs.
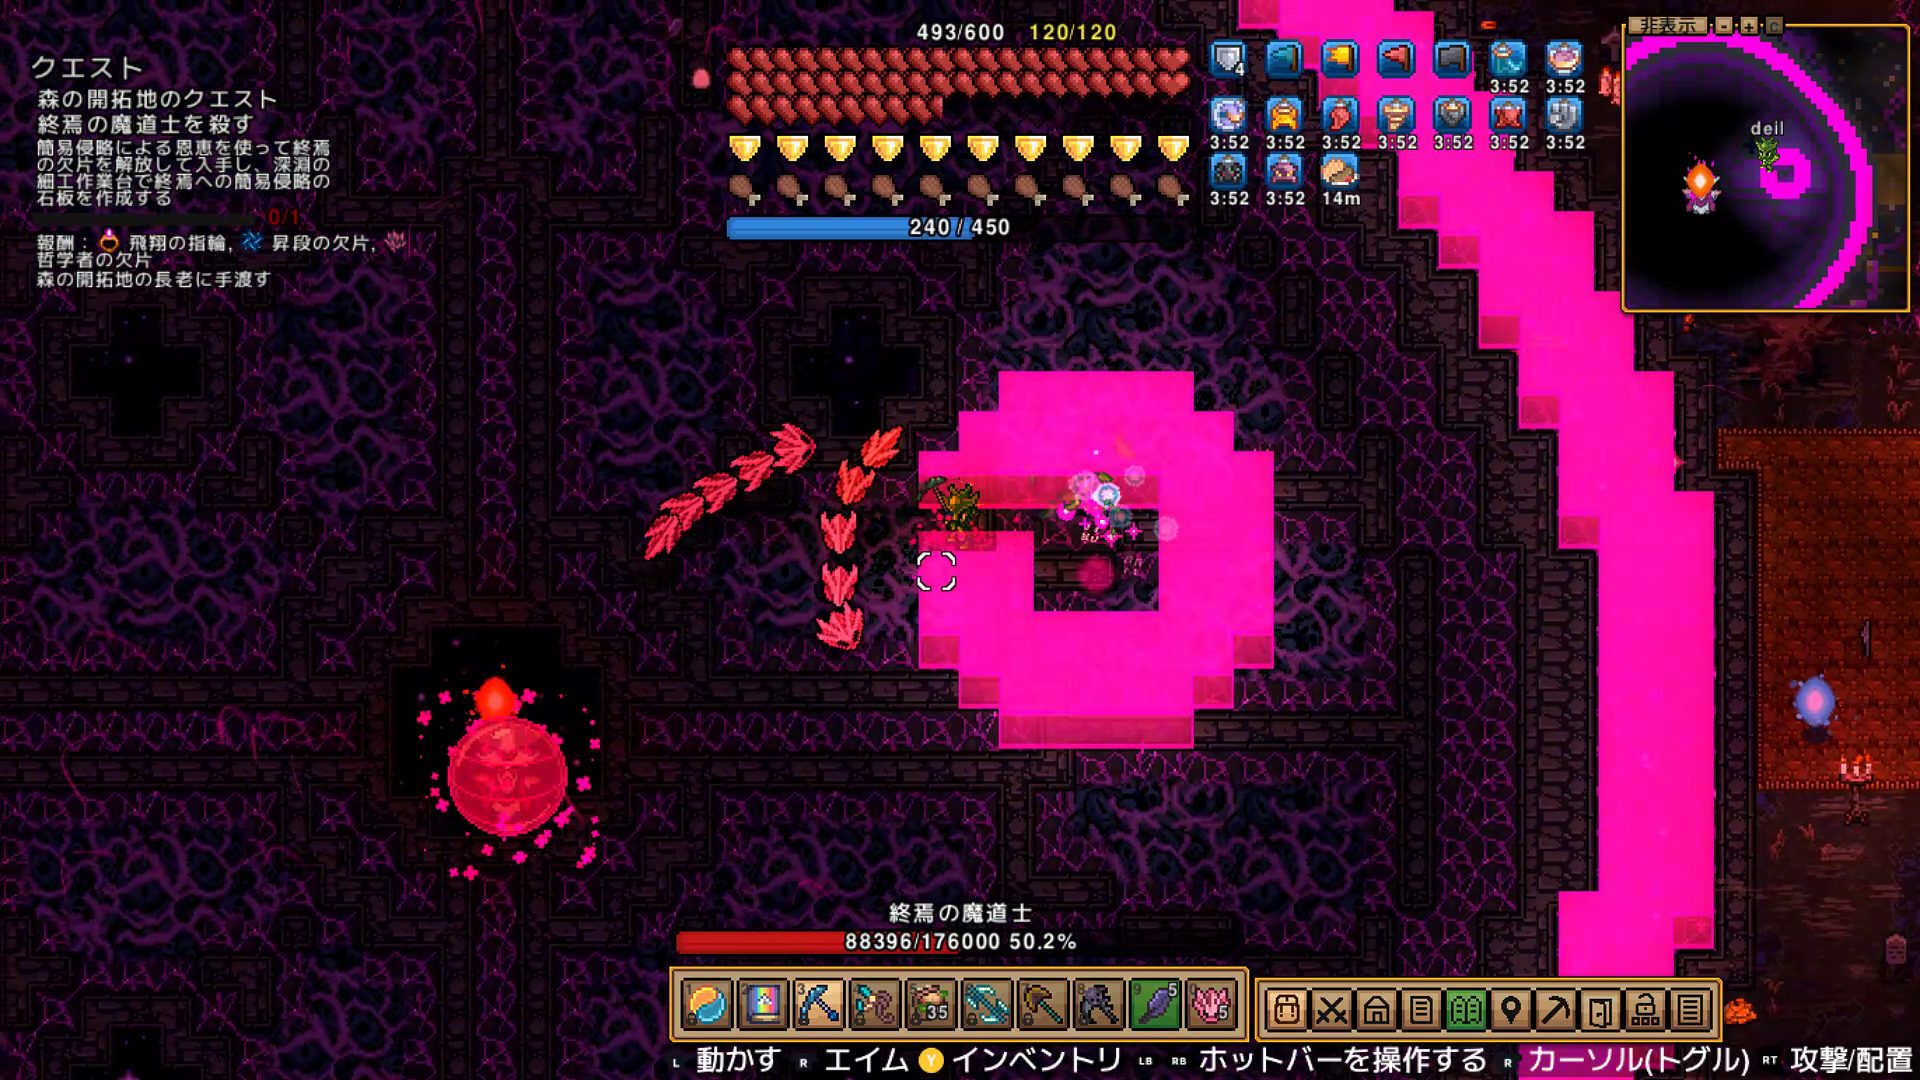
Special Attack 3: Shield + Light Collection (Moonlight Dancer)
Enhanced version of the Moonlight Dancer’s signature attack. The boss raises a shield and scatters light orbs while moving erratically. Collect all orbs within 10 seconds or you take massive damage. While the shield is active, your attacks don’t penetrate — focus entirely on collection.
Special Attack 4: Rocket Punch Summons (Sunlight Champion)
Enhanced version of the Sunlight Champion attack. Two large rocket punch arms get summoned. Attack and destroy them immediately — sustained contact hurts.
Special Attack 5: Crystal Golem Summons (Crystal Dragon)
Enhanced version of the Crystal Dragon attack. Multiple Crystal Golems are summoned and fire lasers at you. Prioritize killing the golems over attacking the boss. Phase 2 increases the summon count.
Special Attack 6: Crystal Scatter (Crystal Dragon)
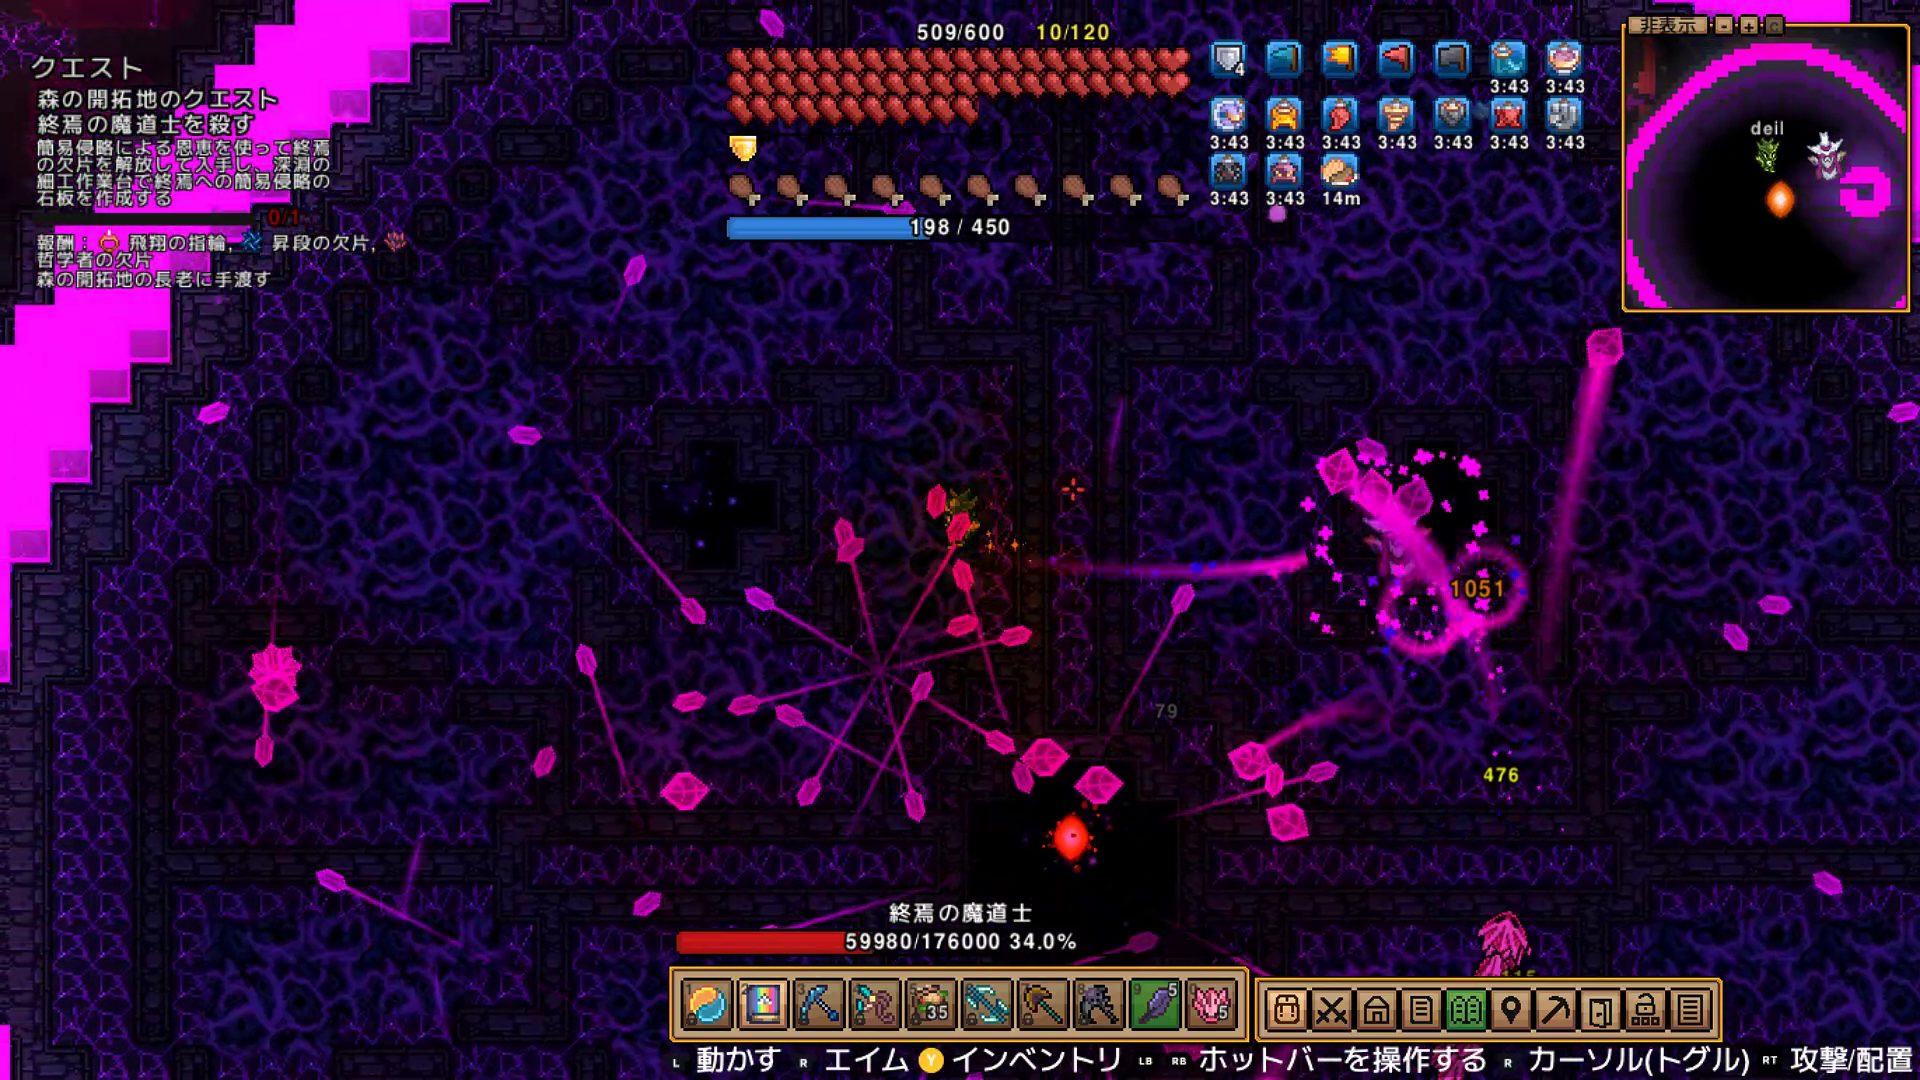
Enhanced Crystal Dragon attack — shards of crystal scatter outward in multiple directions. Phase 2 increases the spread count significantly.
Special Attack 7: Block Cage + Bombs (Ascended Wizard Original)
This one is unique to the Ascended Wizard. The boss surrounds you with blocks, then drops bombs from above. The moment you’re boxed in, switch to your pickaxe and dig out. You need to escape before the bombs land. This is why pre-assigning the pickaxe hotkey matters.
Special Attack 8: Orbital Laser
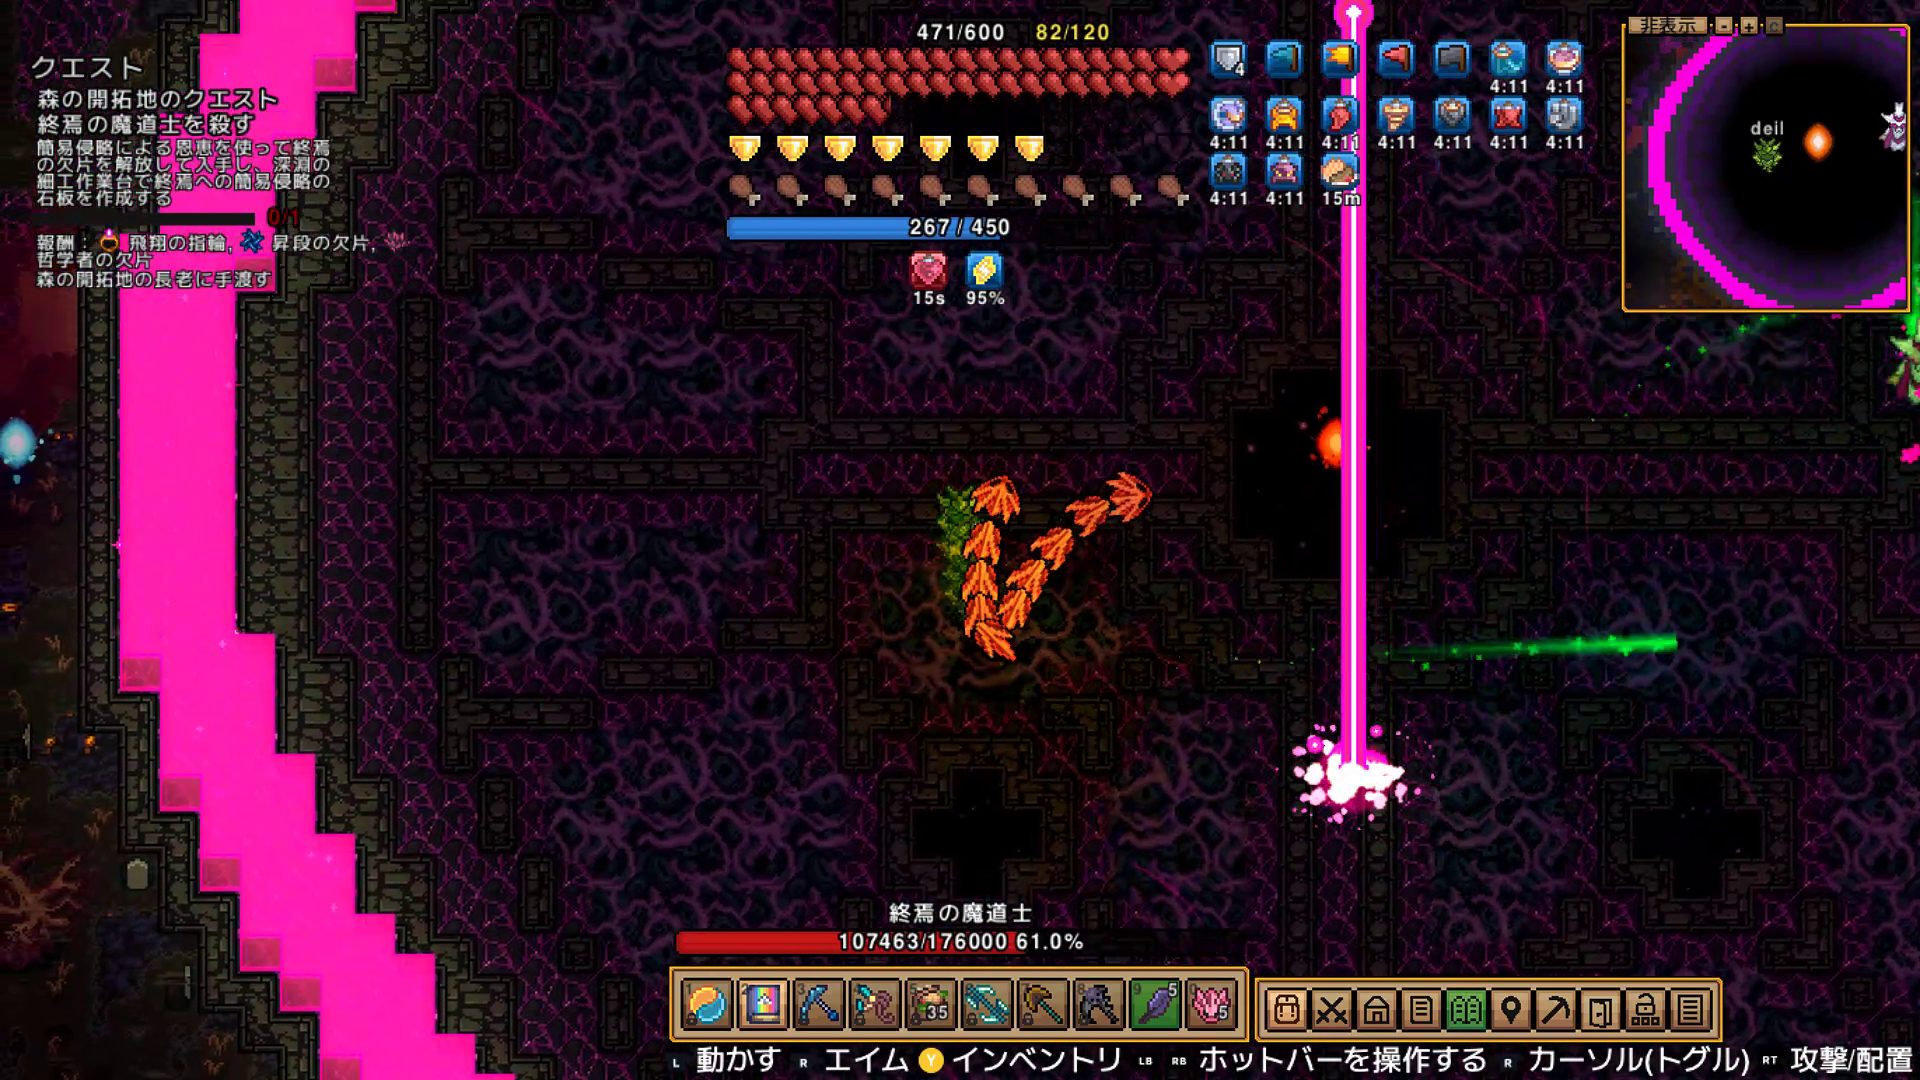
A laser that curves and tracks as it moves. Stay mobile and it’s manageable.
Special Attack 9: Radial Burst (Mother Slime)
Enhanced Mother Slime attack. Warning lines radiate outward from the boss, then damage activates at those positions after a short delay. Move to the gaps between warning lines before they resolve.
Special Attack 10: Bat Cage (Night Swarm)
Enhanced Night Swarm attack. Bats form a grid pattern around you, then close in simultaneously. Escape before the cage fully closes — the window is tight.
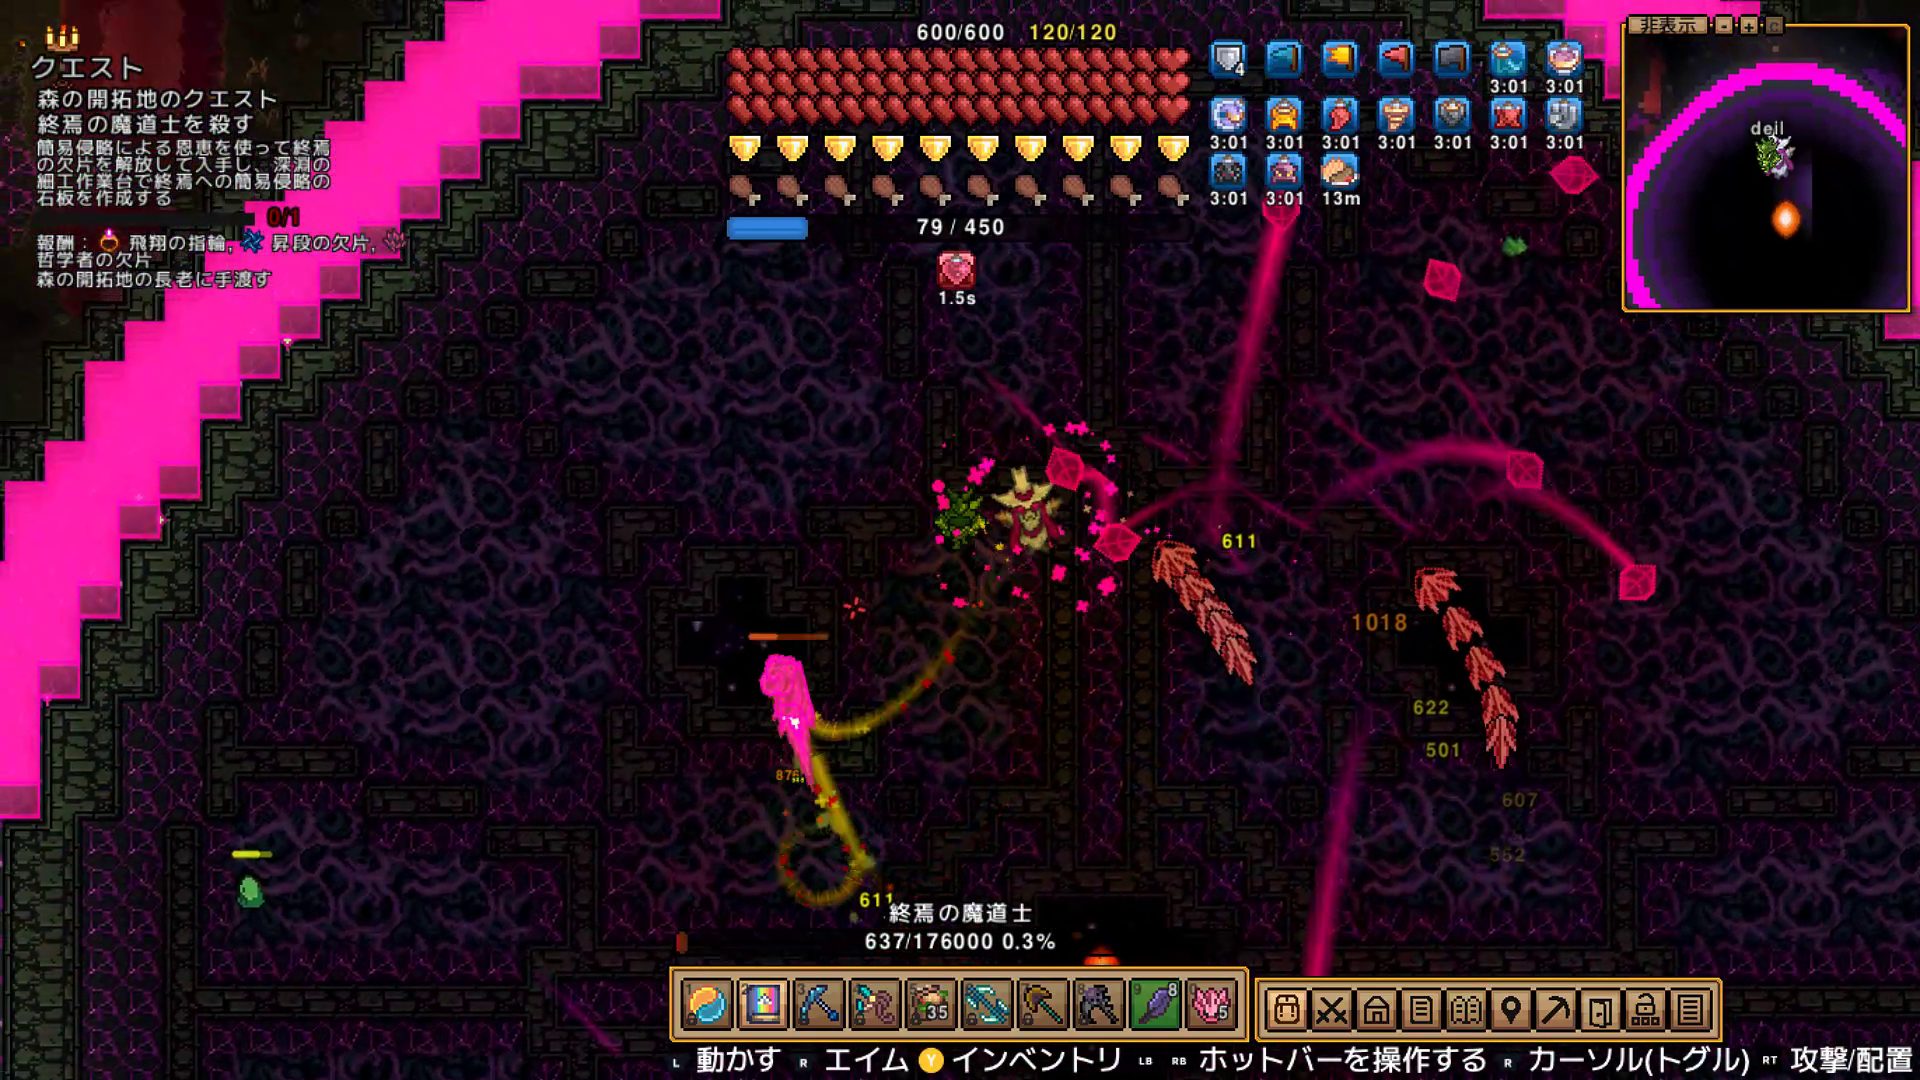
Phase 2 & The Void
Phase 2
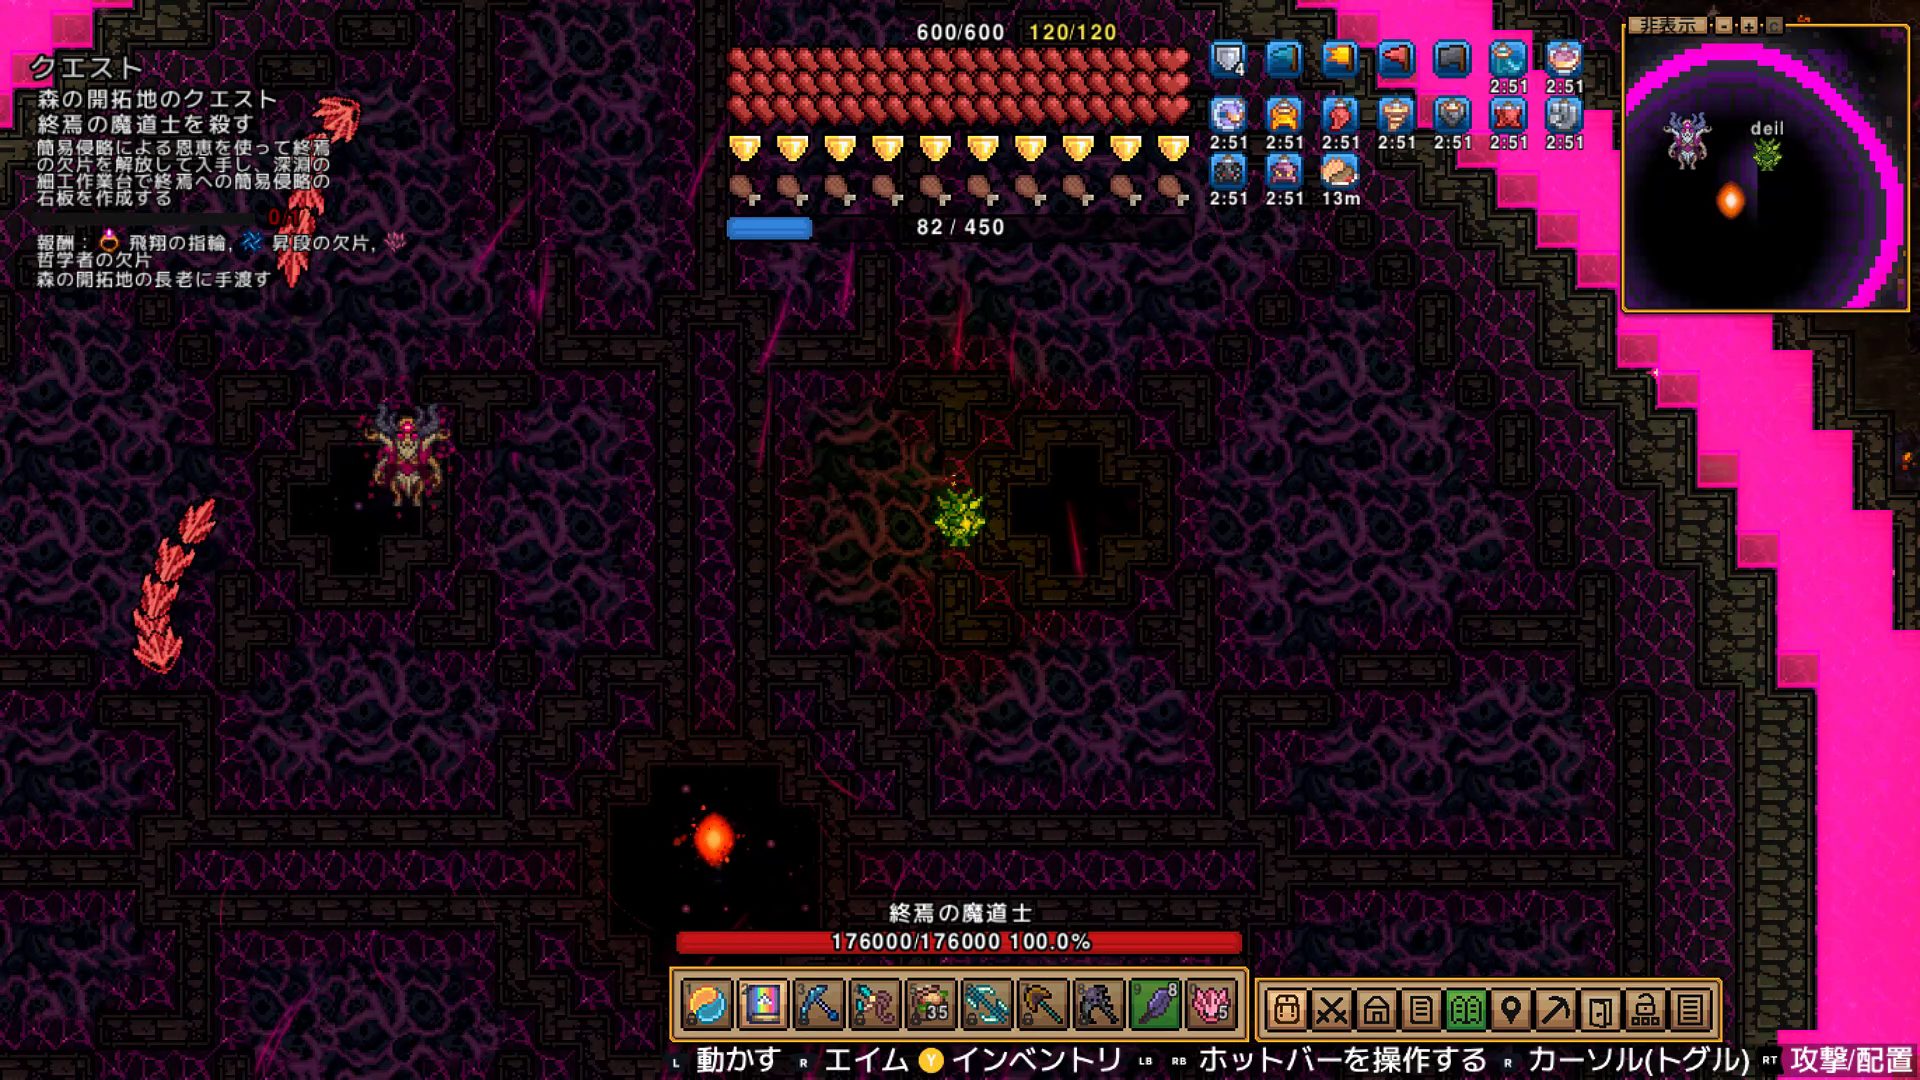
When Phase 1 HP hits zero, the boss fully restores to 176,000 HP and Phase 2 begins.
| Attack | Changes |
|---|---|
| Projectile Barrage | Longer duration, boss moves more aggressively |
| Spider Web | Upgrades to ~5 consecutive hits |
| Crystal Golem Summon | More golems spawned |
| Crystal Scatter | More shards per burst |
Same patterns, higher intensity. Keep applying what you learned in Phase 1.
Final Phase: The Void
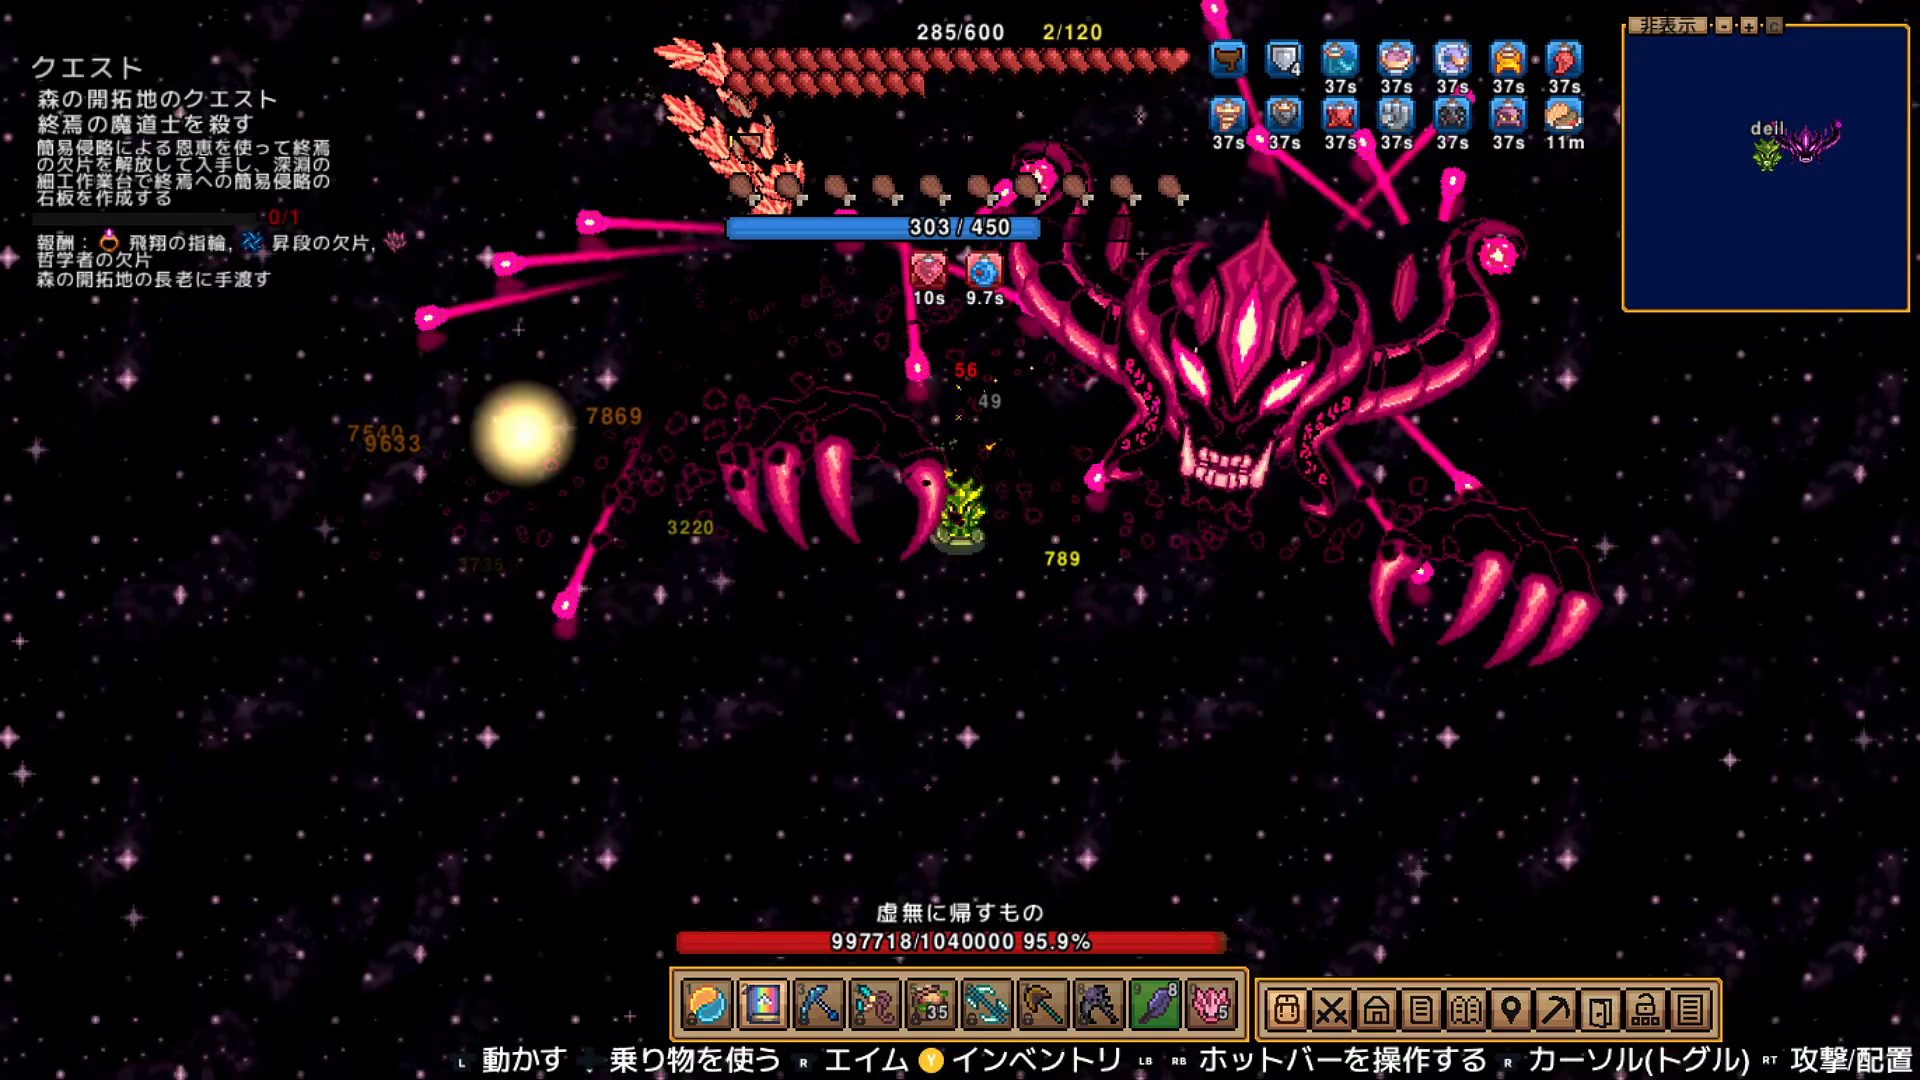
Defeat Phase 2 and the boss transforms into The Void — a massive, visually distinct entity with 1,040,000 HP and a completely different combat style.
I tried three straight attempts of fighting it head-on and couldn’t get it below 50% HP. Then I tried something different: mount the Hoverboard and just run while attacking at range. It worked immediately and wasn’t even close. The Void is not a fight you win by standing and trading — distance is everything.
Drop Items
Guaranteed Drops
| Item | Type | Description | |
|---|---|---|---|
 | Void Vessel | Placeable | An eerie aura radiates from within it… |
 | Void Phasing Staff | Accessory (ability) | Press the ability key while equipped to blink to your cursor’s position |
Weapons (25% chance — one of four)
| Item | Type | Damage | Range | Description | |
|---|---|---|---|---|---|
 | Ascended Staff | Magic | 130 / 5 mana | 800 | Channel to control a vertical beam of pure power |
 | Ascended Bow | Ranged | 80 | 1500 | Fires many projectiles at once without consuming arrows. Right-click to toggle arrow/wave formation |
 | Void Claw | Melee | 160 | 150 | Heals you for every enemy hit. Hold right-click to charge a life-draining dash |
 | Eye of the Void | Summoner | 20 | — | Summons a big robotic egg with a fun surprise inside |
BGM Records (20% each)
These are displayed in English even in the Japanese version.
| Title |
|---|
| Ascended Madness |
| Ascended Return |
| Fracture of The Void |
| Settlement of Haunted Dreams |
What to Do After the Kill
Defeating the Ascended Wizard triggers the end credits — you’ve cleared Necesse’s full endgame content.
Elder Quest Reward
The Elder quest tied to this boss completes on kill. Your reward is the Ring of Ascension.
| Item | Description | |
|---|---|---|
 | Ring of Ascension | Ascend and fly as the wind! |
FAQ
Q1: Where do I fight the Ascended Wizard?
A: Inside the Ascended Incursion stage. Unlock it by defeating the Fallen Wizard, collecting 5 Ascended Shards, and crafting the Ascended Incursion Tablet at the Fallen Workstation. Once inside, destroy the 3 Ascended Pylons to start the fight.
Q2: How many phases does the fight have?
A: Three. Phases 1 and 2 each fully restore the boss’s HP when depleted. After Phase 2, the boss transforms into The Void — a separate form with 1,040,000 HP.
Q3: What do I do when the block cage appears?
A: Immediately switch to your pickaxe and dig out. You need to escape before the bombs land. Set up your pickaxe hotkey before entering the fight — fumbling through your inventory in that moment is not survivable.
Q4: How do I beat The Void (Phase 3)?
A: Mount the Hoverboard and kite. I went head-to-head three times and couldn’t break 50% HP. Switched to running while attacking at range and won without breaking a sweat. Maintaining distance is the only correct strategy for this phase.
Summary
- The Ascended Wizard is Necesse’s true final boss, unlocked through the Ascended Incursion
- Requires: Fallen Wizard defeated → collect 5 Ascended Shards → craft Ascended Incursion Tablet at Fallen Workstation
- Inside the stage, destroy 3 Ascended Pylons to trigger the fight
- Tier 10 verified HP: Phase 1 & 2 each at 176,000 (full HP restore on phase transition), The Void at 1,040,000
- Attack cycle: 5 fixed attacks + 1 random per cycle (enhanced versions of all previous bosses)
- Block Cage + Bombs is the one original attack — have your pickaxe hotkey ready
- Phase 2 is the same patterns at higher intensity: spider web becomes 5-hit, more golem/crystal spawns
- The Void (Phase 3): Hoverboard kite + ranged attacks — the definitive winning strategy
- Guaranteed drops: Void Vessel and Void Phasing Staff; weapon (25%): Ascended Staff / Ascended Bow / Void Claw / Eye of the Void
- Killing the boss triggers end credits and completes the Elder quest, rewarding the Ring of Ascension
Boss Navigation
| Previous Boss | Index | Next Boss |
|---|---|---|
| ← Crystal Dragon | 📋 Complete Guide | (Final Boss) |
Published: 2026-04-29
Last Updated: 2026-05-24
Verified on: Necesse (PC), Classic difficulty, Tier 10, personal playthrough