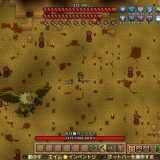

The final Tier 2 boss, and the first one in the game where showing up unprepared doesn’t just make things harder — it makes the fight nearly unwinnable. Unlike every other boss, the Pirate Captain can’t be summoned wherever you want. You have to invade his base, fight through waves of infinitely-spawning Pirate Recruits and Pirate Parrots, and somehow deal damage to the Captain while doing it. Without a plan, you get swarmed and die before the fight even starts.
The plan: build an arena. Seal the Captain in a walled room, cut off the minion spawns, and turn a chaotic mob fight into a clean one-on-one. I died twice before I figured this out. Third attempt with the arena — clean victory.
What Is the Pirate Captain?
The Pirate Captain is the third and final Tier 2 boss in Necesse — the seventh boss the Elder assigns overall.
The Swamp Guardian and Ancient Vulture are optional in the sense that you can skip them (though you shouldn’t). The Pirate Captain is not optional. Beating it drops the Deep Cave Ladder, which is the only way to access Deep Caves and start Tier 3. You cannot progress without this boss.
Finding the Pirate Lair
Getting the Pirate Map
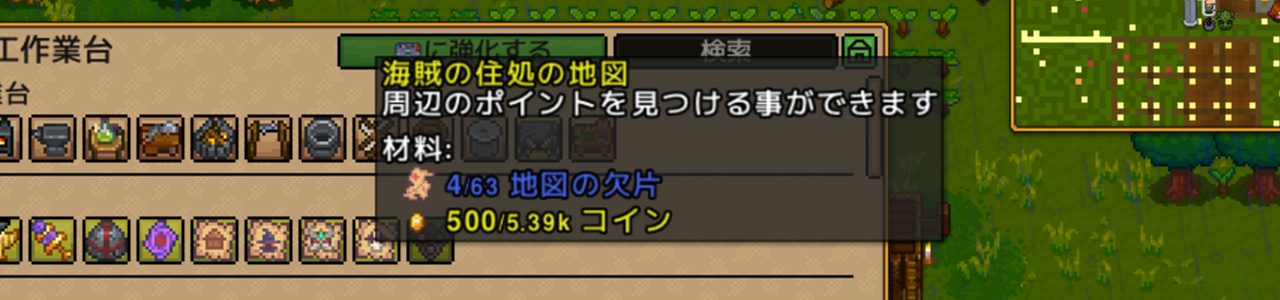
The Pirate Captain has no summon item. Instead, you craft a Pirate Map to locate the Pirate Lair on your world map.
- Craft it at the Demonic Workstation
- Materials: Map Fragment + 500 coins
Getting to the Pirate Lair
Use the Pirate Map and an icon appears on the world map showing the Pirate Lair location.
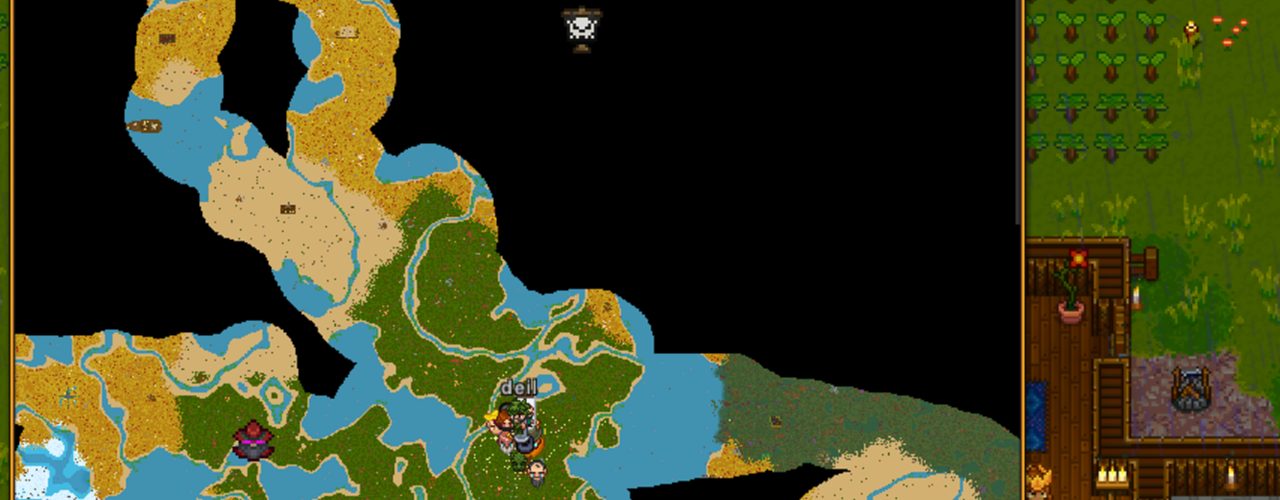
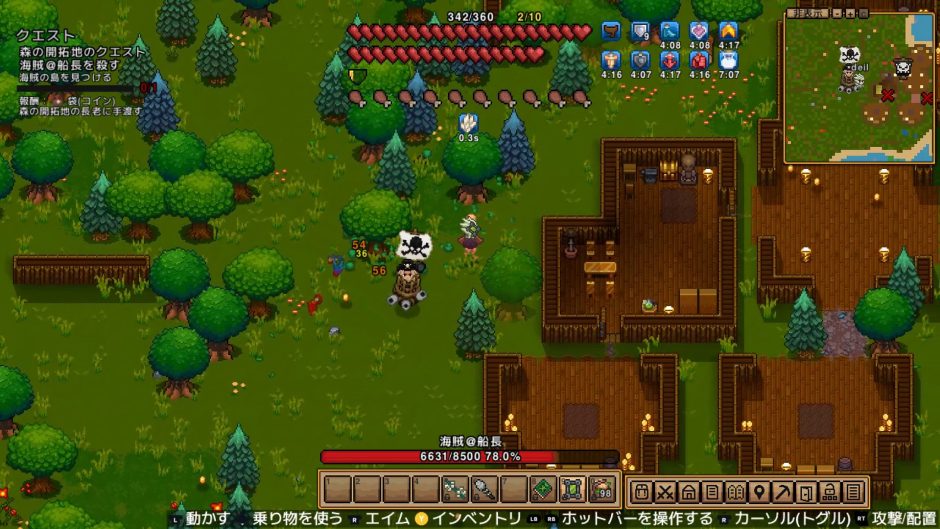
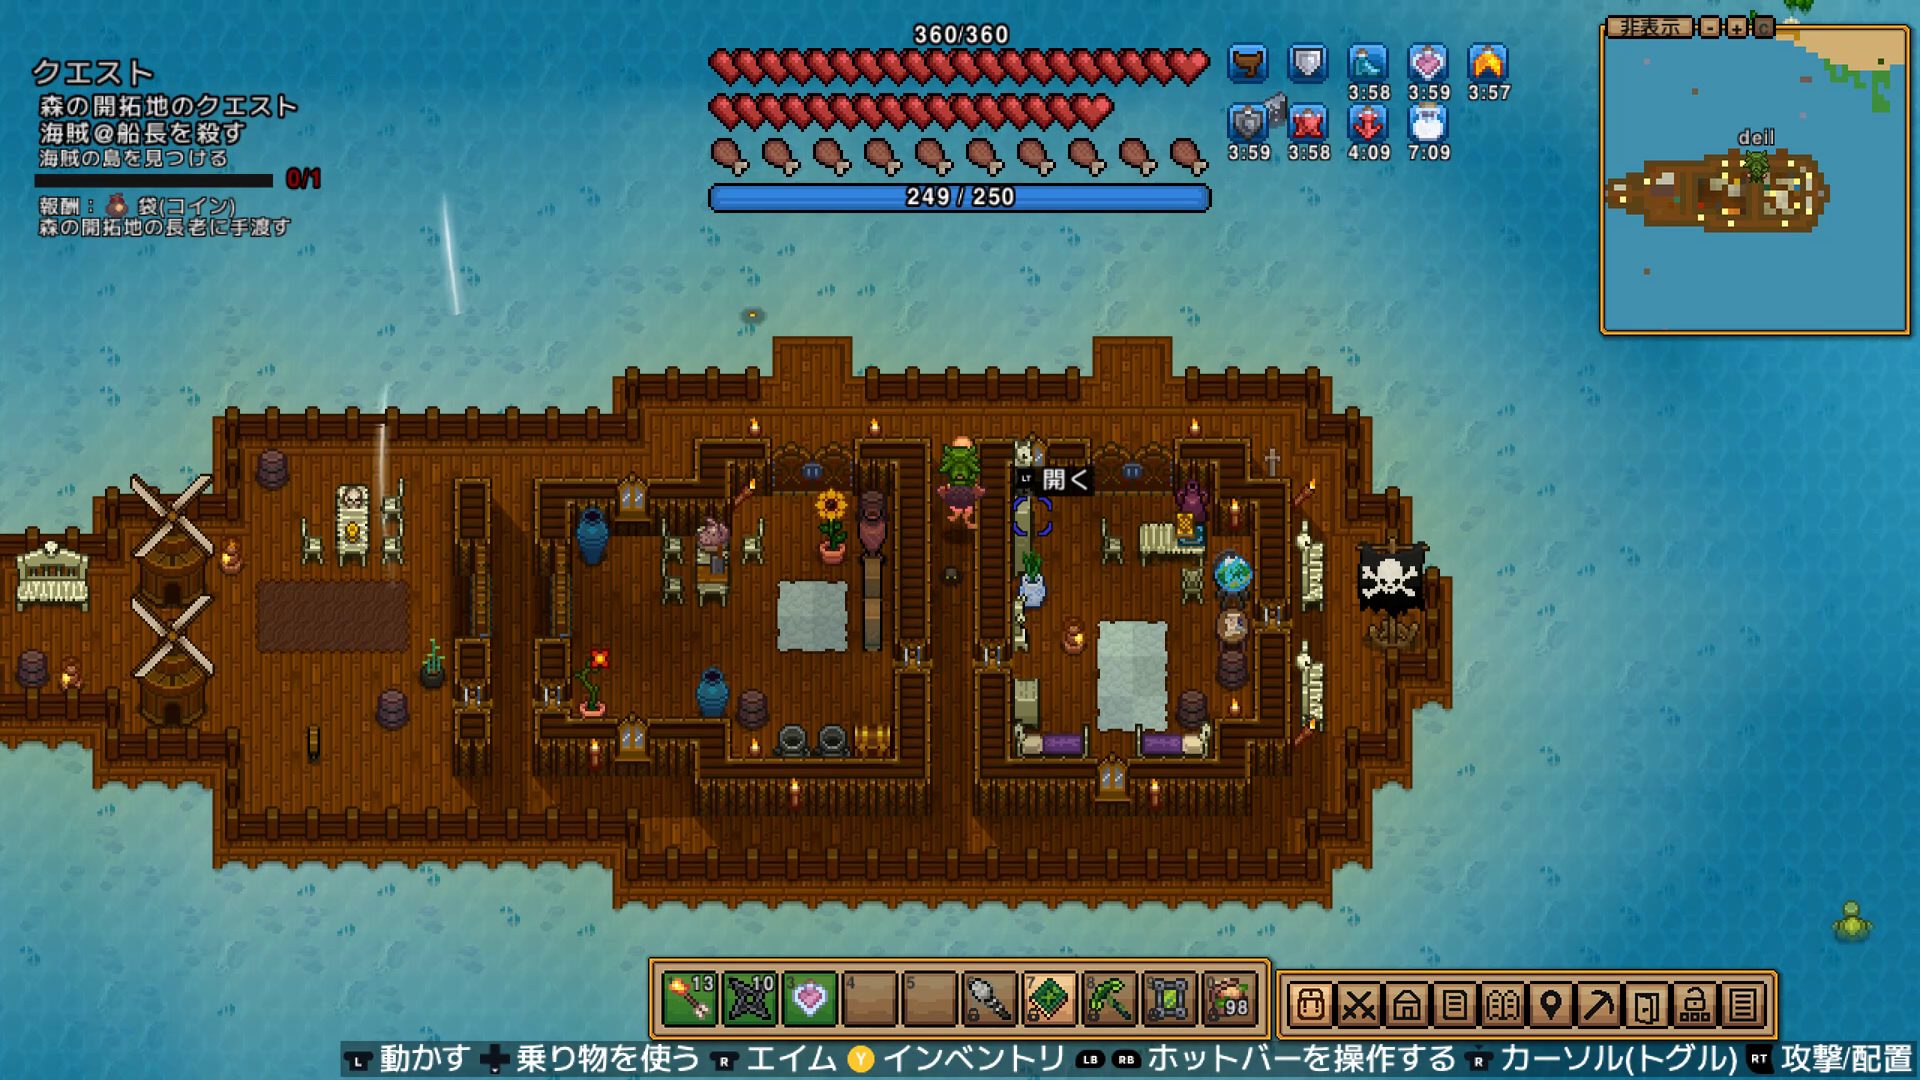
The lair is on land — not at sea. When you arrive, you’ll find a walled village with pirates wandering around.

Important: You may find pirate ships out on the ocean, but the Captain isn’t there. I wasted a trip attacking a ship before I found the actual lair. Always follow the Pirate Map.
Starting the Fight
- Getting close to or attacking the Pirate Captain starts the fight
- Moving far enough away pauses the fight — you can disengage if needed
- Unlike other bosses, the Pirate Captain does not respawn. For a rematch, you’d need to find a different Pirate Lair
Pre-Fight Prep
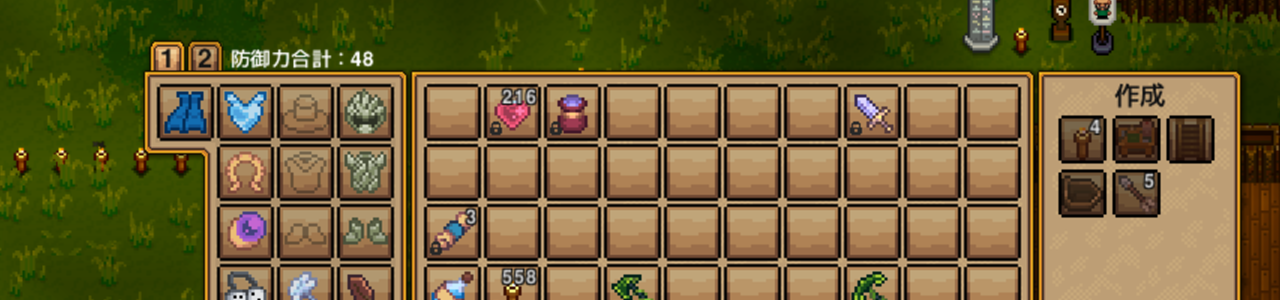
Gear Checklist
| Slot | Recommended | Notes |
|---|---|---|
| Armor | Full Quartz set | 48 defense base, 56 with buffs. Ivy set felt insufficient — Quartz is the safe choice |
| Weapon | Swamp Tome | Wall-bounce works great inside an enclosed arena |
| Potions | Healing + stat buffs | Stock up — this fight runs long. Defense buffs matter here |
| Food | High-tier cooking | Eat before engaging |
| Building materials | Walls and floors (a lot) | You’re building an arena on-site |
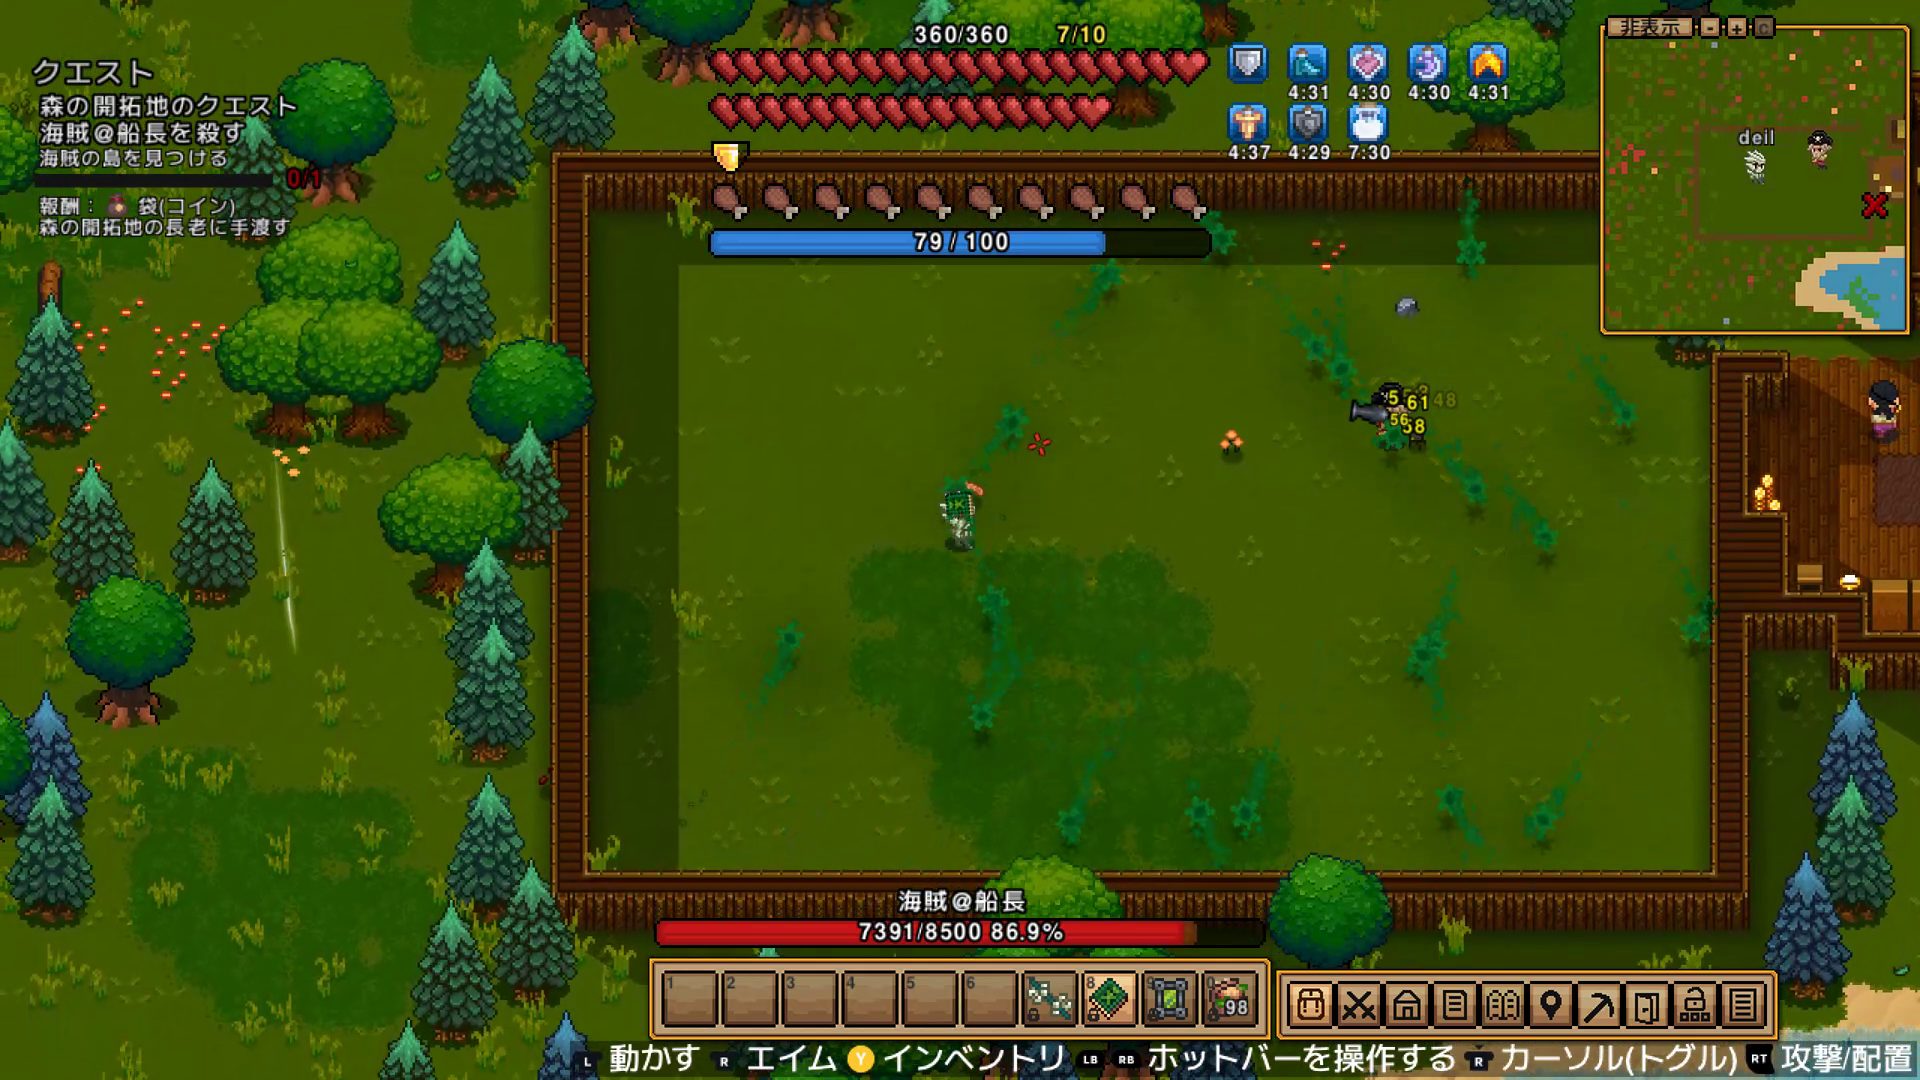
Building the Arena (Most Important Step)
The real challenge in this fight isn’t the Captain — it’s the infinite minion spawns. Pirate Recruits and Pirate Parrots keep appearing endlessly, and there’s no way to clear them all. Trying to fight through them while attacking the Captain is how you die.
The fix: seal the Captain in a room.
- Build a roughly 20×20 enclosed room near the Pirate Lair
- Close off all walls, ceiling, and floor — leave only one door
- Lure the Captain inside, then seal the entrance
- Critical: the room must fit entirely on screen. Any off-screen space will still allow spawns
Stats
| Stat | Value |
|---|---|
| HP (Classic) | 8,500 |
| Defense | 20 |
| Collision damage | 50 |
| Melee damage | 45 |
| Cannon damage | 1–100 (higher near impact point) |
Slightly more HP than the Ancient Vulture (7,500). The cannon’s variable damage is the dangerous part — a direct hit does 100, but standing at range drops it to almost nothing.
Multiplayer: +80% HP per additional player.
Attack Patterns
The Pirate Captain has a phase transition at 90% HP. The fight plays completely differently before and after.
Phase 1: Ground Combat (100%–90% HP)
What it does:
– Walks toward you and uses melee attacks (45 damage)
– Fires cannons when you’re at range (1–100 damage)
– Minion spawns are light at this stage
How to handle it:
This phase is short. Hit it with ranged attacks and chip off 10% HP quickly. More importantly: get the Captain inside your arena before this phase ends. Lure it in, then seal the door.
Phase 2: Ship Combat (90% HP and below)
What it does:
– At 90% HP, the Captain boards a ship and stays there for the rest of the fight
– Cannons become the primary attack — direct hits deal 100 damage
– Pirate Recruits (melee) and Pirate Parrots (ranged) spawn in continuously
– Both types actively pursue the player
How to handle it:
Keep moving — the cannon targets your position, so constant movement avoids direct hits. Since cannon damage scales with distance from the impact point, being far away makes most hits negligible, even without a perfect dodge. In the arena, the Swamp Tome’s wall-bounce lets you deal consistent damage while moving.
Minion Management
- Inside the arena: minions barely spawn. This is the whole point of building it
- Without an arena: use summon minions to tank the recruits and parrots while you focus the Captain — this is a fallback, not a strategy
- Don’t try to kill all the minions. They respawn infinitely. The Captain is the objective
Attack Pattern Summary
[Phase 1] HP 100%–90% (ground combat) Melee attack (45 damage): walks up and strikes Cannon (1–100 damage): fires when you're at range * Short phase — chip 10% HP, lure into arena now
[Phase 2] HP 90% and below (ship combat) Cannon (1–100 damage): constant — direct hits hit hard, distance reduces damage Minion spawns: Pirate Recruits (melee) + Pirate Parrots (ranged), infinite * Arena seals out most spawns — key to making this manageable
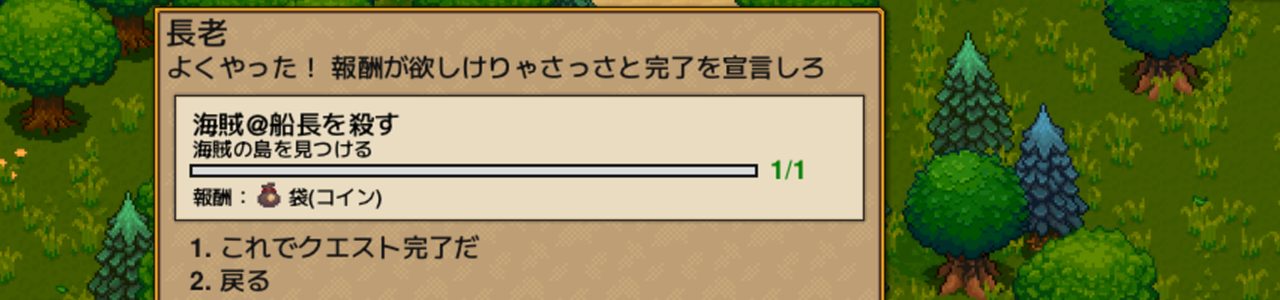
[Keys to winning] ① Build and use an arena (highest priority) ② Keep moving to avoid cannon direct hits ③ Don't engage minions — the Captain is the only targetHow I Beat It (Three Attempts)
Attempt 1: Rushed in, got instantly swarmed
Came in straight off the Ancient Vulture win with the same gear. Got within range of the Captain, Pirate Recruits and Parrots swarmed from every direction. Couldn’t land a single hit on the Captain. Death was fast.
Attempt 2: Upgraded to Quartz armor, tried again
Quartz set made the difference in survivability. The first attempt had already thinned out some minions, so the second fight had fewer to deal with — but once Phase 2 hit, the cannon damage piled up faster than I could heal. Lost on attrition.
Attempt 3: Built the arena, won cleanly
Finally committed to building the arena. Enclosed 20×20 space, lured the Captain in, sealed the door. Minion spawns essentially stopped. Used the Swamp Tome for wall-bounce damage, kept moving to dodge cannons. Defense at 56 with buffs made the cannon hits manageable. Clear victory, no chaos.
Drop Items
Elder Reward (First Kill)
| Item | Effect | |
|---|---|---|
| Coin Pouch | Automatically stores picked-up coins |
Guaranteed Drops
| Item | Effect | |
|---|---|---|
| Pirate Sheath | Permanently expands your accessory slots from 5 to 6. Use it immediately — the extra slot stays forever | |
| Deep Cave Ladder | Grants access to Deep Caves. This is the Tier 3 unlock | |
| Coins | 300–500 |
Pirate Sheath is the best reward in this fight. One more accessory slot is a meaningful upgrade that affects every build going forward.
Deep Cave Ladder is the reason you’re here. Without it, Tier 3 doesn’t open.
Random Weapon Drop (One of the following)
| Item | Type | Notes | |
|---|---|---|---|
| Hand Cannon | Ranged | Fires cannonballs | |
| Pirate Telescope | Accessory (crafting material) | Extends map discovery range | |
| Spare Boat Parts | Crafting material | Used to craft upgraded boats |
[UNVERIFIED: 攻城レコード] (cosmetic) may drop with ~20% probability.
Worth farming?
Pirate Sheath and Deep Cave Ladder are guaranteed first-kill drops, so farming is only for the random three. Pirate Telescope is the most useful of the three for exploration-heavy play. The problem: the Pirate Captain doesn’t respawn, so every additional kill requires finding a new Pirate Lair. Not a boss you can easily farm.
What to Do After the Kill
1. Report to the Elder, get the Coin Pouch
Return to your settlement and talk to the Elder. The Coin Pouch automatically collects coins — small but useful quality-of-life improvement.
2. Use the Pirate Sheath
Open your inventory and use the Pirate Sheath. Accessory slots go from 5 to 6 permanently. Fill that new slot right away.
3. Loot the Pirate Lair
The lair has chests and coin stashes. Don’t leave without clearing it.
4. Recruit the Stylist
Somewhere in the Pirate Lair, a Stylist is being held captive. Talk to them and they’ll join your settlement for free — lets you change your character’s appearance. Easy to miss, worth grabbing.

5. Head to the Deep Caves
Place the Deep Cave Ladder and descend. Tier 3 starts here — the Reaper, Cryo Queen, Pest Warden, and Sage and Grit are waiting in the Deep Caves. Quartz armor will feel thin almost immediately, so grab Deep Cave materials and upgrade your gear before pushing the next boss.
FAQ
Q1: Can’t find the Pirate Lair
A: Craft a Pirate Map at the Demonic Workstation (Map Fragment + 500 coins). It marks the lair on your world map. Ocean pirate ships are a separate thing — the Captain isn’t on them.
Q2: Can I beat this without building an arena?
A: Technically possible, but much harder. I lost twice trying it. The arena converts a mob fight into a one-on-one — bringing building materials costs almost nothing and the payoff is huge. Just build it.
Q3: Minions are overwhelming, can’t attack the Captain
A: This means the arena isn’t sealing the spawns properly. Check that the room fits entirely on screen — off-screen areas still spawn enemies. If you genuinely can’t build the arena right now, use summon minions to occupy the recruits and focus fire on the Captain.
Q4: Cannon damage is too high
A: The cannon does 1–100 damage based on proximity to the impact point. Keep moving and position away from the landing zone — you don’t need a perfect dodge, just distance. Buffing defense to 50+ with potions and food makes the hits much more survivable.
Q5: What’s the recommended Tier 2 boss order?
A: Swamp Guardian → Ancient Vulture → Pirate Captain. The Swamp Guardian gives you Ivy gear, the Ancient Vulture gives you the Recall Flask, and both prepare you for this fight. The Pirate Captain is the mandatory gate, so you’ll end up here regardless.
Summary
- Mandatory Tier 2 gate boss — no Deep Cave Ladder, no Tier 3
- Find the Pirate Lair using a Pirate Map (crafted at Demonic Workstation: Map Fragment + 500 coins)
- Build a 20×20 arena near the lair and seal the Captain inside — this shuts down infinite minion spawns
- Phase transition at 90% HP: Captain boards a ship, cannons become primary attack, minion spawns increase
- Cannon damage scales with distance from impact — keep moving and you won’t take full hits
- Pirate Sheath expands accessory slots 5→6 (permanent). Deep Cave Ladder unlocks Tier 3
- The Stylist NPC is captive in the lair — free her and she’ll join your settlement
Boss Navigation
| Previous | Index | Next |
|---|---|---|
| ← Ancient Vulture | Boss Guide Index | Reaper → |
Published: 2026-05-23
Tested on: Necesse v1.0 (PC), Classic difficulty, Solo