
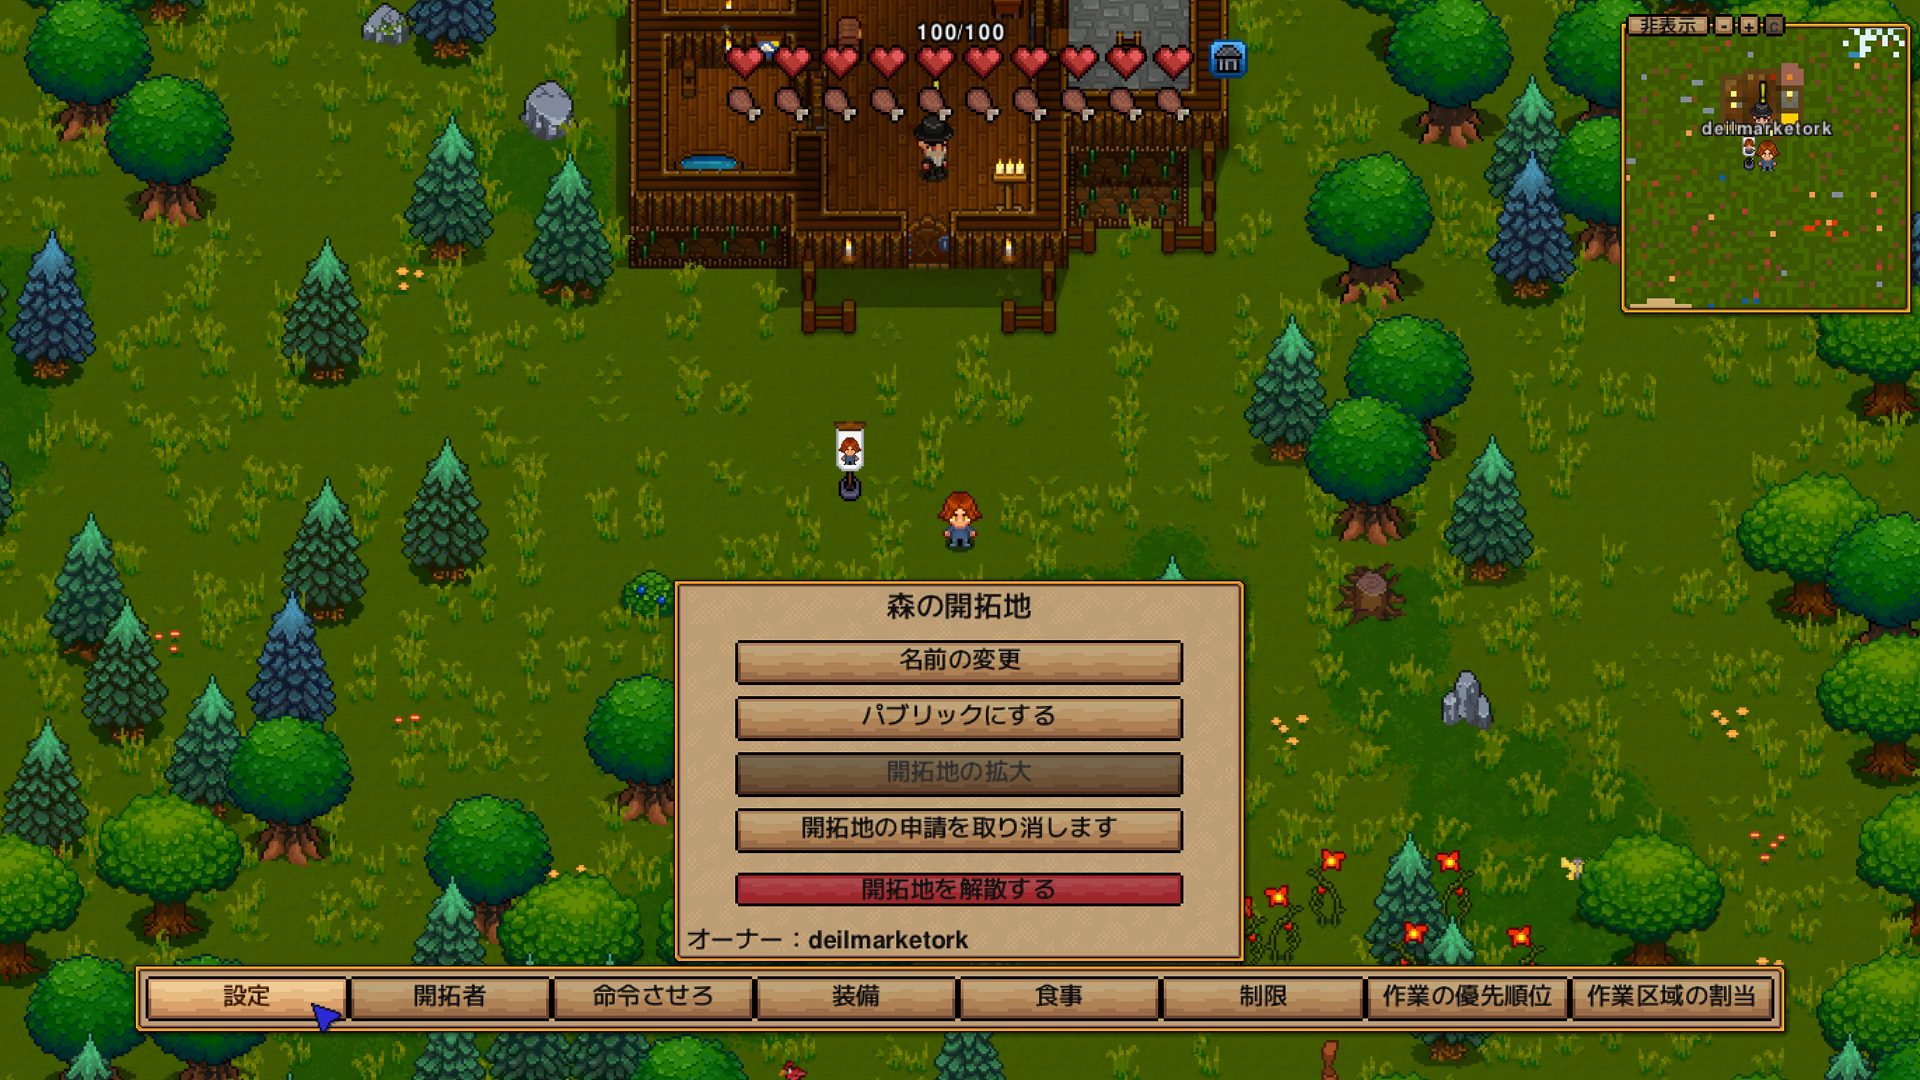
You planted a Settlement Flag — now what? If your settlers are stuck at 50 happiness, or you set up a zone and nobody works it, this guide covers every wall you can hit. From the moment the tutorial ends to the point where your settlement runs itself, here is the whole thing in order.
How to Start a Settlement
Crafting and placing the Settlement Flag
The Settlement Flag isn’t crafted — you pick it up from the chest in the Elder’s house after finishing the tutorial. It’s easy to walk right past, so don’t.
It can only be placed on the surface (not underground, not in dungeons). Once placed, a settlement area generates around it and the local enemy spawn rate drops sharply.
The five settlement sizes and how growth works
The settlement’s size rating changes with your settler count.
| Size | In-game comment | Population threshold |
|---|---|---|
| Tiny | “This is a tiny settlement” | 0+ |
| Small | “This is a small settlement” | 6+ |
| Average | “This is an average sized settlement” | 12+ |
| Large | “This is a large settlement” | 18+ |
| Huge | “This is a huge settlement” | 24+ |
Separate from that size comment, the Settlement Flag’s actual managed range starts at 80×80 tiles. The 16×16 tile chunk the flag sits in becomes the center, and a 5×5 block of chunks forms the settlement. As a rough guide that’s about 40 tiles around the flag, but because it’s measured by chunk rather than by the flag’s exact tile, the edges shift a little.
| Flag expansion tier | Managed range | Approx. radius from flag |
|---|---|---|
| Initial | 80×80 | ~40 tiles |
| +1 | 112×112 | ~56 tiles |
| +2 | 144×144 | ~72 tiles |
| +3 | 176×176 | ~88 tiles |
| +4 | 208×208 | ~104 tiles |
| +5 | 240×240 | ~120 tiles |
| +6 | 272×272 | ~136 tiles |
The First Production Stations to Build (in priority order)
To get a settlement moving you need the following stations. Build them in priority order.
| Priority | Station | Materials | Use |
|---|---|---|---|
| ★★★★★ | Forge | 20 Any Stone | Smelt Iron Ore into Iron Bars |
| ★★★★★ | Iron Anvil | 5 Iron Bar | Craft weapons, armor, tools |
| ★★★★ | Carpenters Bench | 10 Log, 5 Iron Bar | Build beds and furniture (required to recruit settlers) |
| ★★★★ | Campfire | 10 Log, 20 Any Stone | Heals HP while lit, lowers nearby enemy spawns |
| ★★★★ | Roasting Station | 10 Log | Roast meat and fish to boost the food they restore |
| ★★★ | Alchemy Table | 10 Log, 10 Any Stone, 2 Health Potion | Brew potions (before boss fights) |
Most of these are made at the Workstation. The Workstation itself costs 10 Log and one already sits in your starting house.
Stabilizing Your Food Supply
Recommended early-game food
Food feeds directly into settler happiness. Start with wild foraging, then move into farming.
Rather than “stockpile one food in bulk,” it’s better to add easy-to-get foods stage by stage. The more food variety you offer, the easier happiness is to raise.
| Stage | Easy-to-get food | Why it’s handy |
|---|---|---|
| Early | Roasted Rabbit Leg, Roasted Duck Breast, Roasted Frog Leg | Drop from hunting/exploring; just roast and they’re ready |
| Early | Blueberry, Mushroom | Easy to forage, and useful as cooking ingredients later |
| Mid | Bread, Hard Boiled Egg, Steak, Roasted Pork, Roasted Mutton, Chicken Drumstick | Stable supply once wheat, eggs, and livestock meat start flowing |
| Mid | Root Salad, Miners Stew, Fish and Chips | Good for padding variety once you’ve started farming and fishing |
| Late | Wild Salad, Cheese Burger, Omelette, Pumpkin Pie, Strawberry Pie | Happiness top-ups once orchards, farms, ranching, and cheese-making are all online |
Spoilage and the Cooling Box
Food spoils over time. The fix:
- Food inside a Cooling Box spoils at 25% the normal rate — roughly 4× longer before it rots.
- It’s not an area effect; only items placed inside are affected. Storage is 40 slots, fuel is 2 slots.
- Crafting it needs 10 logs, 10 stone, and 5 Frost Shard. Fuel it with cooling fuel like Iceblossom.
Automating farming and ranching
The work zones you can actually set are Forestry, Husbandry, and Fertilize. There is no dedicated “farming zone.”
- Farmers: spread fertilizer on crops in a Fertilize zone
- Animal Keepers: milk and shear animals in a Husbandry zone
- Anyone: fell and replant trees in a Forestry zone
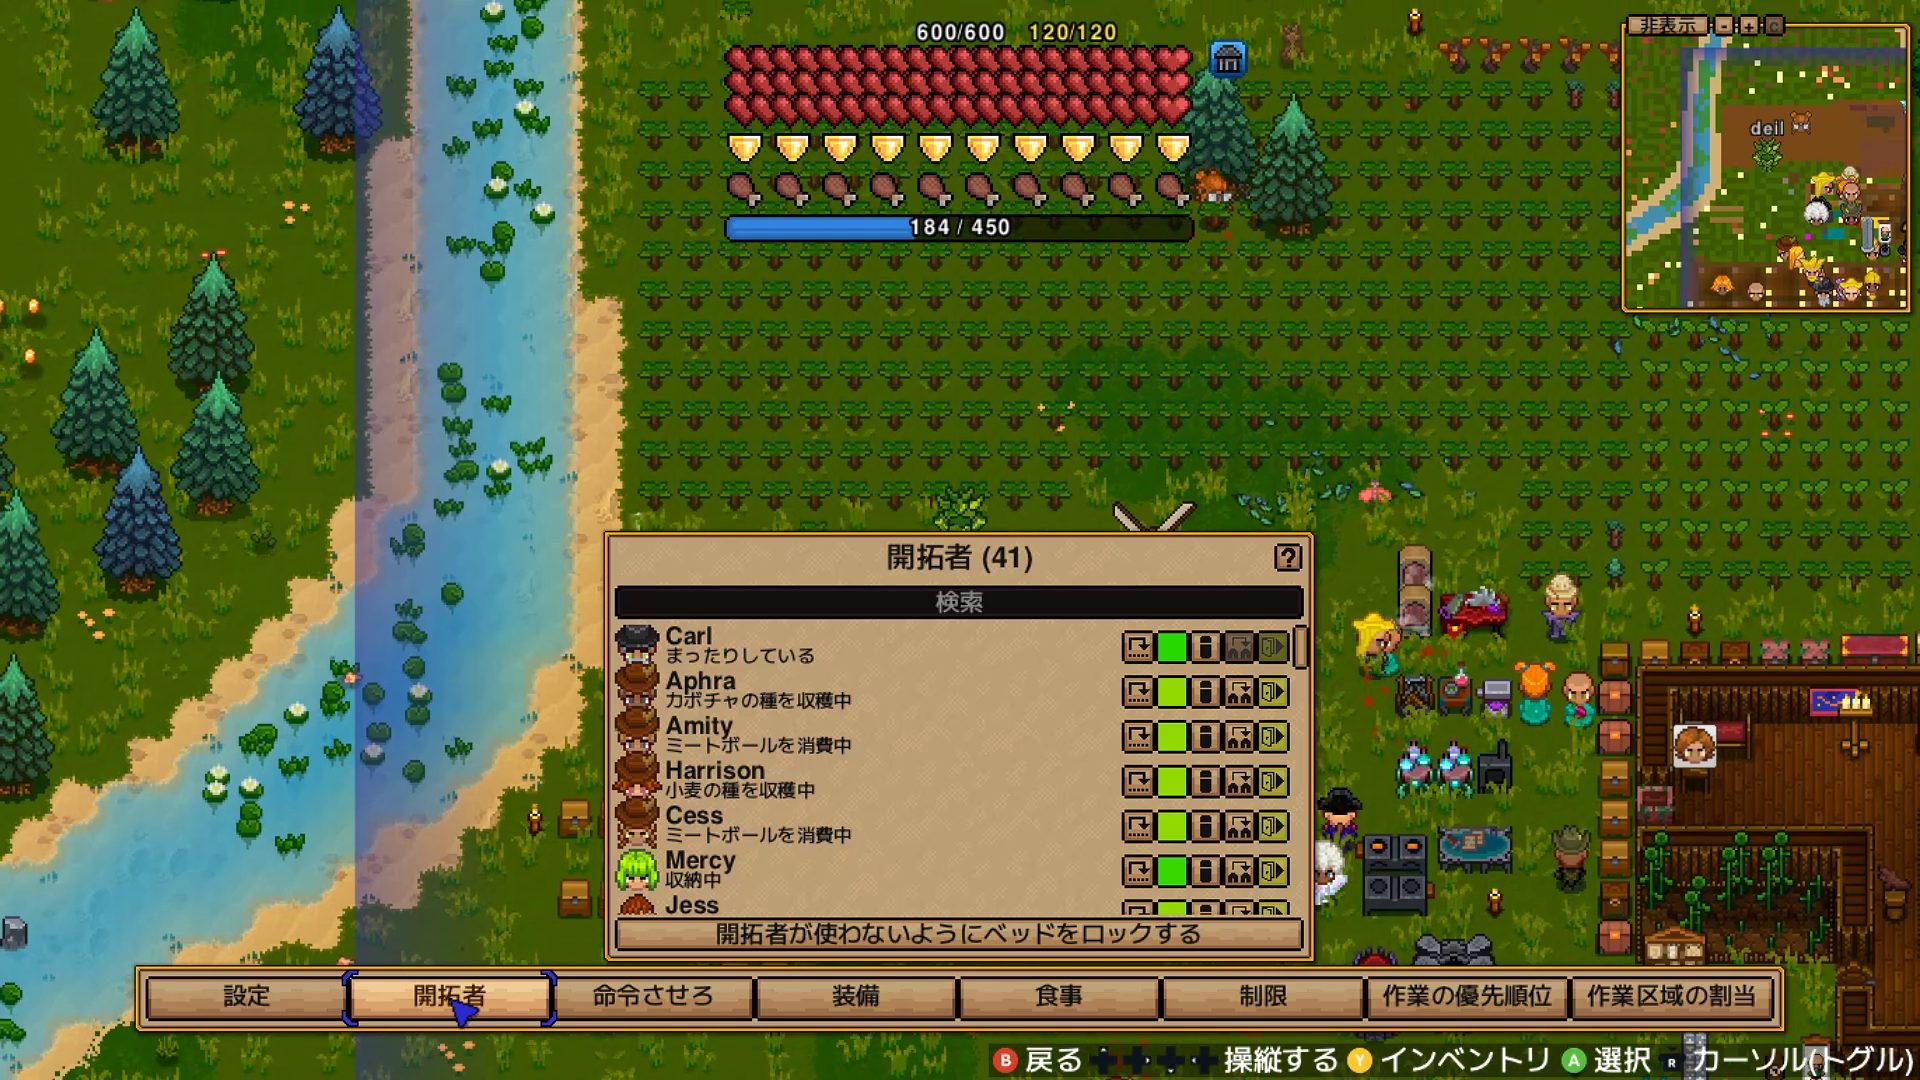
All 18 Settler Roles and What They Do
Production / gathering
| Role | Job | Hiring priority |
|---|---|---|
| Farmer | Tends crops, spreads fertilizer in Fertilize zones | ★★★★★ (top early priority) |
| Miner | Mines ore, can also be sent on expeditions | ★★★★ |
| Hunter | Gathers meat and materials | ★★★★ |
| Angler | Collects fish | ★★★ |
| Animal Keeper | Tends and breeds animals in Husbandry zones | ★★★ |
Processing / crafting
| Role | Job | Hiring priority |
|---|---|---|
| Blacksmith | Auto-crafts weapons, armor, tools | ★★★★★ |
| Gunsmith | Produces guns and ammo | ★★★ (essential for a gun build) |
| Alchemist | Auto-brews potions and medicine | ★★★★ |
Service / special
| Role | Job | Hiring priority |
|---|---|---|
| Mage | Enchants gear (cost and outcome improve with happiness) | ★★★★★ |
| Trader | Inter-island trade, brings in rare items | ★★★ |
| Pawnbroker | Buys junk, sells used gear (visiting shop) | — |
| Stylist | Customizes your character’s appearance | ★ (if you like) |
| Broken Pirate | Sells gold, pirate gear, bombs, map fragments, etc. | ★★ |
| Explorer | Runs expedition quests | ★★★ |
| Elder | Tutorial and settlement info | — (there from the start) |
| Villager | Generic role, no specific job | ★ (if short on hands) |
| Exotic Merchant | Sells rare materials and gear (visiting, can’t be hired) | — |
Main recruit / appearance conditions
Settlers mostly join one of three ways: you meet them in a village, you rescue a lost one, or they show up as a visitor to your settlement. The visitor pool grows as you complete settlement quests.
| Role | Main condition |
|---|---|
| Elder | The starting island’s Elder. Can’t migrate or be exiled |
| Villager / Guard | Settlement visitor candidates |
| Farmer / Blacksmith / Angler | Met in a village, or settlement visitors |
| Hunter | Appears lost in surface biomes |
| Miner | Appears lost in caves and deep caves |
| Gunsmith / Alchemist | Visitor candidates after clearing Evil’s Protector’s settlement quest |
| Mage | Rescued in dungeons. Visitor candidate after Void Wizard’s settlement quest |
| Animal Keeper | Village / animal-trader visitors. Regular visitor candidate after Void Wizard’s settlement quest |
| Trader | Visitor candidate after Runebound Chieftain’s settlement quest |
| Explorer | Appears lost in desert caves. Visitor candidate after Pirate Captain’s settlement quest |
| Stylist | Rescued in pirate villages. Visitor candidate after Reaper’s settlement quest |
| Broken Pirate | Rescuable after defeating Pirate Captain. Visitor candidate after Reaper’s settlement quest |
| Pawnbroker / Exotic Merchant | Visiting shops, not normal hire candidates |
Combat ability differs by role
Combat ability does vary by role. But it’s less “a class multiplier applies to everyone” and more that the difference comes from starting HP, starting gear, move speed, and AI.
| Tier | Role | Combat notes |
|---|---|---|
| In a league of its own | Guard | ~825 settler HP, move speed 35, iron gear, strong self-heal inside the settlement. Top pick for defense |
| High | Mage, Broken Pirate | Mage fires homing void shots; Broken Pirate starts with a cutlass. High early damage |
| Ranged | Gunsmith, Hunter | Start with a handgun / copper bow. Take fewer hits than melee roles |
| Mid | Blacksmith, Miner, Trader, Explorer, Stylist, Pawnbroker, Exotic Merchant | Start with an iron sword. Easier to fight with than copper-tier roles |
| Low | Villager, Alchemist, Angler, Animal Keeper, Farmer | Copper sword / copper rake-tier starting gear. Hard to justify for combat |
| Special | Elder | High HP, but can’t join an adventure party |
Once they’re settlers you can swap their gear, so final strength shifts a lot with upgrades. If you need early defense as-is, look at the Guard first, then Mage, Broken Pirate, and the ranged roles.
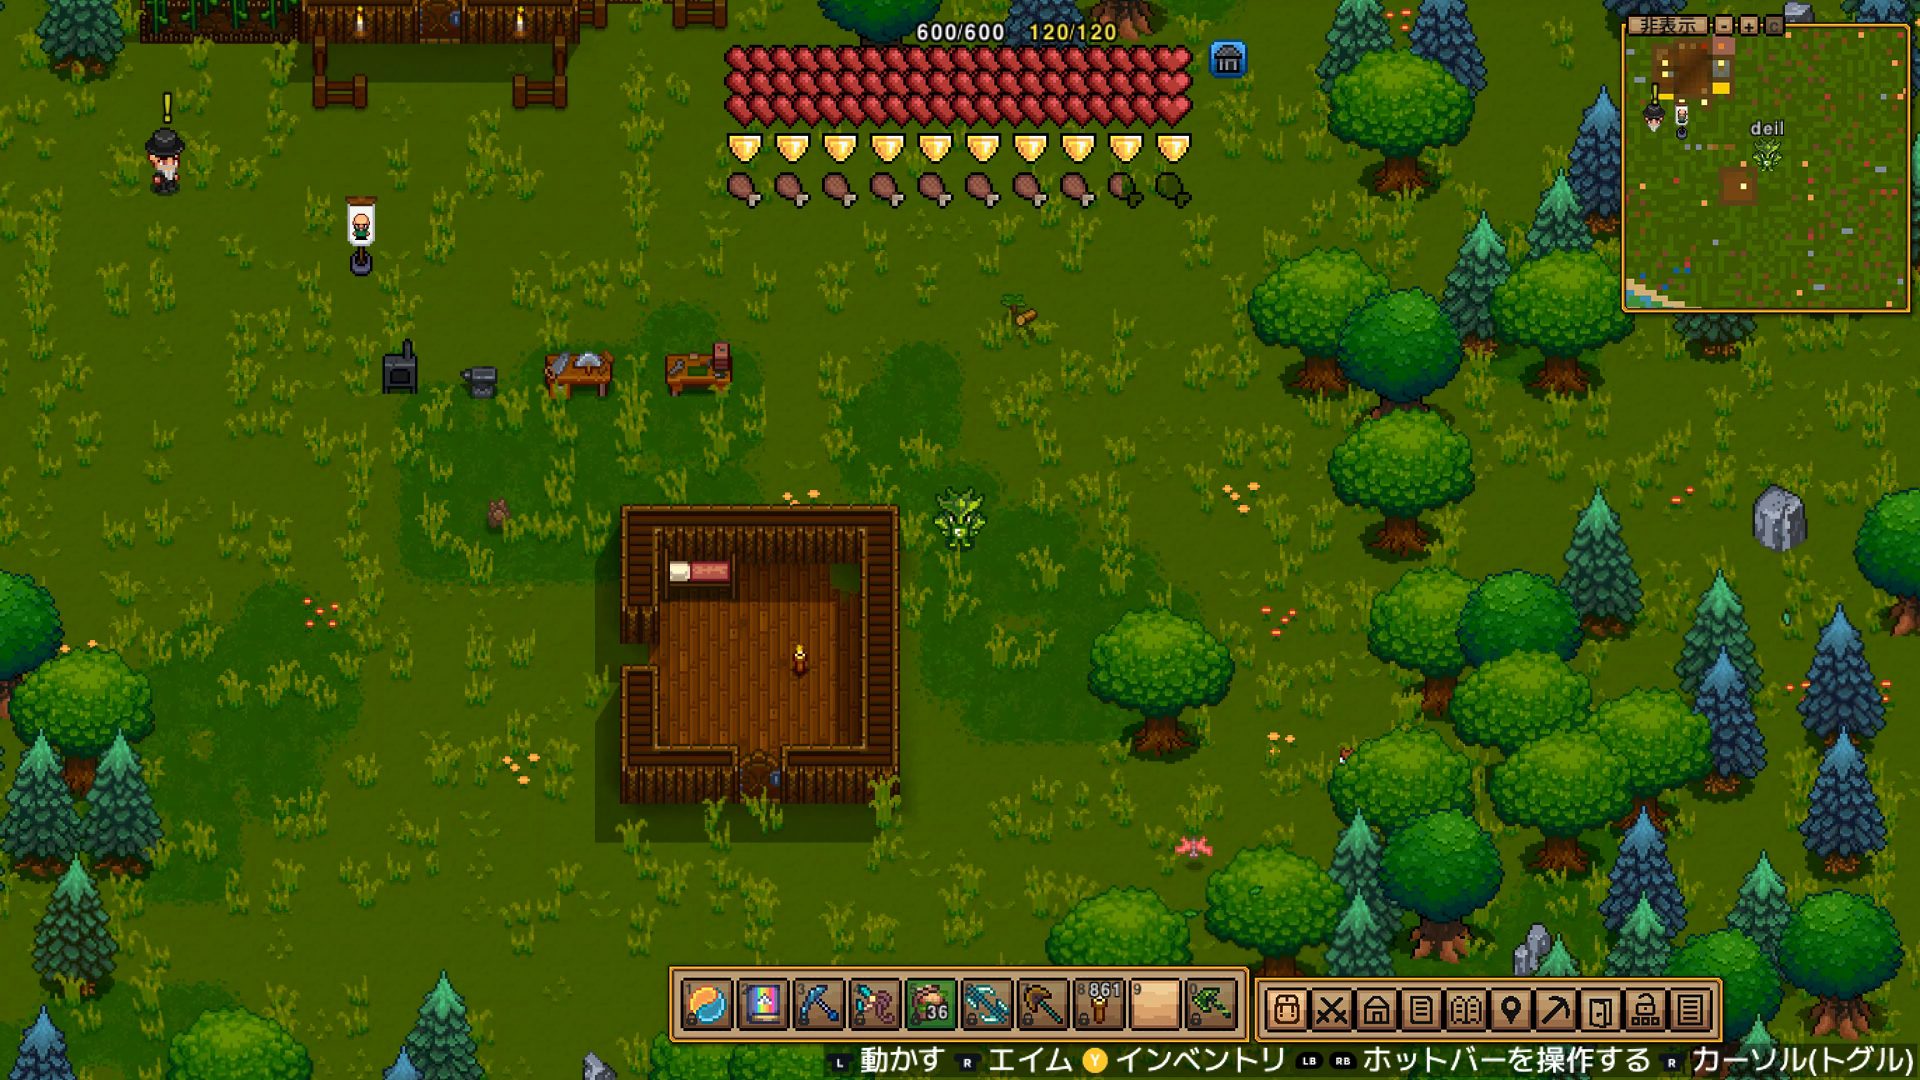
Building Housing to Recruit Settlers
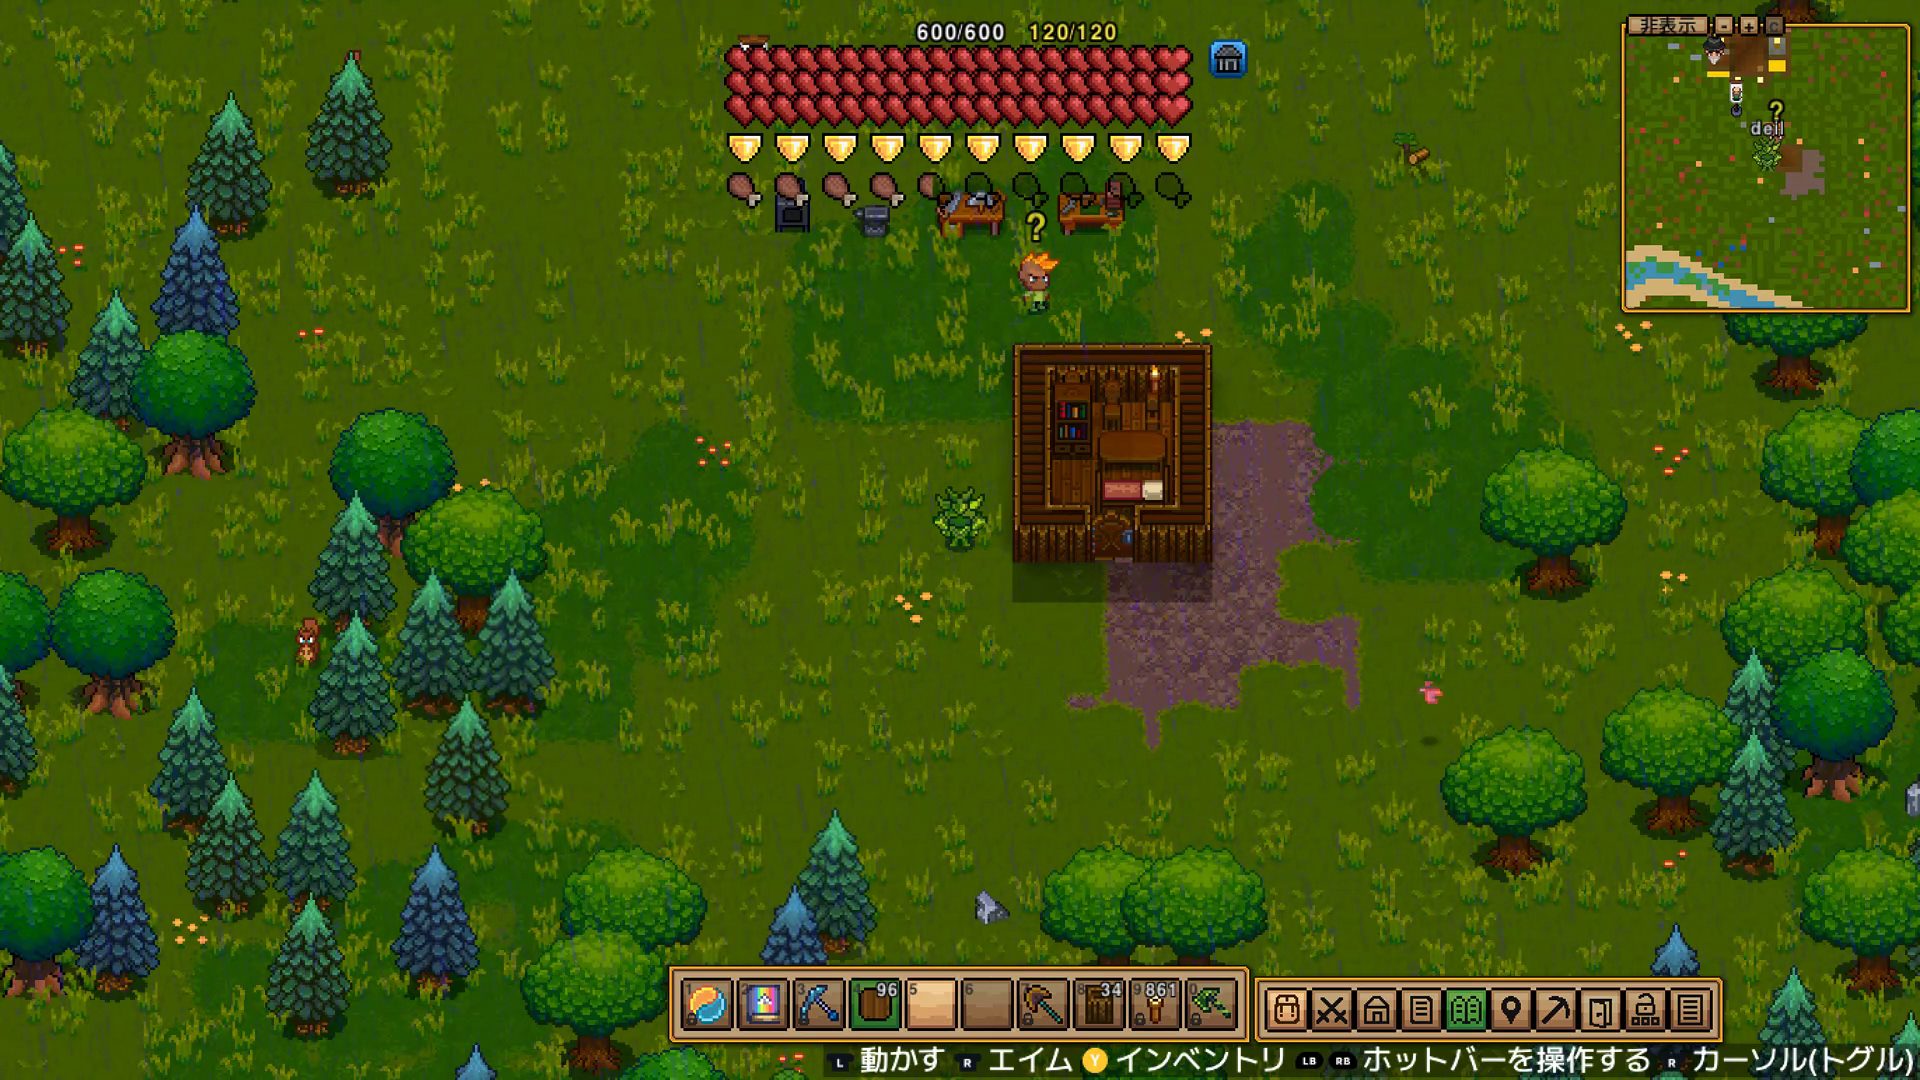
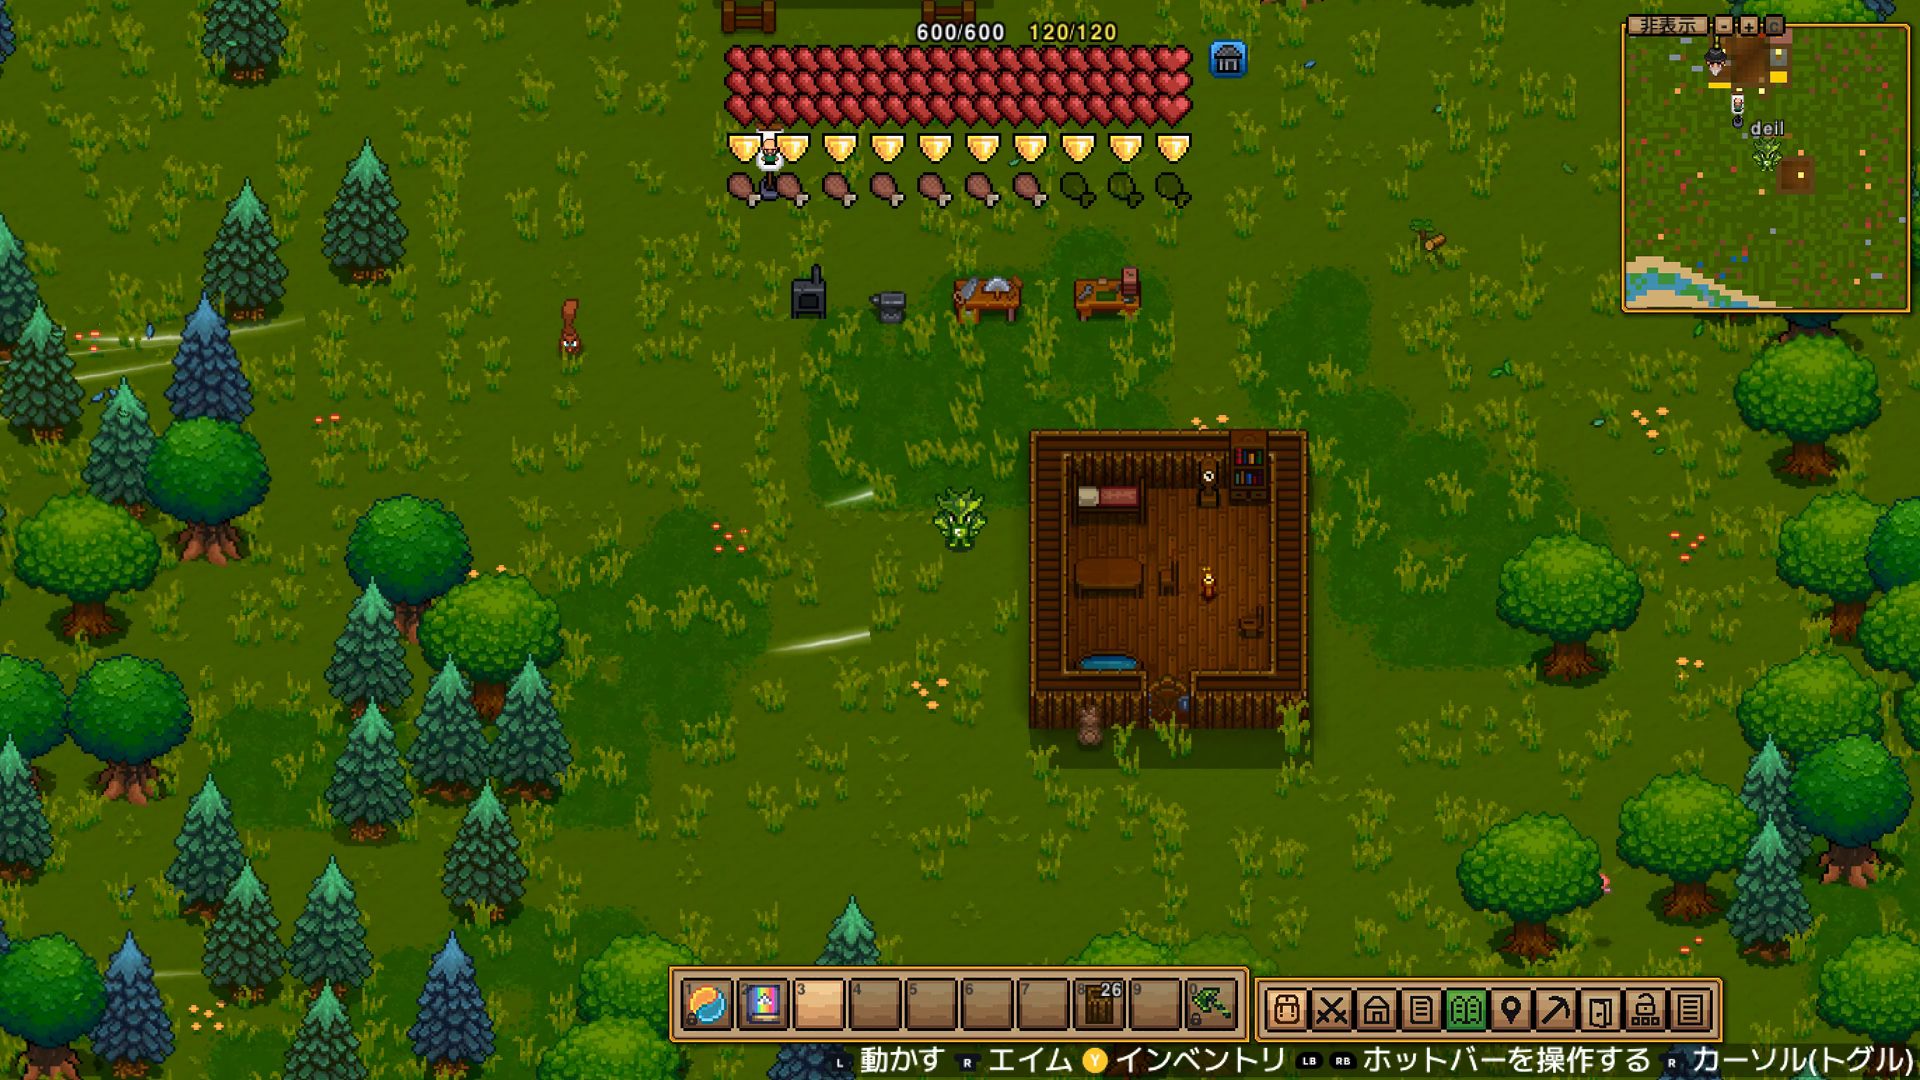
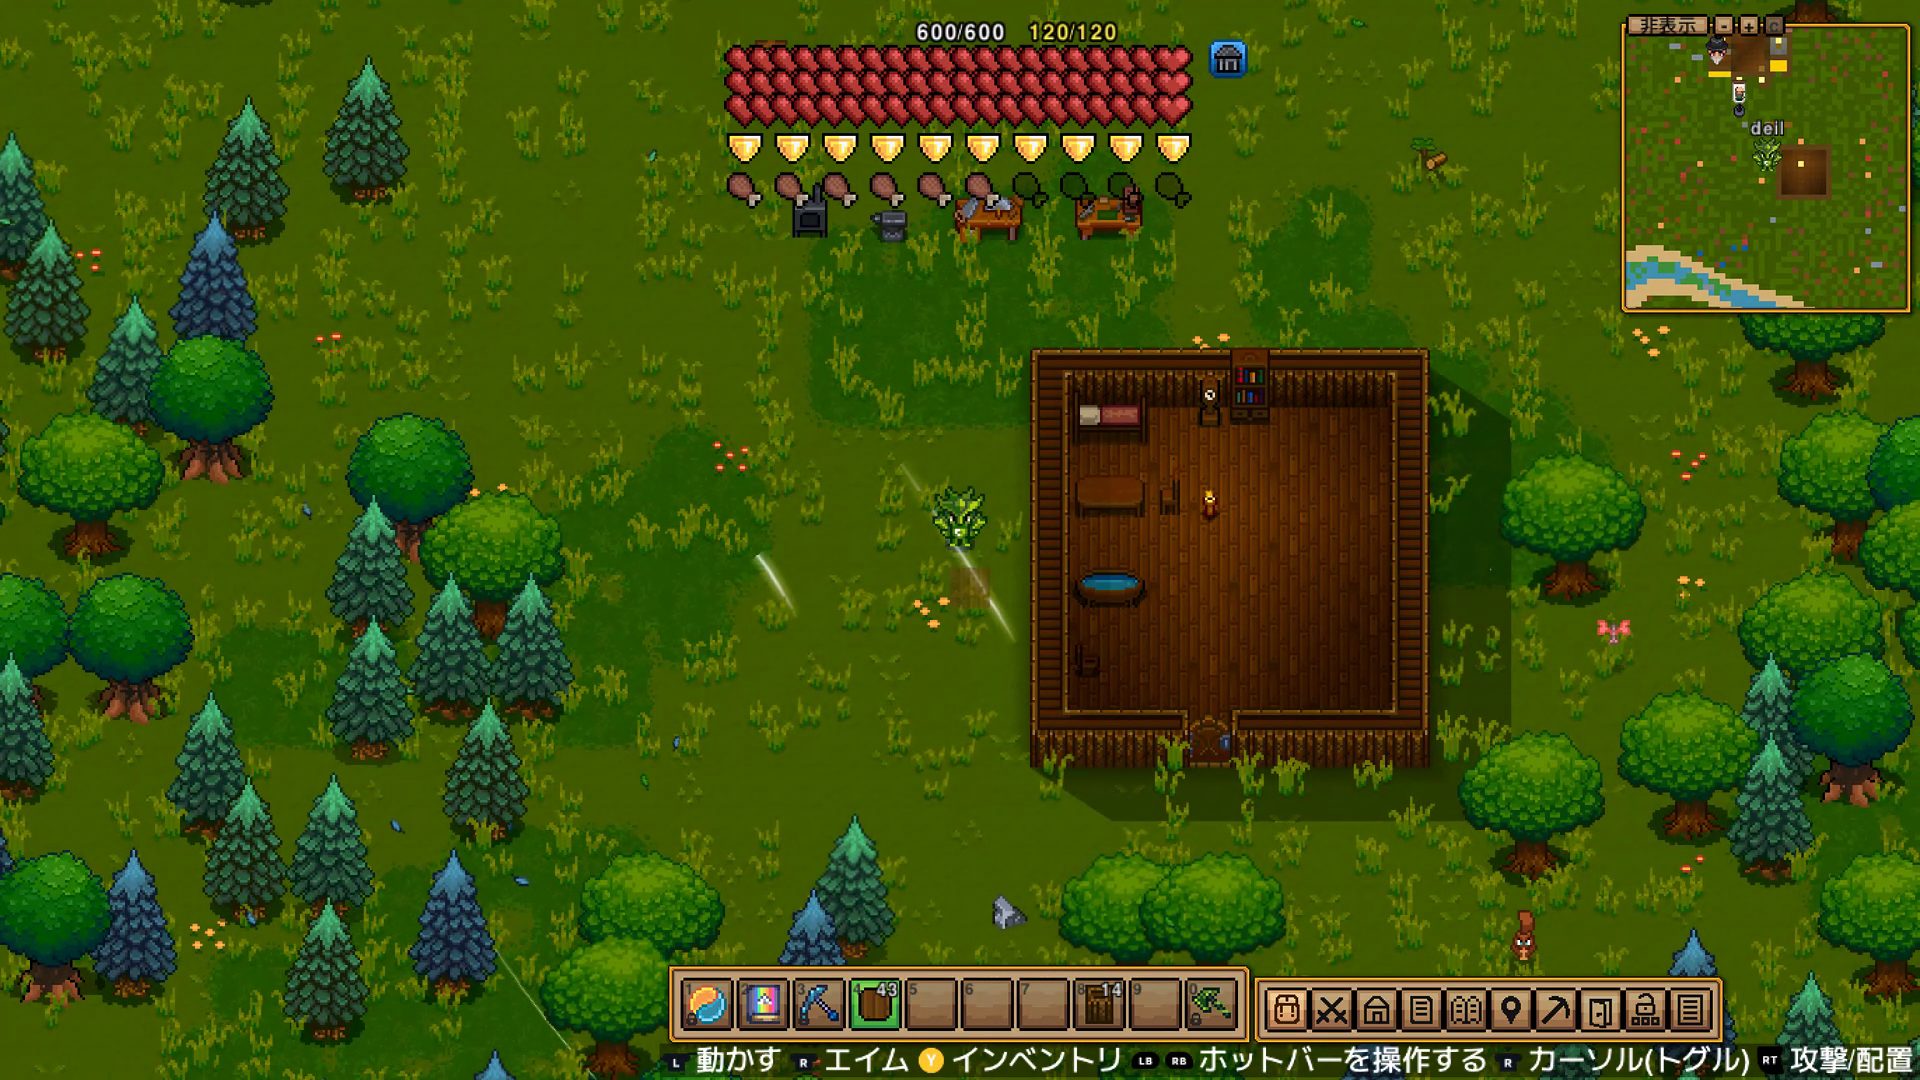
The 4 conditions for a valid room
To get a settler to move in, you must meet all of these.
| Requirement | Detail |
|---|---|
| Walls and a door | Enclose all 4 sides with walls and place at least one door |
| Bed | One per settler (a double bed still counts as one) |
| Light source | Torch, lantern, candle — anything works |
| Floor | Lay flooring on every tile (any material) |

Common “this isn’t recognized as a house” failures
- Missing one corner tile of wall → the enclosure check fails
- Unfinished flooring → grass grows there. “Grass is growing = floor is missing” is the tell
- No door → walls alone won’t do it
- The path to the bed is fully blocked by furniture
Never share a room
Housing multiple settlers in one room applies a heavy happiness penalty.
| Occupants | Happiness penalty |
|---|---|
| 2 | −20 |
| 3 | −30 |
| 4 | −40 |
| 5 | −50 |
How Happiness Works (with the numbers)
Happiness states
| Happiness | In-game label |
|---|---|
| 0–24 | Very unhappy |
| 25–49 | Unhappy |
| 50–69 | Somewhat happy |
| 70–89 | Very happy |
| 90+ | Extremely happy |
If a settler stays Unhappy (under 25) too long, they go on strike and stop working.
Happiness is the sum of four factors. The maximums are room +40 and food +75.
Room size bonus quick reference
Room size is counted by floor tiles (interior area, walls and doors not included).
| Floor tiles | Happiness bonus | Interior size guide |
|---|---|---|
| 0–9 | +0 | 3×3 |
| 10–19 | +4 | 3×5 to 4×4 |
| 20–24 | +8 | 4×5 to 5×4 |
| 25–29 | +10 | 5×5 (best value) |
| 30–39 | +12 | 5×6 to 6×6 |
| 40–49 | +15 | 6×7 to 7×7 |
| 50–59 | +18 | 7×8 |
| 60+ | +20 | 8×8 and up |
The best value is a 5×5 interior (25 tiles). Going from 25 to 60 tiles for another +10 costs 35 extra tiles — brutally diminishing returns. A 5×5 fits inside a 7×7 footprint and is easy to mass-produce.
Furniture bonus
The bonus scales with the number of furniture types you place (placing multiples of the same type still counts as one type).
| Furniture types | Happiness bonus |
|---|---|
| 1 | 4 |
| 2 | 7 |
| 3 | 10 |
| 4 | 13 |
| 5 | 15 |
| 6 | 17 |
| 7+ | 20 |
3 practical layouts
In practice a 5×5 interior is the easiest to work with. A 3×3 gets by on the bare minimum but the furniture placement gets cramped; an 8×8+ maxes happiness but eats too much space and material to mass-produce early.
- Layout 1 (minimal): cram 7 furniture types into a 3×3 interior
- Layout 2 (recommended): 7 furniture types in a 5×5 interior → room +10, furniture +20, total +30
- Layout 3 (luxury): an 8×8+ large room → room +20, furniture +20, total +40
Food bonus
| Food factor | Max bonus | Condition |
|---|---|---|
| Food quality (Simple) | 10 | Basic cooked food |
| Food quality (Fine) | 20 | Quality cooked food |
| Food quality (Gourmet) | 35 | Serve gourmet dishes |
Food quality tiers (low → high): Simple → Fine → Gourmet
Food variety tiers (low → high): same food → slightly → somewhat → nicely → extremely varied
Food variety bonus
The tier shifts with the number of food types (multiples of the same item count as one).
| In-game label | Food types | Happiness bonus |
|---|---|---|
| My diet has not been varied at all | 0–1 | 0 |
| My diet has been slightly varied | 2–4 | 10 |
| My diet has been somewhat varied | 5–7 | 20 |
| My diet has been nicely varied | 8–11 | 30 |
| My diet has been extremely varied | 12+ | 40 |
Penalty list
| Situation | Penalty |
|---|---|
| Sharing a room | −20 to −50 (by number of in-use beds in the room) |
| No bed | −40 |
| Bed outdoors | −30 |
| Missing floor | −10 |
| No light source | −10 |
| No food | 0 (“hasn’t eaten recently” shows) |
The shared-room penalty triggers when a room has two or more in-use beds: −20 for two, −30 for three, −40 for four, and −50 capped at five or more. “No food” isn’t a negative value, but it locks out the food quality and variety bonuses, so it’s the first thing to fix when you’re trying to push happiness up.
A design that raises happiness efficiently
A recommended setup, calculated from confirmed data:
| Factor | Recommended setup | Bonus |
|---|---|---|
| Room size | 5×5 interior (25 tiles) | 10 |
| Furniture | 7+ types | 20 |
| Food quality | Fine or better | 20–35 |
| Food variety | 8+ types (nicely varied) | 30 |
| Total | 80–95 |
Shortest route to “Very happy” (70+): room 10 + furniture 20 + food quality 20 + food variety 20 = exactly 70. Make this your early goal.
Condition for “Extremely happy” (90+): add gourmet food (+35) or 8-type variety (+30) on top of the above. Beefing up food is the most cost-effective path.
What Changes When Happiness Goes Up
Shorter breaks
Settlers have an internal stamina that keeps them working. It drains as they work, and when it runs out they take a break. Higher happiness means stamina drains slower and recovers faster during breaks.
| Happiness | Stamina drain while working | Stamina recovery while resting | Stamina cap |
|---|---|---|---|
| 0 | 3.0× | 0.2× | 60 sec worth |
| 50 | 1.75× | 0.6× | 120 sec worth |
| 100 | 0.5× | 1.0× | 180 sec worth |
So a happiness-100 settler drains stamina at one-sixth the rate of a happiness-0 one. They return from a break once stamina recovers to 60 seconds’ worth, so high happiness means “works longer, returns from breaks sooner.”
Better trade prices
The higher a settler’s happiness, the better their prices are for you.
| Trade | Low happiness | High happiness |
|---|---|---|
| Buying from settler | Expensive | Cheap |
| Selling to settler | Cheap | Expensive |
For example, a Mage’s spell book runs ~200 coins at happiness 0 but drops toward ~100 at happiness 100. A Void Staff goes 600 → 400, a Mana Potion 25 → 5. It’s well worth raising a Mage’s happiness before a big purchase.
Mage-only: enchant cost and outcome
A Mage’s happiness affects the cost and result of gear enchanting. Cost is normal price at happiness 0 and drops to 0.3× normal at happiness 100.
| Happiness | Enchant cost |
|---|---|
| 0 | 1.0× |
| 50 | 0.65× |
| 100 | 0.3× |
On top of that, the higher the happiness above 50, the more likely a strong effect is rolled; below 50 it tilts toward weaker effects. It’s not a simple “success rate” — the accurate read is that you’re more likely to pull a good enchant, and it costs less, too.
Setting Up and Running Work Zones
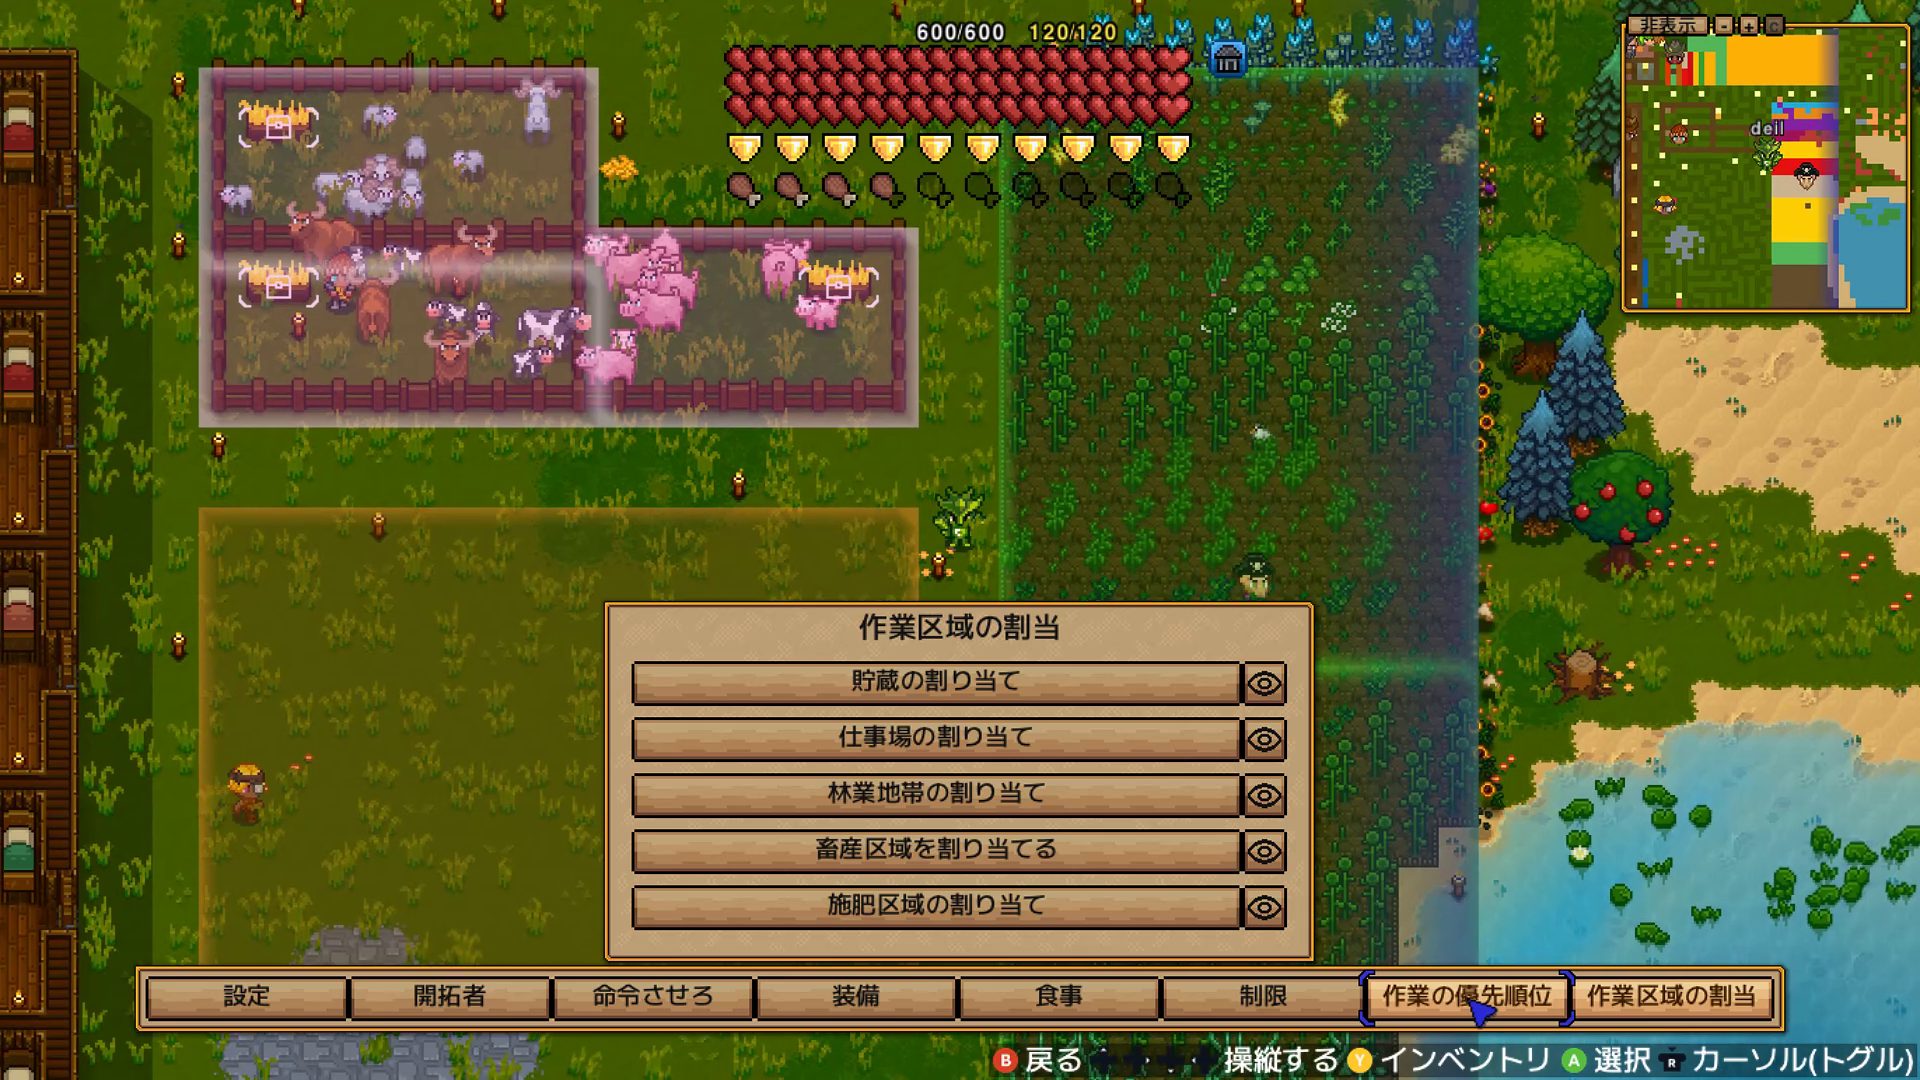
Zone types and how to set them
From the settlement menu’s “assign jobs,” there are three work zones.
| Zone | UI label | Who can work it | What it does |
|---|---|---|---|
| Forestry | Assign forestry zone | Anyone | Fells player-planted trees and replants the same sapling type |
| Husbandry | Assign husbandry zone | Animal Keeper | Milking, shearing, etc. |
| Fertilize | Assign fertilize zone | Farmer | Harvests player-planted crops and replants the same seed; spreads fertilizer in the zone |
The game’s “settler” refers to any resident of the settlement, not a specific job. Farming, as a work zone, uses the “Fertilize” zone. Mining, hunting, and fishing aren’t registered as dedicated zones in the work-zone registry, so this guide treats them as per-role jobs rather than zones.
Forestry
Set a Forestry zone and settlers fell the trees within range and replant as needed. At first you plant saplings in a planting area yourself; settlers then fell the grown trees and replant the same sapling. It’s the zone to use when you want a steady wood supply, and the job isn’t tied to a fixed role — any settler with forestry enabled in their job settings can do it.
Build the Forestry zone in a planting area set a little apart from housing and farms, not right next to them. If the felling range overlaps your daily paths, trees and saplings tend to get in the way.
Husbandry
The Husbandry zone is for handing livestock care to an Animal Keeper. It automates milking, shearing, and the like, so it matters when you want a steady supply of milk, wool, eggs, and so on.
Pen your animal shed with fences or walls and overlay the Husbandry zone inside it for easier management. Animals scattered around lower work efficiency, so don’t make the zone too big — use it as a place to keep livestock together.
To breed, put a male and female of the same type in the same shed and don’t let the feed run out. Livestock recover hunger by eating grain-type feed, which also progresses taming. When a grown, sufficiently-tamed pair is nearby, a baby is born.
Overcrowding clogs the shed, and too many animals nearby also slows breeding. Since breeding produces young from the female side, cattle/sheep/pigs work well with one male and several females; chickens with one rooster and several hens. The Husbandry zone settings include “cull when animals exceed this count” — enter a number and grown livestock are processed for food when the zone’s herd exceeds the cap. Pair it with “desired male/female ratio” to set what proportion of males and females to keep after auto-culling. If you want to keep breeding, weight it toward females and keep at least one breeding male.
Farming
Harvesting and replanting crops is handled as a “farming” job. First you convert ground to Farmland and plant crop seeds on it. Farmland is made at a work bench from 5 logs. Once crops grow, settlers harvest them and replant using the same seeds.
The zone you can set, however, isn’t a “farming zone” but the “Fertilize” zone. Farmers spread fertilizer on crops inside it.
Overlay the Fertilize zone on your field and stock fertilizer in a shared chest; Farmers pull it out and apply it to crops. A small field is plenty early on, but once you’re trying to raise food variety, widen the field so you can grow multiple crops.
Example zone layout
For food production, put the Fertilize zone over the field and the Husbandry zone inside the animal shed. Build the Forestry zone in a planting area set a little apart from housing so daily paths and the tree-felling range don’t collide.
Managing Settler Gear
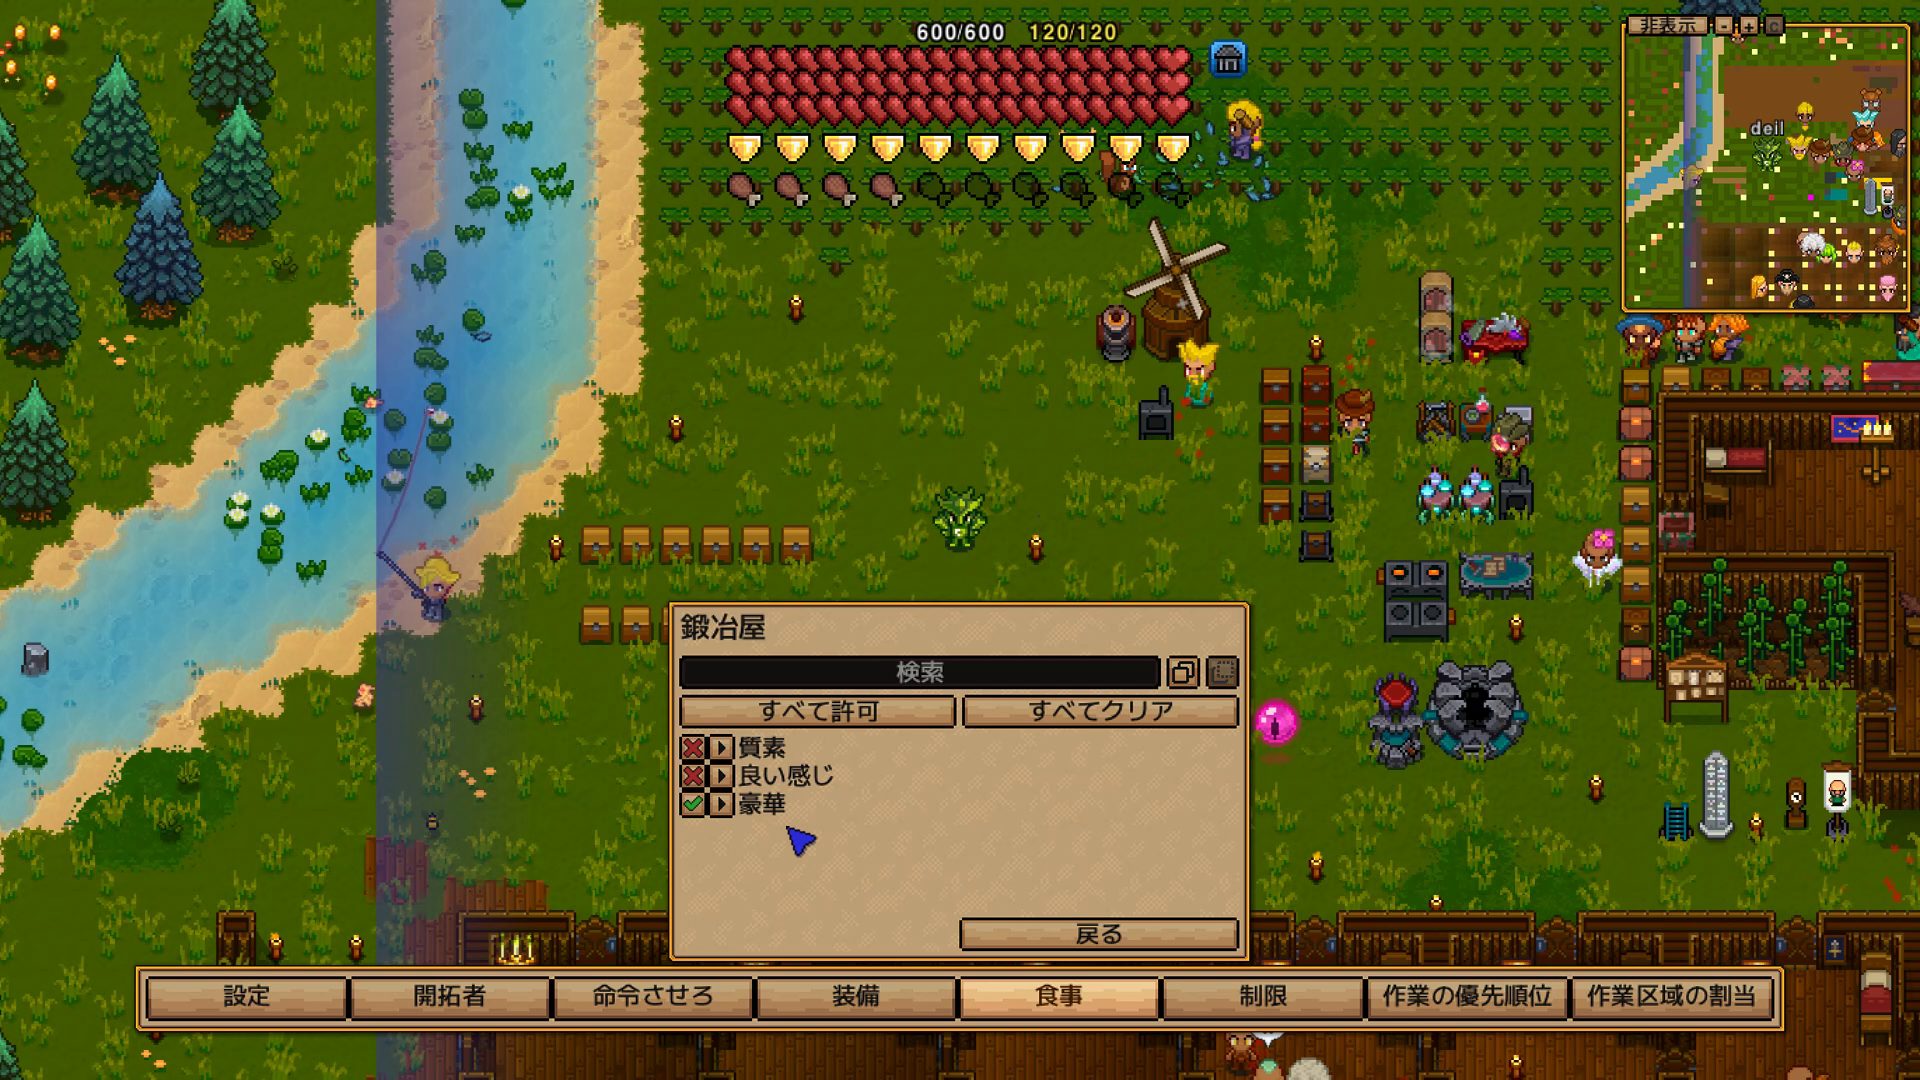
How the shared chest works (and its trap)
Settlers automatically pull gear from the settlement’s shared chest. Watch out:
- They may grab items you wanted to use yourself
- Control it with the “manage settlement storage gear” toggle on/off
- A filter setting can limit them to “only equippable items”
Raid Defense
Placing a Settlement Flag greatly lowers ordinary enemy spawns, but raids are a separate track. With 3+ settlers and a team member involved with the settlement, an attack can begin at night. They’re less likely during boss fights or while the player is treated as AFK.
On default settings, the internal timer to the next raid is roughly 90–150 minutes at first. Each raid you clear stretches the interval a little. If you’ve changed raid frequency in world settings, the interval changes too.
Raids approach from the settlement’s outer edge. Attackers target settlers’ beds and the Settlement Flag, so the three things to protect are housing, storage, and the flag. Beyond walling everything in, narrowing the entrances to make interception easier is what matters.
| Measure | What to do | Why |
|---|---|---|
| Wall the perimeter | Enclose housing, storage, and the flag; keep entrances few | Limits the enemy’s approach direction |
| Make an entrance | Narrow doors/passages to 1–2 spots | Easier for the Guard and player to intercept |
| Station a Guard | Give the Guard a bow/gun/magic weapon and place them inside the wall | Ranged attacks take fewer hits |
| Update gear | Put spare weapons/armor in the shared chest and enable storage gear management | Raises settler survival |
| Keep storage inside | Gather pricey materials/gear in storage inside the wall | Harder for raiders to make off with |
Raid types grow with progression. It’s mostly human attackers at first, but as your gear and progress climb, pirates, vampires, ninjas, and frozen dwarves enter the pool. The more your settlement develops, the stronger enemy gear gets, so don’t put off updating settler gear too long.
Common Mistakes Q&A
My settlers won’t work
- Check the zone isn’t set out of range
- If their inventory is full they’ll say “my inventory is full” → assign storage
- Check job priority — another job may be ranked above it
Happiness won’t go up
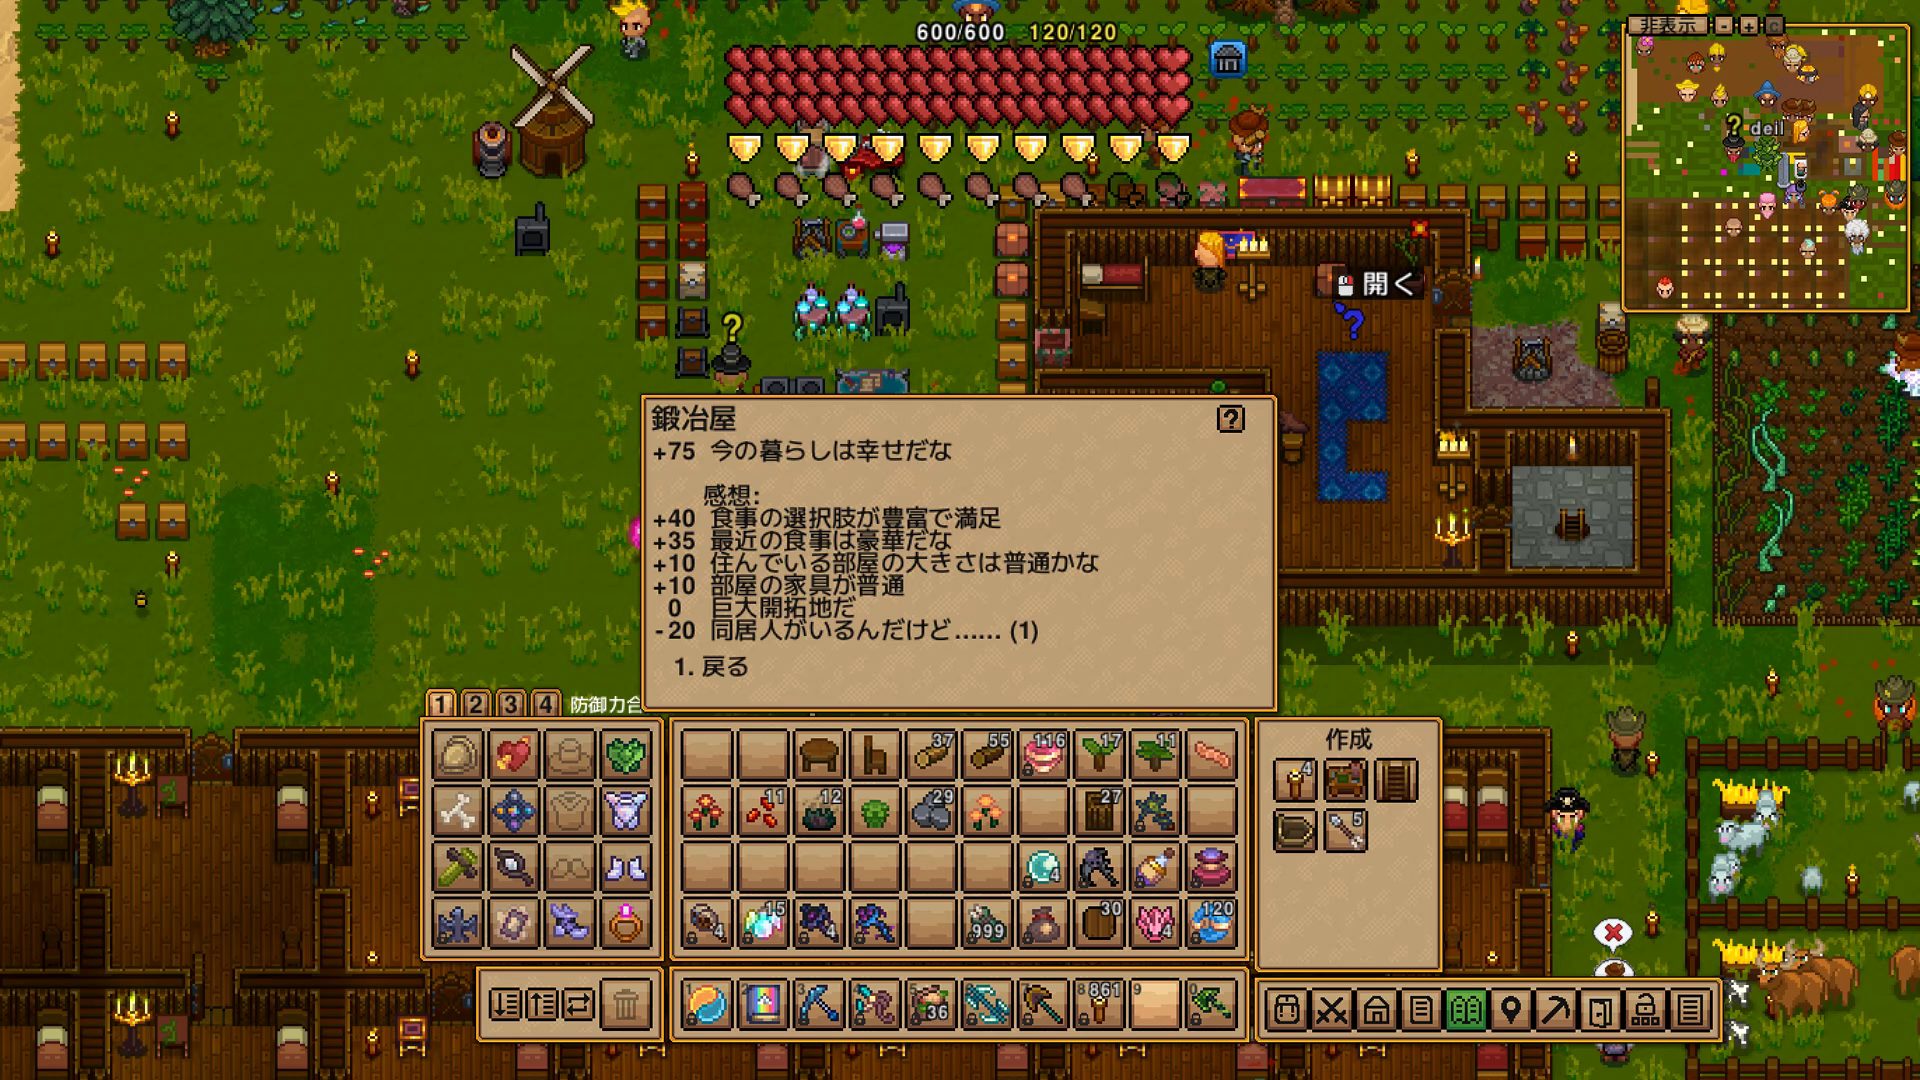
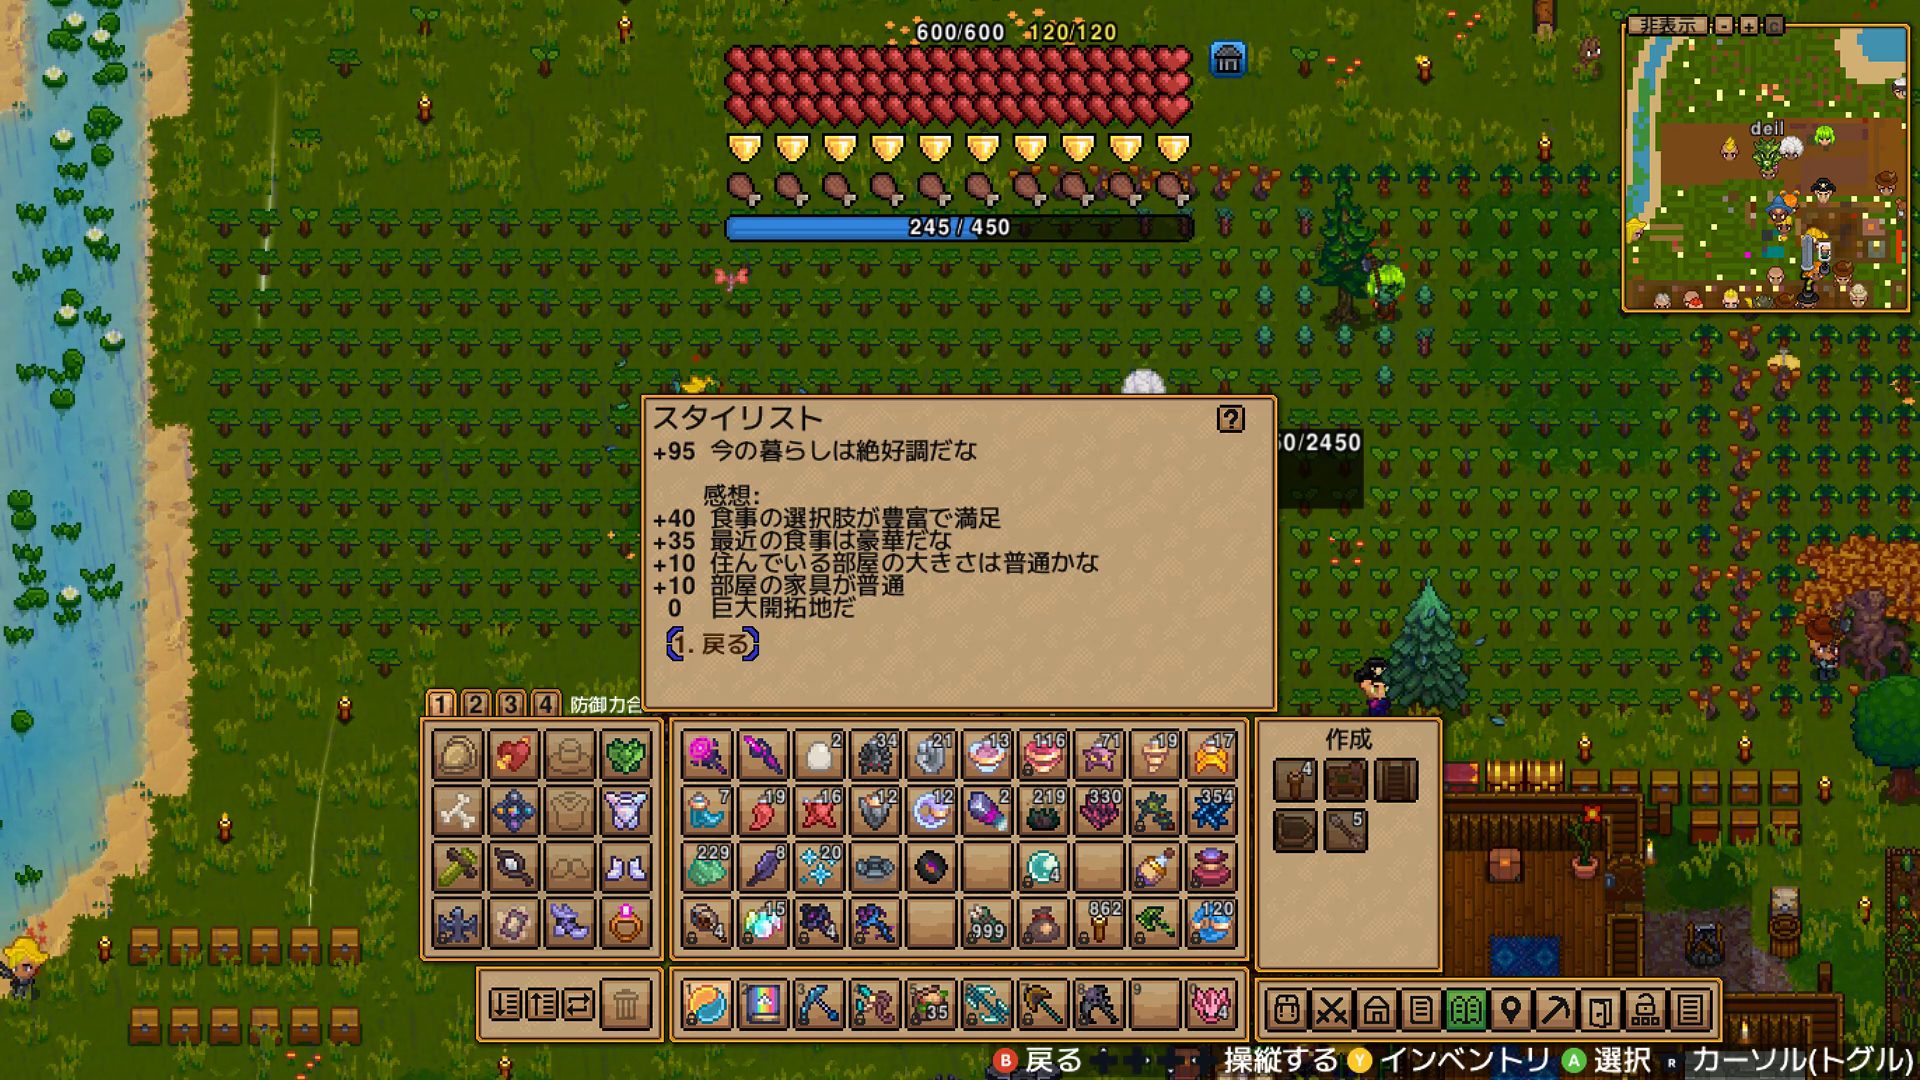
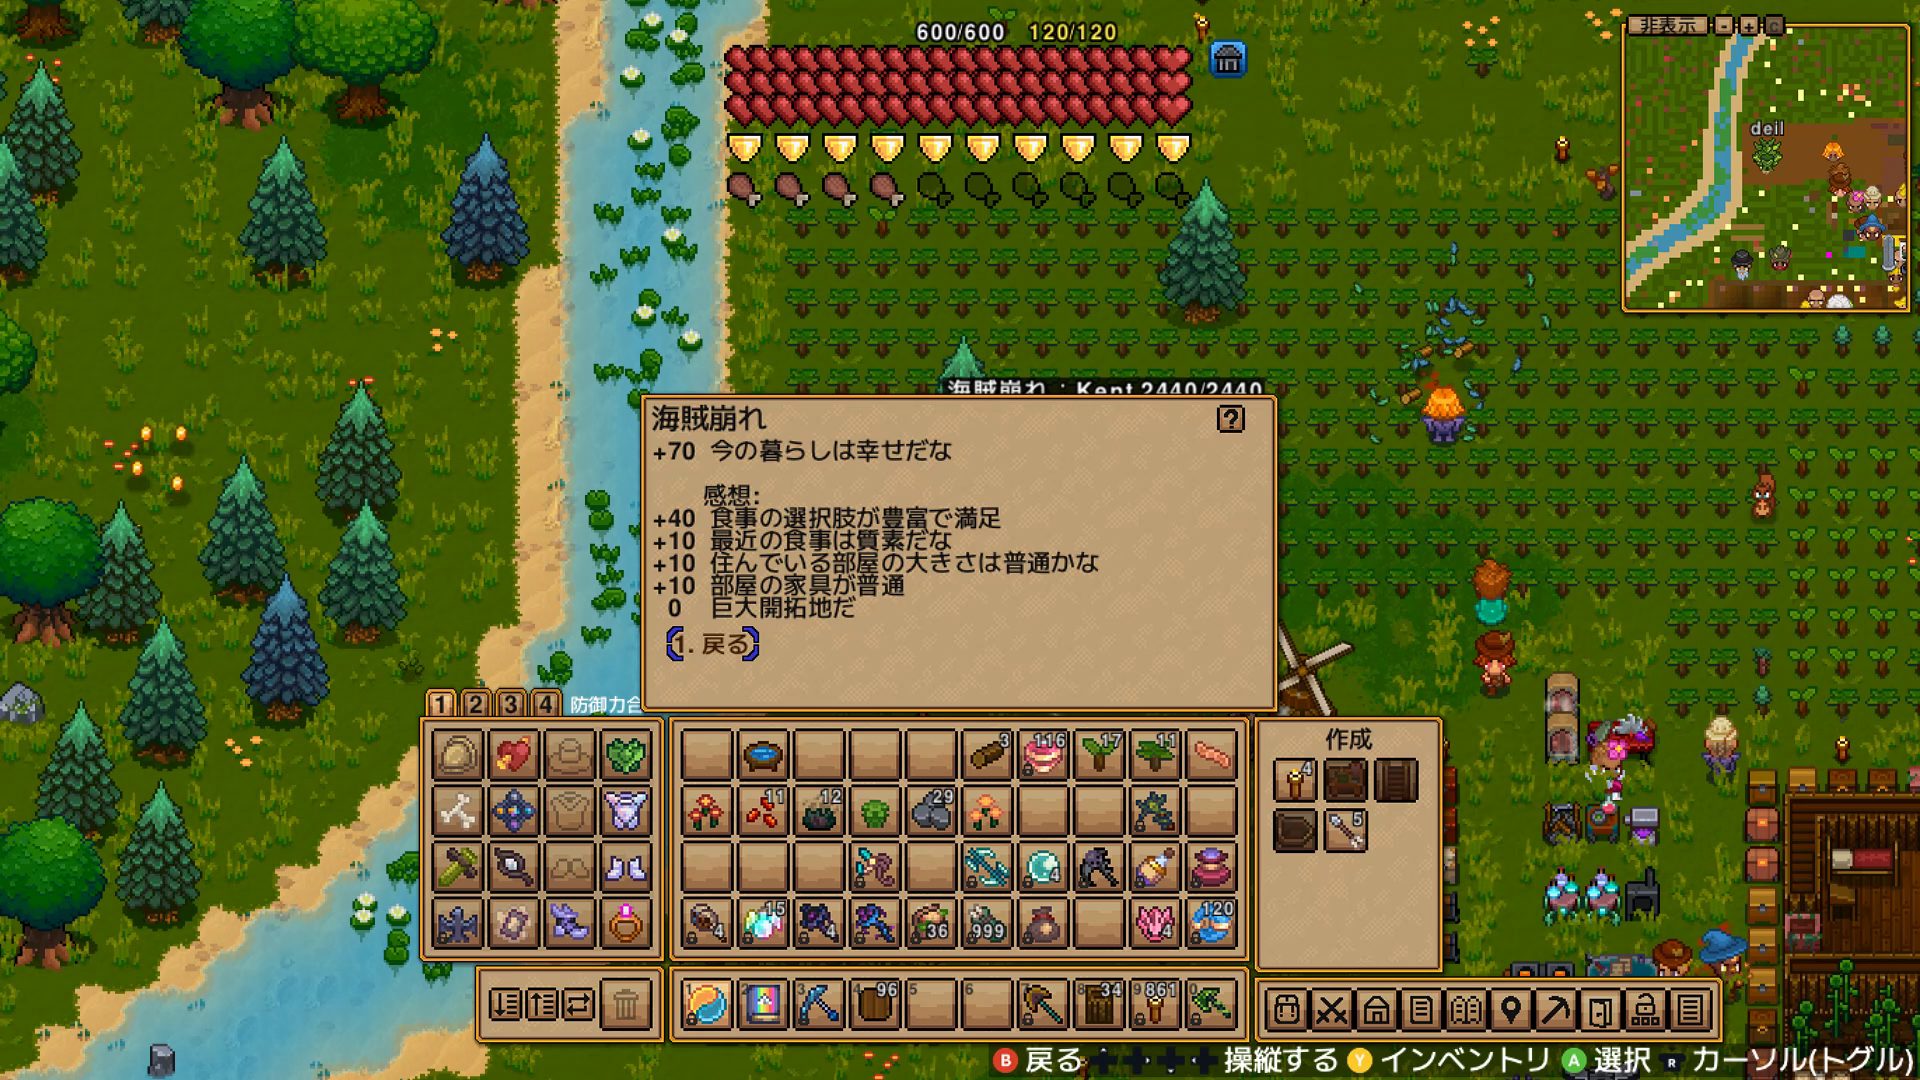
- First talk to the settler and check the breakdown from “how are you doing?”
- Pin down whether the problem is room size, furniture, food, or a penalty
- If they say “I have a roommate…” split the rooms immediately
My food keeps getting eaten
- Narrow the settler’s food settings from “change diet”
- Store premium food in your own chest, separate from the shared chest
Enemies spawn in my settlement
- For ordinary spawns, check whether you’re inside the Settlement Flag’s range
- For raids, revisit “Raid Defense” above
- Put housing, storage, and the flag inside walls and narrow the entrances
Related Articles
- Necesse Complete Guide: Boss Order Roadmap & All Articles
- Necesse Equipment Roadmap: Upgrade Order from Early to Endgame